Founding Platforms
Last weekend I made a highly functional copy of 18301 from scratch (ie from blank paper to a finished and fully playable game) in less than 7 hours. This is how I did it.
Mechanical efficiency
Manufacturing a game is a purely mechanical and highly repetitive process. Recognise this. Optimise your body positions and your physical processes to make that efficient. Time and motion study is well worth your investment.
I’ve observed a few things about myself in this regard:
-
I’m right-handed, so my left hand and arm are clumsier and less accurate then my right. As such I optimise my workspace such that my left hand is mostly doing crude/bulk actions and my right hand is doing high-control/detailed actions. This may sound like a trivial detail, but in a test I did a few years ago that optimisation alone saved almost an hour and a half from a larger game build!
-
I’ve also noticed that I make more accurate and more controlled cuts with a rolling knife if I’m cutting slightly to the right of my center line and am cutting from the lower right up and to the left. This one is both a time saver and more importantly, an error-rate improver. I get the tools positioned more accurately more quickly, I make fewer bad cuts and thus fewer reprints and re-dos for critical errors.
-
There’s a significant accuracy and efficiency gain from doing only one thing at a time. As such, if I’m laminating, I do all of the lamination before moving on. If I’m trimming the outsides of pages, I trim all the outsides of the pages before moving on to cutting out the individual components, etc. The idea is to isolate a specific action and body motion, to optimise and practice that and to then do nothing else but that single thing until it is all done everywhere. The result is more accurate cuts made faster and thus fewer critical errors that need re-dos.
The general result of this is that I’ve established a basic physical work flow:
-
Objects to be processed are to the upper left.
-
Trimmings and scrap are to the immediate left.
-
The work area is immediately in front of me (the long side of the cutting mat in most of the below pictures).
-
Finished items are either to the immediate right or upper right.
The result is a work flow with little wasted motion:
-
My left hand gets the next piece to work on from the upper left and brings it down and into the work area, slightly to my right.
-
Along with my right hand, the piece and rule is accurately positioned so that the cut goes from the lower right up and to the left.
-
The cut is made: left hand holding the rule, right hand moving the knife. If the cut requires multiple passes (generally one pass for 3mil, 2-3 passes for 5mil and 3-4 passes for 10mil), then for each pass the knife is returned to the lower right and makes the exact same cut again. I don’t roll the knife back and forth in both directions as I’ve found that encourages the knife to wander and make sloppy cuts.
-
My right hand sweeps the cut item to the right.
-
My left hand sweeps the trimmings to the left and then moves up to get the next piece.
-
Repeat.
For all the arguments about the above being boring or unnecessary or overly pretentious and picky or dear-gods-give-it-a-rest I can point to saved time, a more accurate product and fewer mistakes requiring me to re-make a component from scratch. The metrics win.
If you’re going to emulate a machine, ensure that you’re emulating a very efficient machine.
Materials & Tools
Materials
First, a note on vendors. I’m going to use Amazon links almost as they’re effectively universal. However my recommendation is not for Amazon per se but is for that specific equipment, model and material manufacturer.
- Whole page label for the token stickers.
Just standard cheap printer paper. Really. Nothing special.
Note that the lamination pouches are matte. While glossy lamination is significantly cheaper, it is markedly less pleasant to play with. That said, satin is even better than matte, but also rather more expensive again. I don’t find the cost differential justified.
The 10mil lamination is for the map. 10mil is rather clearly thicker and stiffer than it needs to be for maps, and most laminators can’t handle it properly…but it is what I have. 7mil (which I don’t have) is probably just as good and cheaper, but I’ve not tried it. (See the additional notes below for the laminator I use)
The 5mil lamination is for the track tiles. Well, almost. At the time of this build I’d run out of 5mil and hadn’t noticed. Ooops. So for this project I made the track tiles using 3mil…which really isn’t ideal. They’ll be made again, properly, later.
Track tiles made with standard printer paper and 3mil lamination are a bit too thin and a bit too flexible. They tend to stick together together a bit, are harder to pick up from the board and harder to sort and separate in the hand. This isn’t a Huge Deal, they are playable, but it makes a noticeable difference. 5mil laminated track tiles using the same paper etc handle noticeably more nicely.
Everything else, privates, shares, and trains was printed on standard printer paper and laminated with 3mil…and that’s just fine. Well, kinda okay.
Be careful with the choice of label paper. I’vee found that Avery don’t stick nearly as well as some cheaper brands, epecially the one I linked above.
Tools
I have several steel rules, but you only really need one. Asides from the rubber/cork backing (pretty standard), I recommend getting a stiffer rule (thicker metal) rather than one of the floppier/more flexible varieties. The shorter stiffer rules are easier to control and position accurately with one hand. I think the one I linked above matches this description but I haven’t tried that specific make/model.
Similarly, I don’t know the specific thin-bladed knife I linked above but that one appears similar to the one I use.
The corner rounder I used is cheap junk and is not recommended. It works, but only barely and only for thinner stock and thinner lamination (a bit iffy with 3mil and even more iffy with 5 mil). Oregon Laminations corner rounder is however recommended…but I hadn’t received it by the time of making the game.
The Apache AL13P2 laminator I use is big, heavy, built like a tank, heats slowly, cools even more slowly, and the outside gets hot enough to burn. But…it has four rollers and can be heated past 360 degrees Fahrenheit…and that’s useful.
Cheap consumer-grade laminators generally only have two rollers and ~no temperature control. At worst this means laminated material comes out cloudy and whitish due to the lamination not getting hot enough to properly melt and not getting enough pressure to be fully pushed into the fibers of the paper. Now this mostly doesn’t matter with 3mil lamination, most any laminator can handle that, but it comes into play with the thicker stuff. Even the $17 Amazon Basics Laminator can mostly handle 3mil lamination. Mostly. Given enough passes running the material through again and again it even tries (and half-fails) to handle 5mil using Oregon Laminations 5mil matte pouches: The pages still comes out cloudy and whitish.
I mostly-happily used a Fellowes 5600 (think that was the model number) for most of a decade until it died earlier this year. It did great on 3mil and with a couple passes even did well on 5mil. Maybe it would have worked with 3-5 passes on 7mil? I don’t know. But it completely failed on 10mil. When it died I replaced it with the Apache AL13P2 mentioned above. That laminator handles 3mil, 5mil and 10mil with only a single pass, just like a dream4.
Note: Oregon Laminations appears to recommend the TruLam TL-320B – which appears identical to the Apache AL13P2 laminator. Possibly one is the OEM?
I also used an Ellison Prestige Pro die cutter for the privates, shares and trains. (Note that it is $600+ on Amazon and ~$400 direct from the manufacturer It is a fairly expensive bit of kit, and even more so when you add in custom-made dies2 for cutting track tiles.
The Ellison Prestige Pro is the same equipment that Deep Thought Games, Golden Spike Games and All-Aboard Games all use (and I think Marflow Games as well).
For this build I used the die cutter, along with the test die that it came with solely for the privates, shares and trains. I wrote XXPaper to produce private, share and train art that precisely fits the test die.
While the die cutter certainly saves time, it really isn’t necessary unless you are making a lot of games. Trimming the privates, shares and trains by hand would have added perhaps half an hour to the build.
Printing
Making & printing the map
First, make and print the map and tile sheets. ps18xx5 can trivially generate the map…but it does so at a reduced scale (small enough that the entire map fits on a single page). The trick is to get it to make the map properly bigger and then to paginate the result across multiple pages cleanly.
For 1830 I had to do two things:
-
Scale the map hexes up to be normal size.
-
Move the resulting image on the page so that it needed fewer printed pages to cover all the important bits (ie not the white space) and the printed segments more sensibly divided up the map space.
Scaling the hexes is easy. For 1830 the top of the 30-map.ps file
looks like this (your version of the file might have some extra bank
lines or indents than I’ve shown below – but don’t worry as they’re
irrelevant as its just the words and numbers that matter, not the
blank lines or spacing):
%
% $Header: 30-map.ps[1.6] Wed Nov 15 17:26:41 1995 doko@cs.tu-berlin.de saved $
%
%
% ----------------------------------------------------------------------
% 1830 map
newpath
/mapRows 11 def
/mapCols 24 def
/mapScale 0.6 def
/CM { 28.35 1 mapScale div mul mul } def
mapScale dup scale
21 CM 0 translate
90 rotate
/mapFrame {
...etc
The key line there is the mapScale line. We need bigger
hexes…and some measuring and calculation gives the desired scale
bring around 1.20 rather than 0.6.6.
However that positions the map rather clumsily on the resulting
image/page. The resulting larger image paginates poorly across more
pages than are really necessary. In order to get the map segments
most cleanly distributed across the final pages, I found that I needed
to “slide” the map a bit on the page, and so I also edited the
translate line to get:
%
% $Header: 30-map.ps[1.6] Wed Nov 15 17:26:41 1995 doko@cs.tu-berlin.de saved $
%
%
% ----------------------------------------------------------------------
% 1830 map
newpath
/mapRows 11 def
/mapCols 24 def
% /mapScale 0.6 def
/mapScale 1.20 def
/CM { 28.35 1 mapScale div mul mul } def
mapScale dup scale
% 21 CM 0 translate
40 CM 0 translate
90 rotate
/mapFrame {
...etc
Note: The lines starting with percent signs (%) are comments and
thus can be and are ignored.
Now make the map:
$ make M30.ps
make 30 map
perl concat.pl -d src -a M30.ps
$ ps2pdf M30.ps
And there you go, a nice map nicely positioned as a raw Postscript file7. Now to get it properly paginated for printing and cutting.
Most Linux systems come with a tool called
poster
to do this sort of thing. Certainly there are other similar tools
available for other systems.
$ poster -v -i 1190x1580p -s 1.0 -m letter -o 1830_scaled.ps M30.ps
In short, I manually defined the page size of the original file, scaled it by a factor of 1.0 (ie not at all) and paginated it across letter sized pages. If you live in a sensible and civilised part of the world with an actually rational measuring system, use A4 instead.
Note: I fiddled with the above line, trial and error, also adjusting
the translate line in 30-map.ps and the exact size of the page I
passed to poster until I got what I wanted. It was fiddly but
didn’t take long before I got a good result..
Okay, not make the PDF and then print it:
$ ps2pdf 1830_scaled.ps
$ lp 1830_scaled.pdf
This will print the map in segments, with clearly marked cut lines. All that’s required from there is laminating and then precisely trimming to those cut-lines.
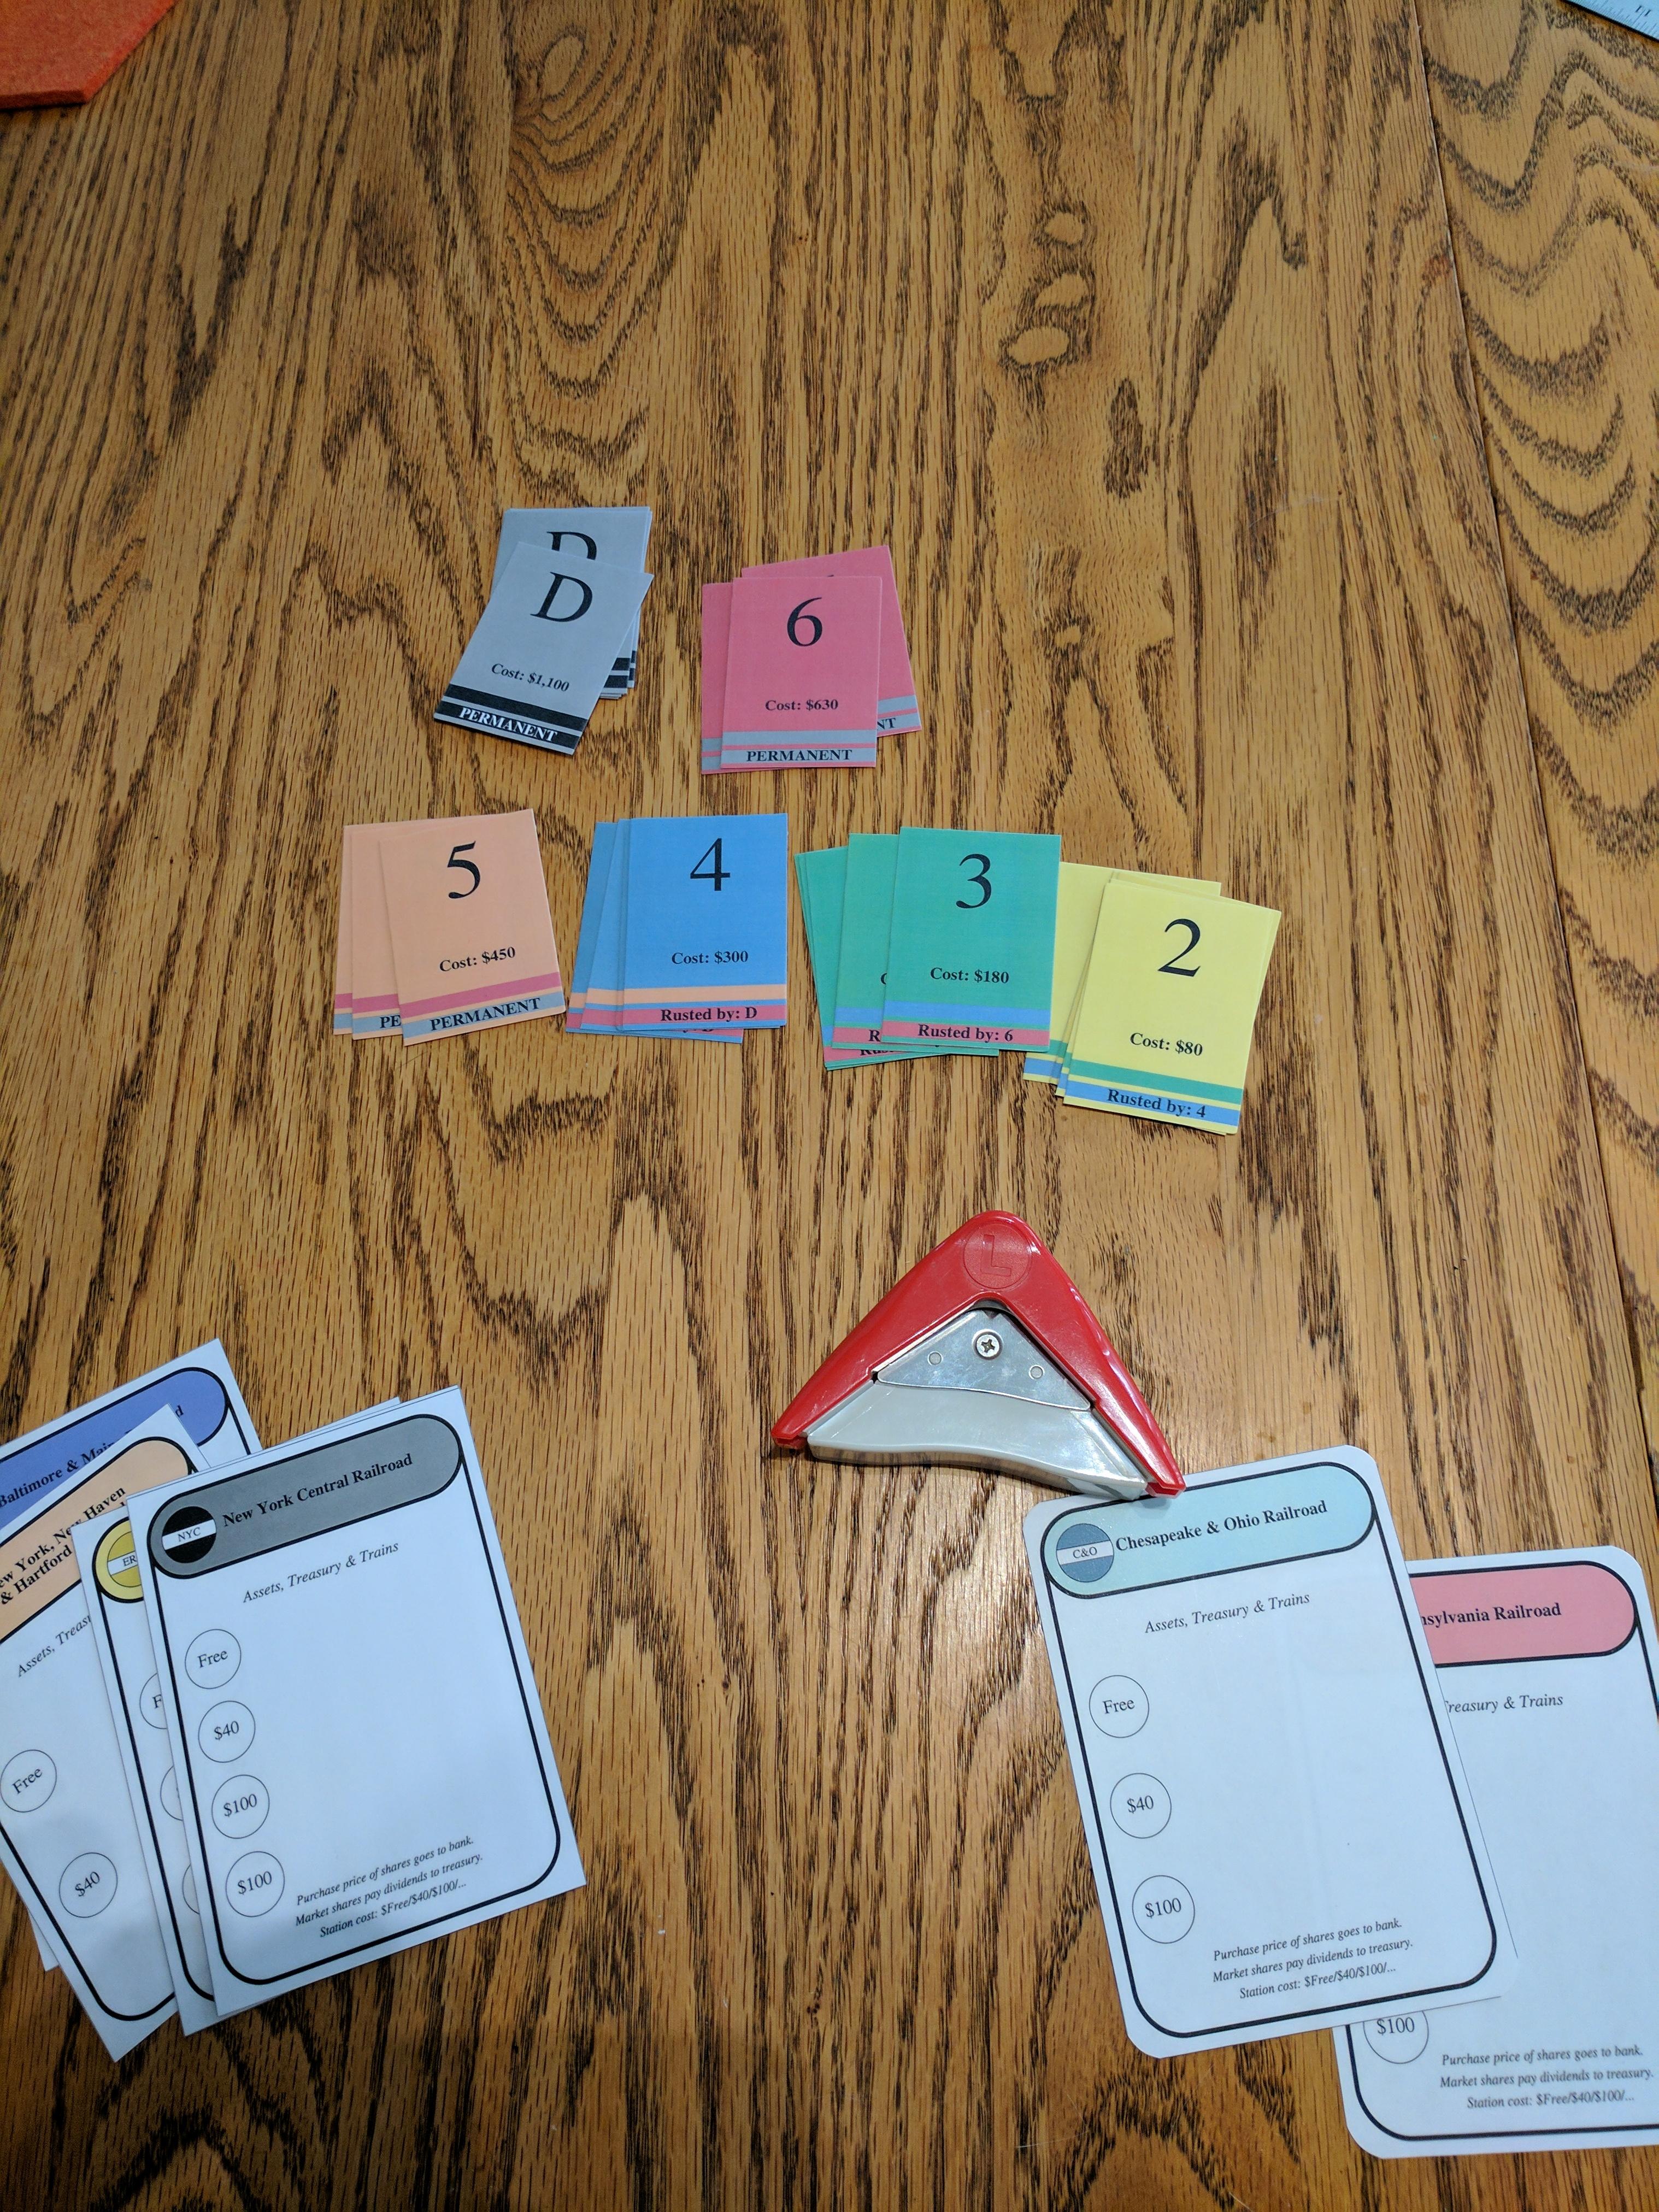
Making & printing the track tiles
Simple enough:
$ make P30.ps
make 30 playable tile list
perl concat.pl -d src P30.ps
$ ps2pdf P30.ps
$ lp P30.pdf
Making the Stock market
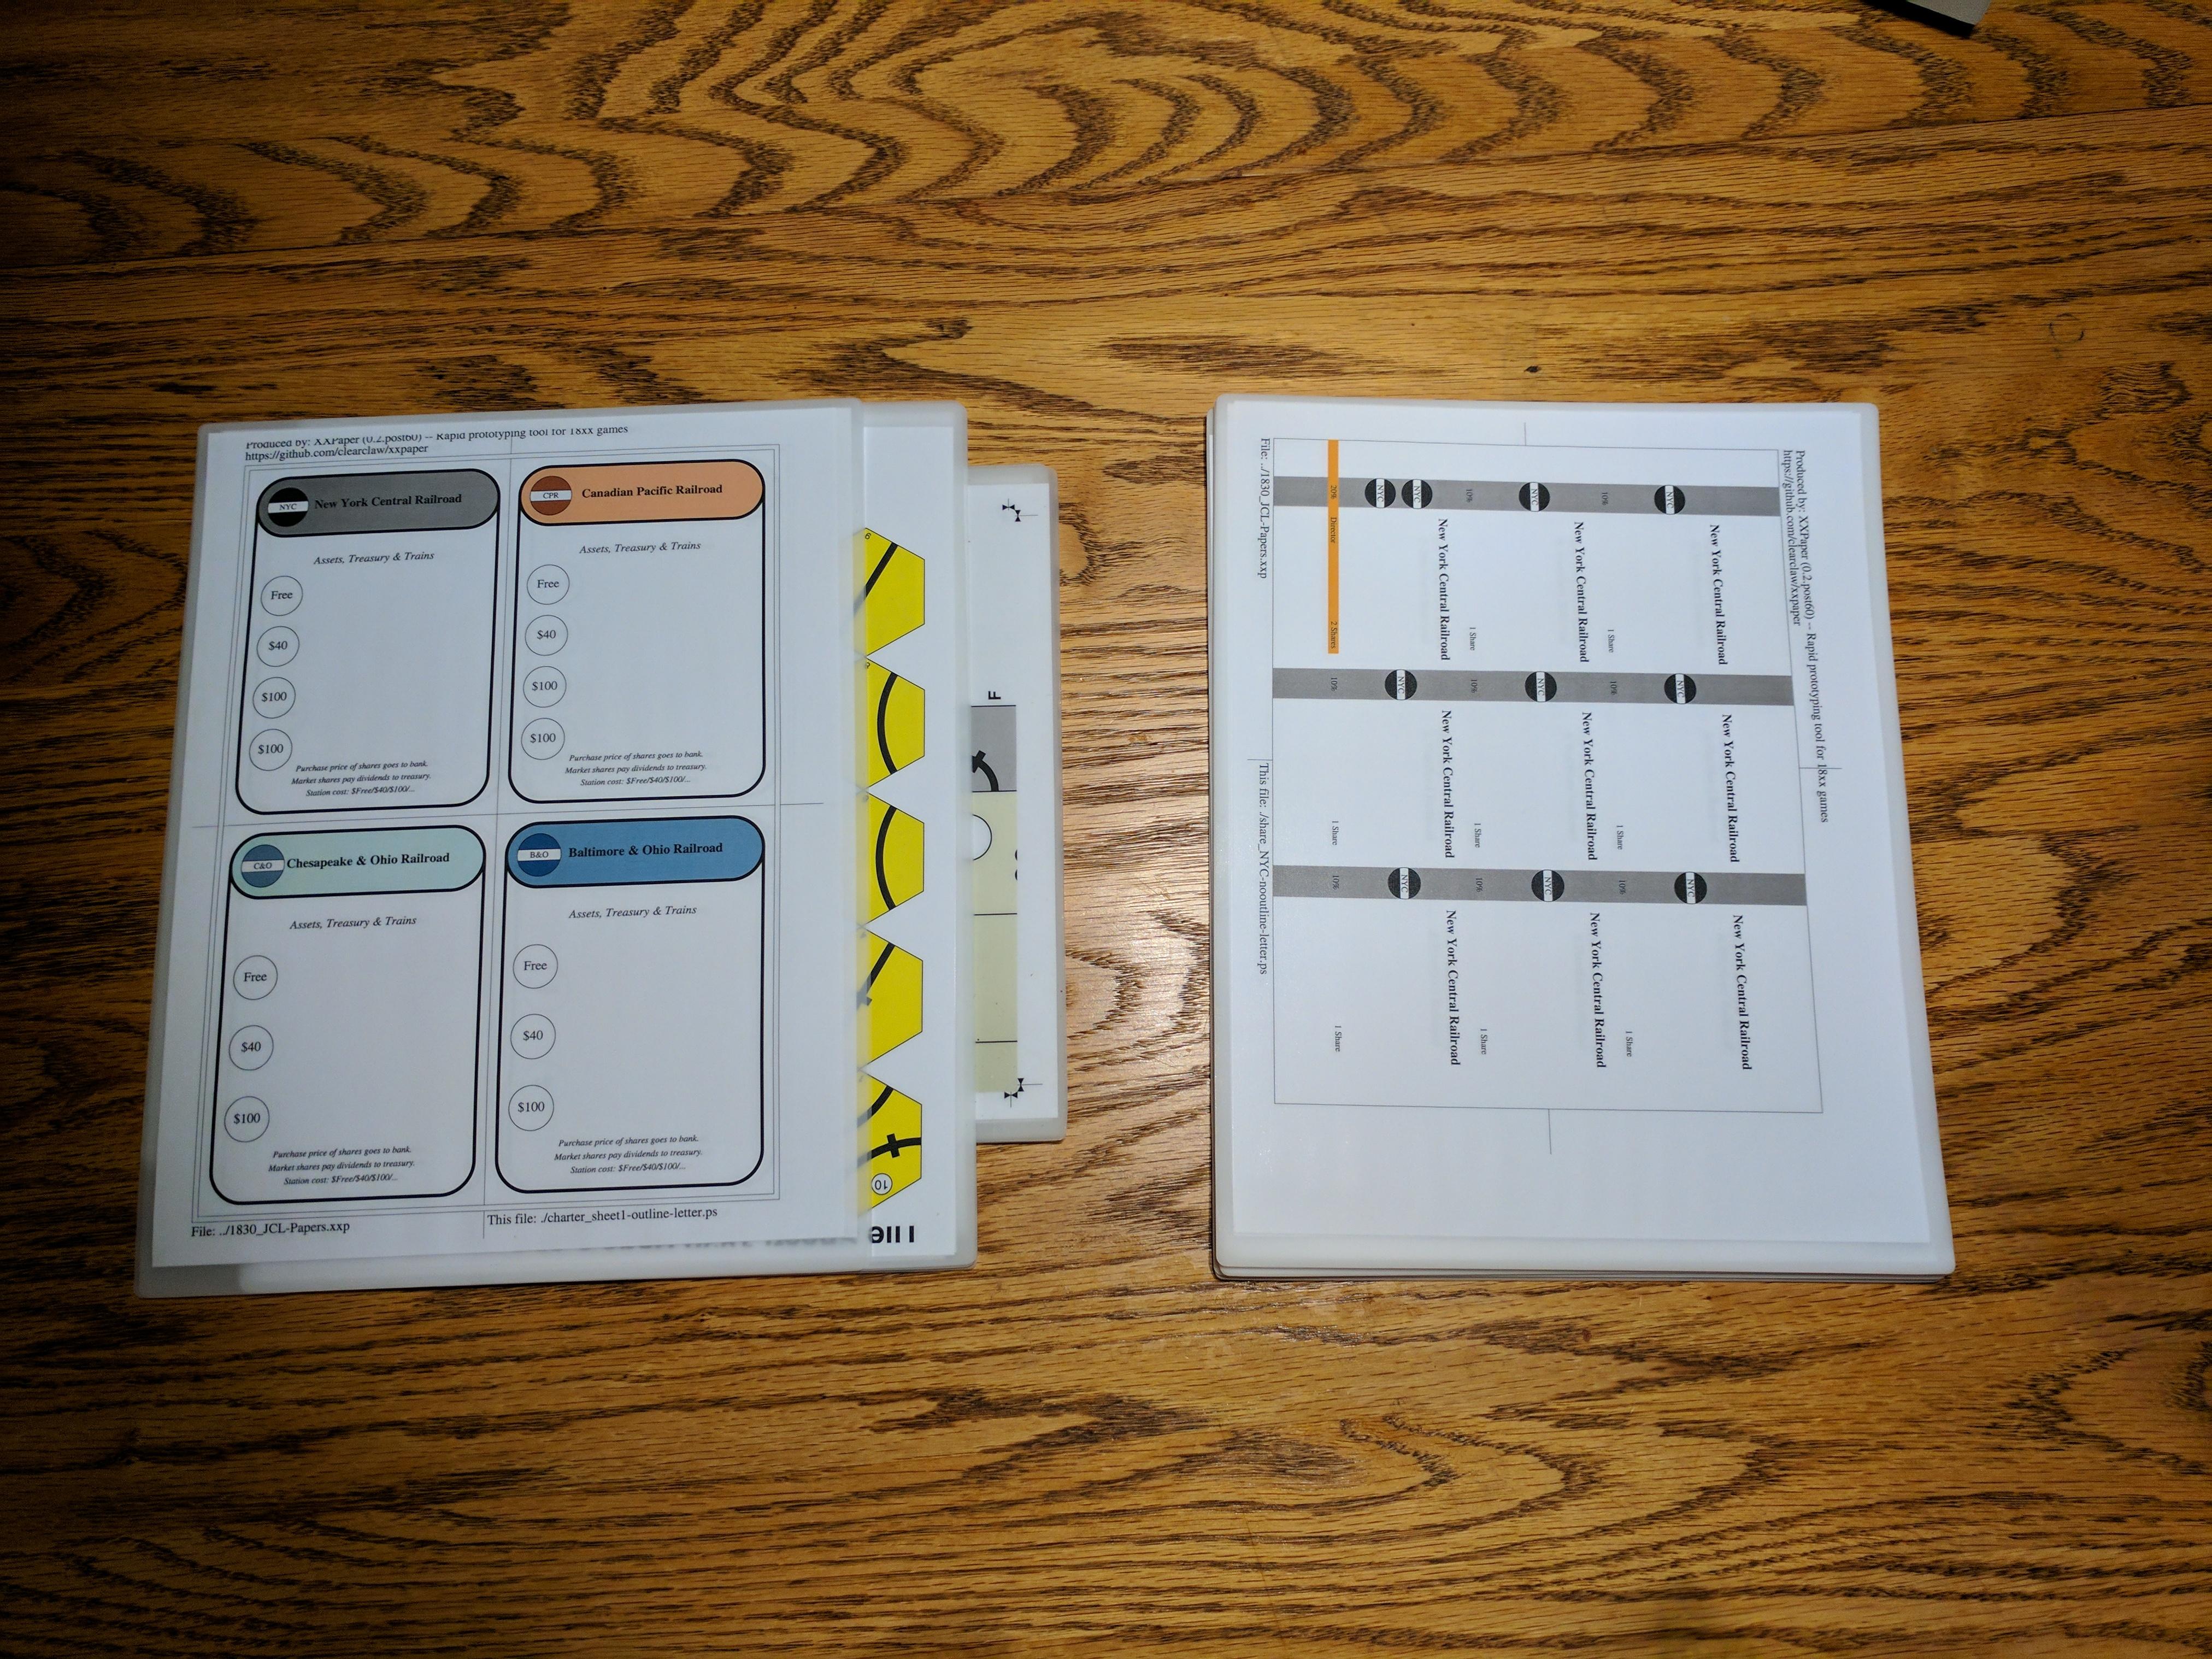
A not entirely different process, but with a lot more fiddling, got Peter Mumford’s stock market similarly scaled and printed. I don’t yet have a good tool-chain built for automatically generating larger 2D stock markets, so for this build I’m stealing, err, Peter’s slightly buggy file (it has a minor error).
Making the privates, shares, trains and token art-files
XXPaper
comes with a few .xxp files for 1830 assets. While they’re fine,
I ended up making my own, adjusting the colours mostly, but also
because longer term I want to extend that tile to include many of the
variant companies (Norfold, Pere Marquette etc). The build.sh
script in the samples directory shows how to make the files:
$ xxpaper -P letter ../1830_JCL-Papers.xxp -f nooutline
./charter_sheet1-nooutline-letter.ps
./charter_sheet2-nooutline-letter.ps
./private_Sheet1-nooutline-letter.ps
./share_B&O-nooutline-letter.ps
./share_NYC-nooutline-letter.ps
./share_B&M-nooutline-letter.ps
./share_PRR-nooutline-letter.ps
./share_ERIE-nooutline-letter.ps
./share_CPR-nooutline-letter.ps
./share_C&O-nooutline-letter.ps
./share_NYNH-nooutline-letter.ps
./token_sheet1-nooutline-letter.ps
./train_yellow-nooutline-letter.ps
./train_green-nooutline-letter.ps
./train_blue-nooutline-letter.ps
./train_brown-nooutline-letter.ps
./train_red-nooutline-letter.ps
./train_gray-nooutline-letter.ps
./train_player-nooutline-letter.ps
But I want the charters with outlines because they will be hand-cut, where-as the rest will be die-cut:
$ rm charter*
$ xxpaper -P letter ../1830_JCL-Papers.xxp -f outline -s charter
./charter_sheet1-outline-letter.ps
./charter_sheet2-outline-letter.ps
Convert them all to PDF:
$ for file in *.ps
do
  ps2pdf $file
done
$ rm *.ps
Produces:
$ ls -1
charter_sheet1-outline-letter.pdf
charter_sheet2-outline-letter.pdf
private_Sheet1-nooutline-letter.pdf
share_B&M-nooutline-letter.pdf
share_B&O-nooutline-letter.pdf
share_C&O-nooutline-letter.pdf
share_CPR-nooutline-letter.pdf
share_ERIE-nooutline-letter.pdf
share_NYC-nooutline-letter.pdf
share_NYNH-nooutline-letter.pdf
share_PRR-nooutline-letter.pdf
token_sheet1-nooutline-letter.pdf
train_blue-nooutline-letter.pdf
train_brown-nooutline-letter.pdf
train_gray-nooutline-letter.pdf
train_green-nooutline-letter.pdf
train_player-nooutline-letter.pdf
train_red-nooutline-letter.pdf
train_yellow-nooutline-letter.pdf
Then just print them:
$ lp *.pdf
Making the game
Lamination
Take each page, slip it into a pouch of the appropriate thickness, center it and run it through the laminator. Adjust the temperature of the laminator appropriately for each type of pouch (in general this means flipping a little 3mil/5mil switch but for the laminator I used it means dialing in the target temperature directly).
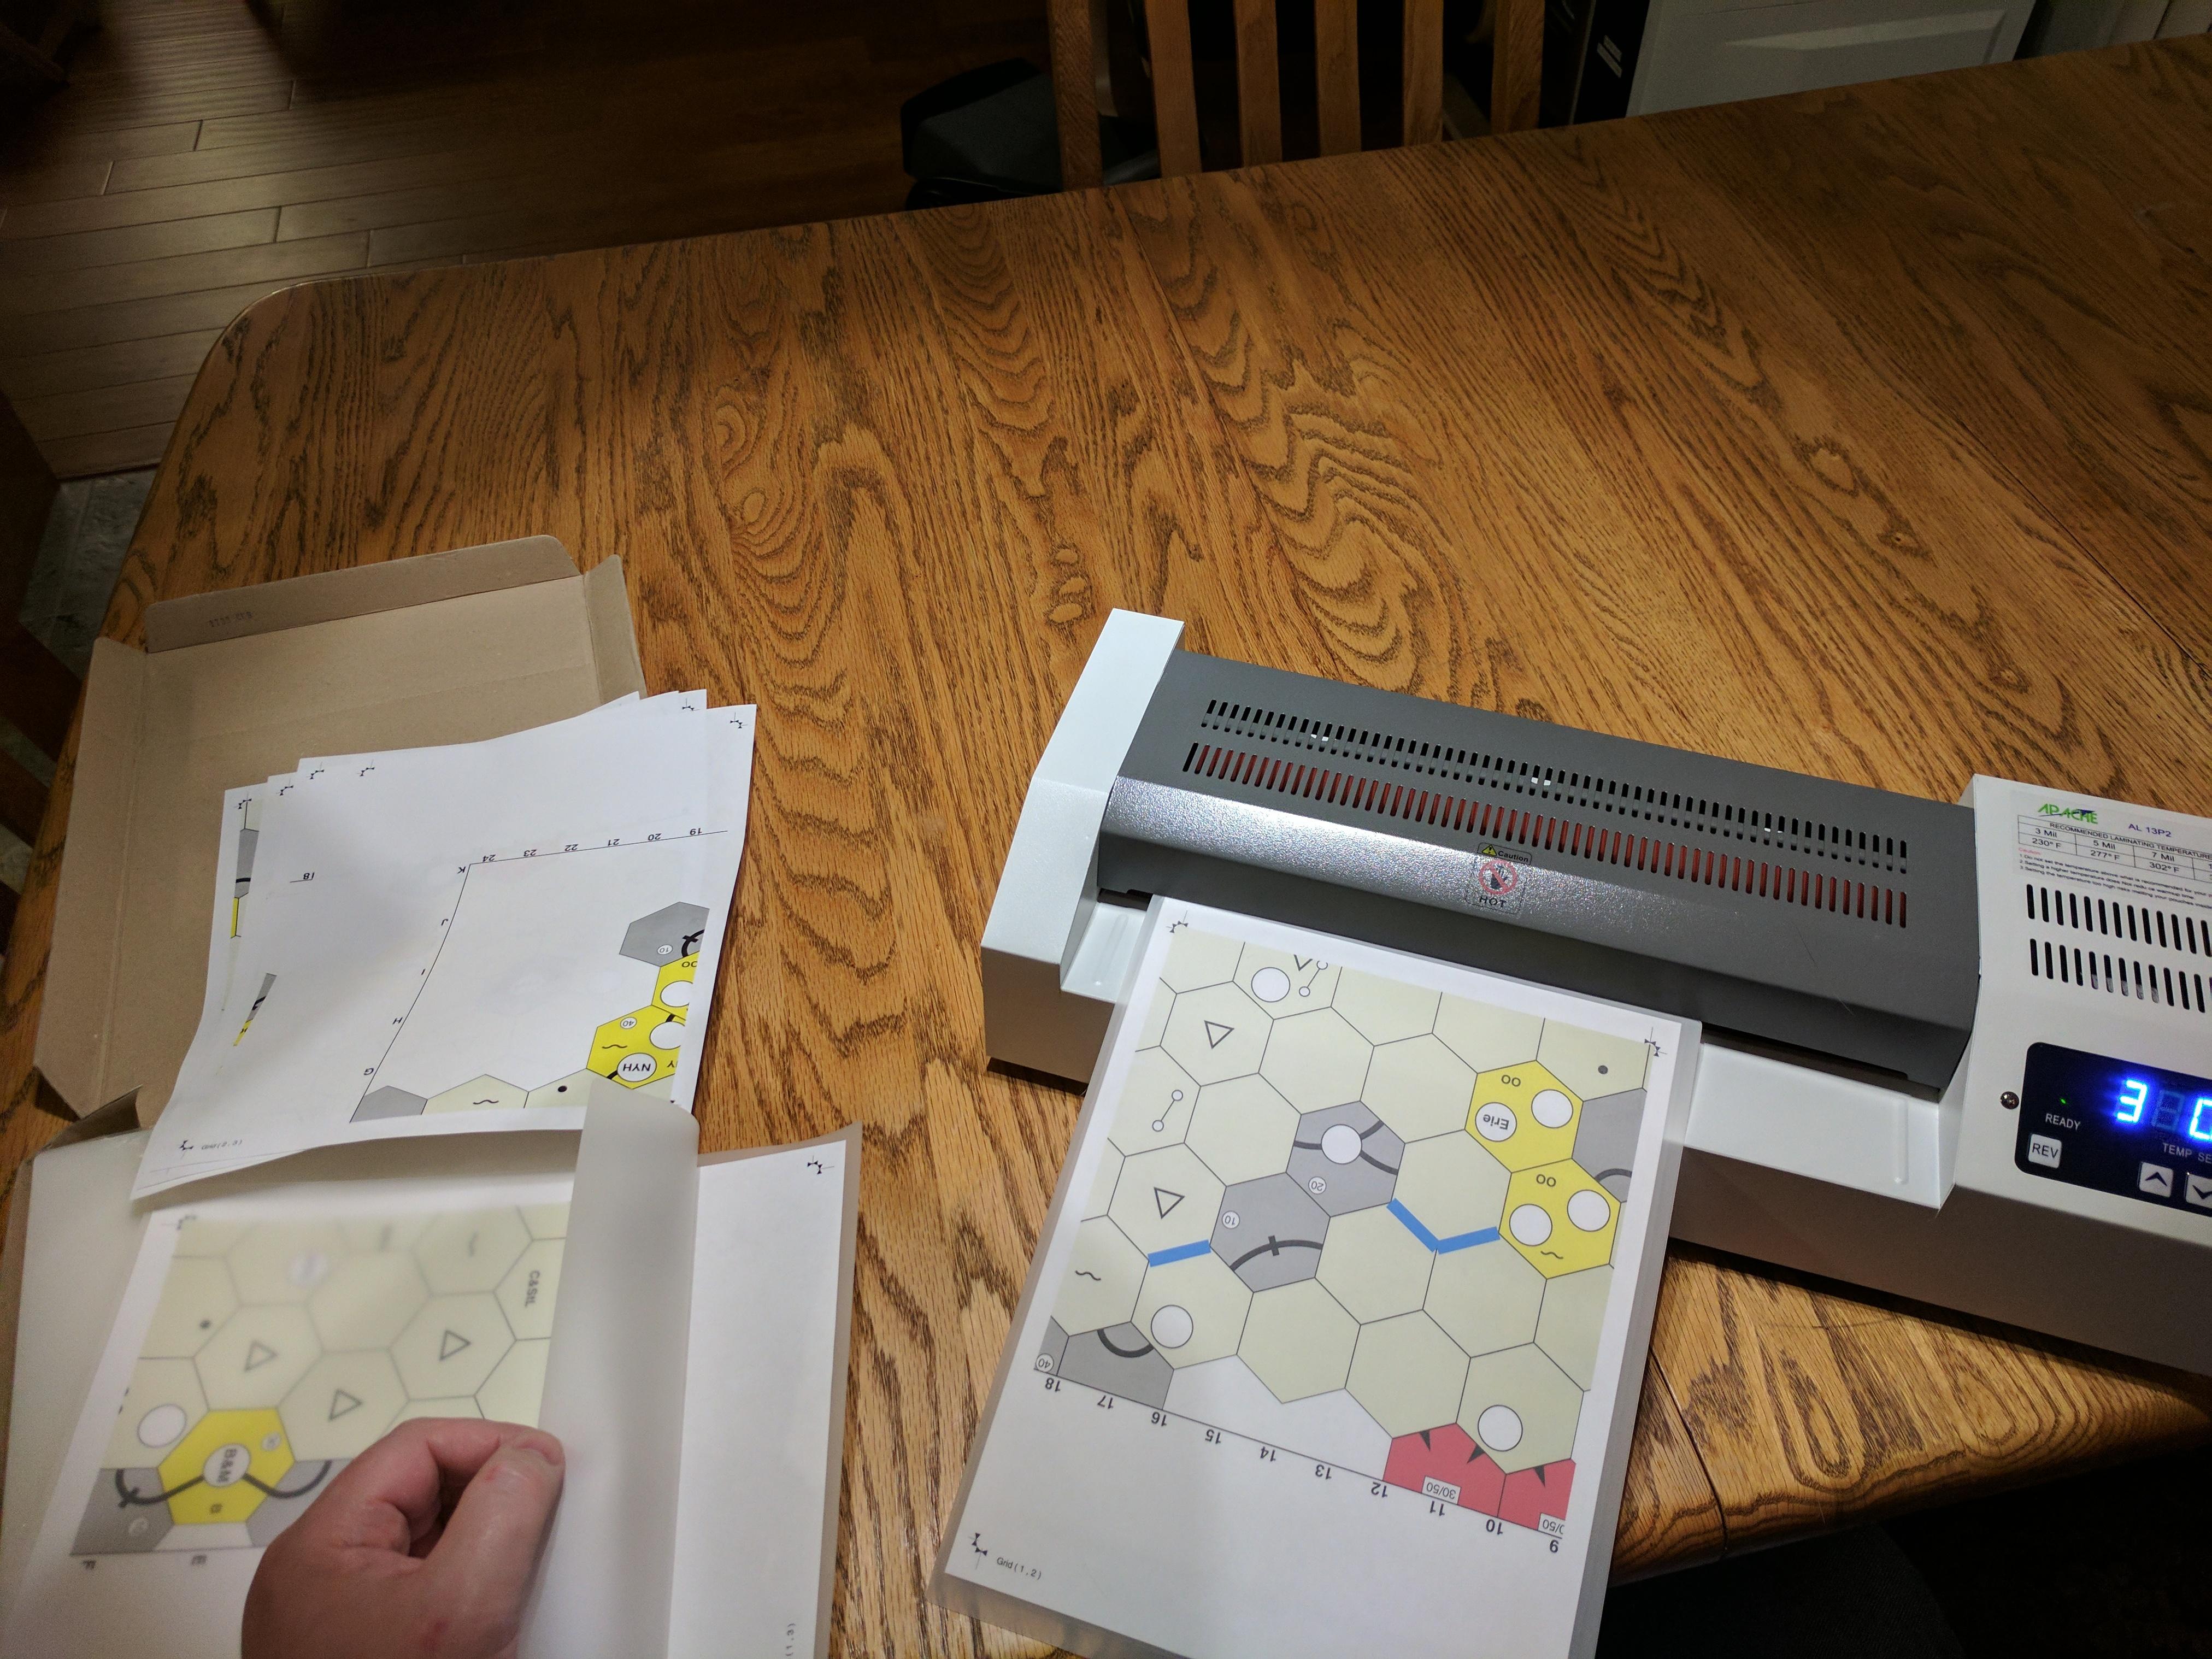
Here’s the map all done in 10mil. Look closely and you can see the cut lines (little back triangles) showing where to cut for the map segments to align precisely.
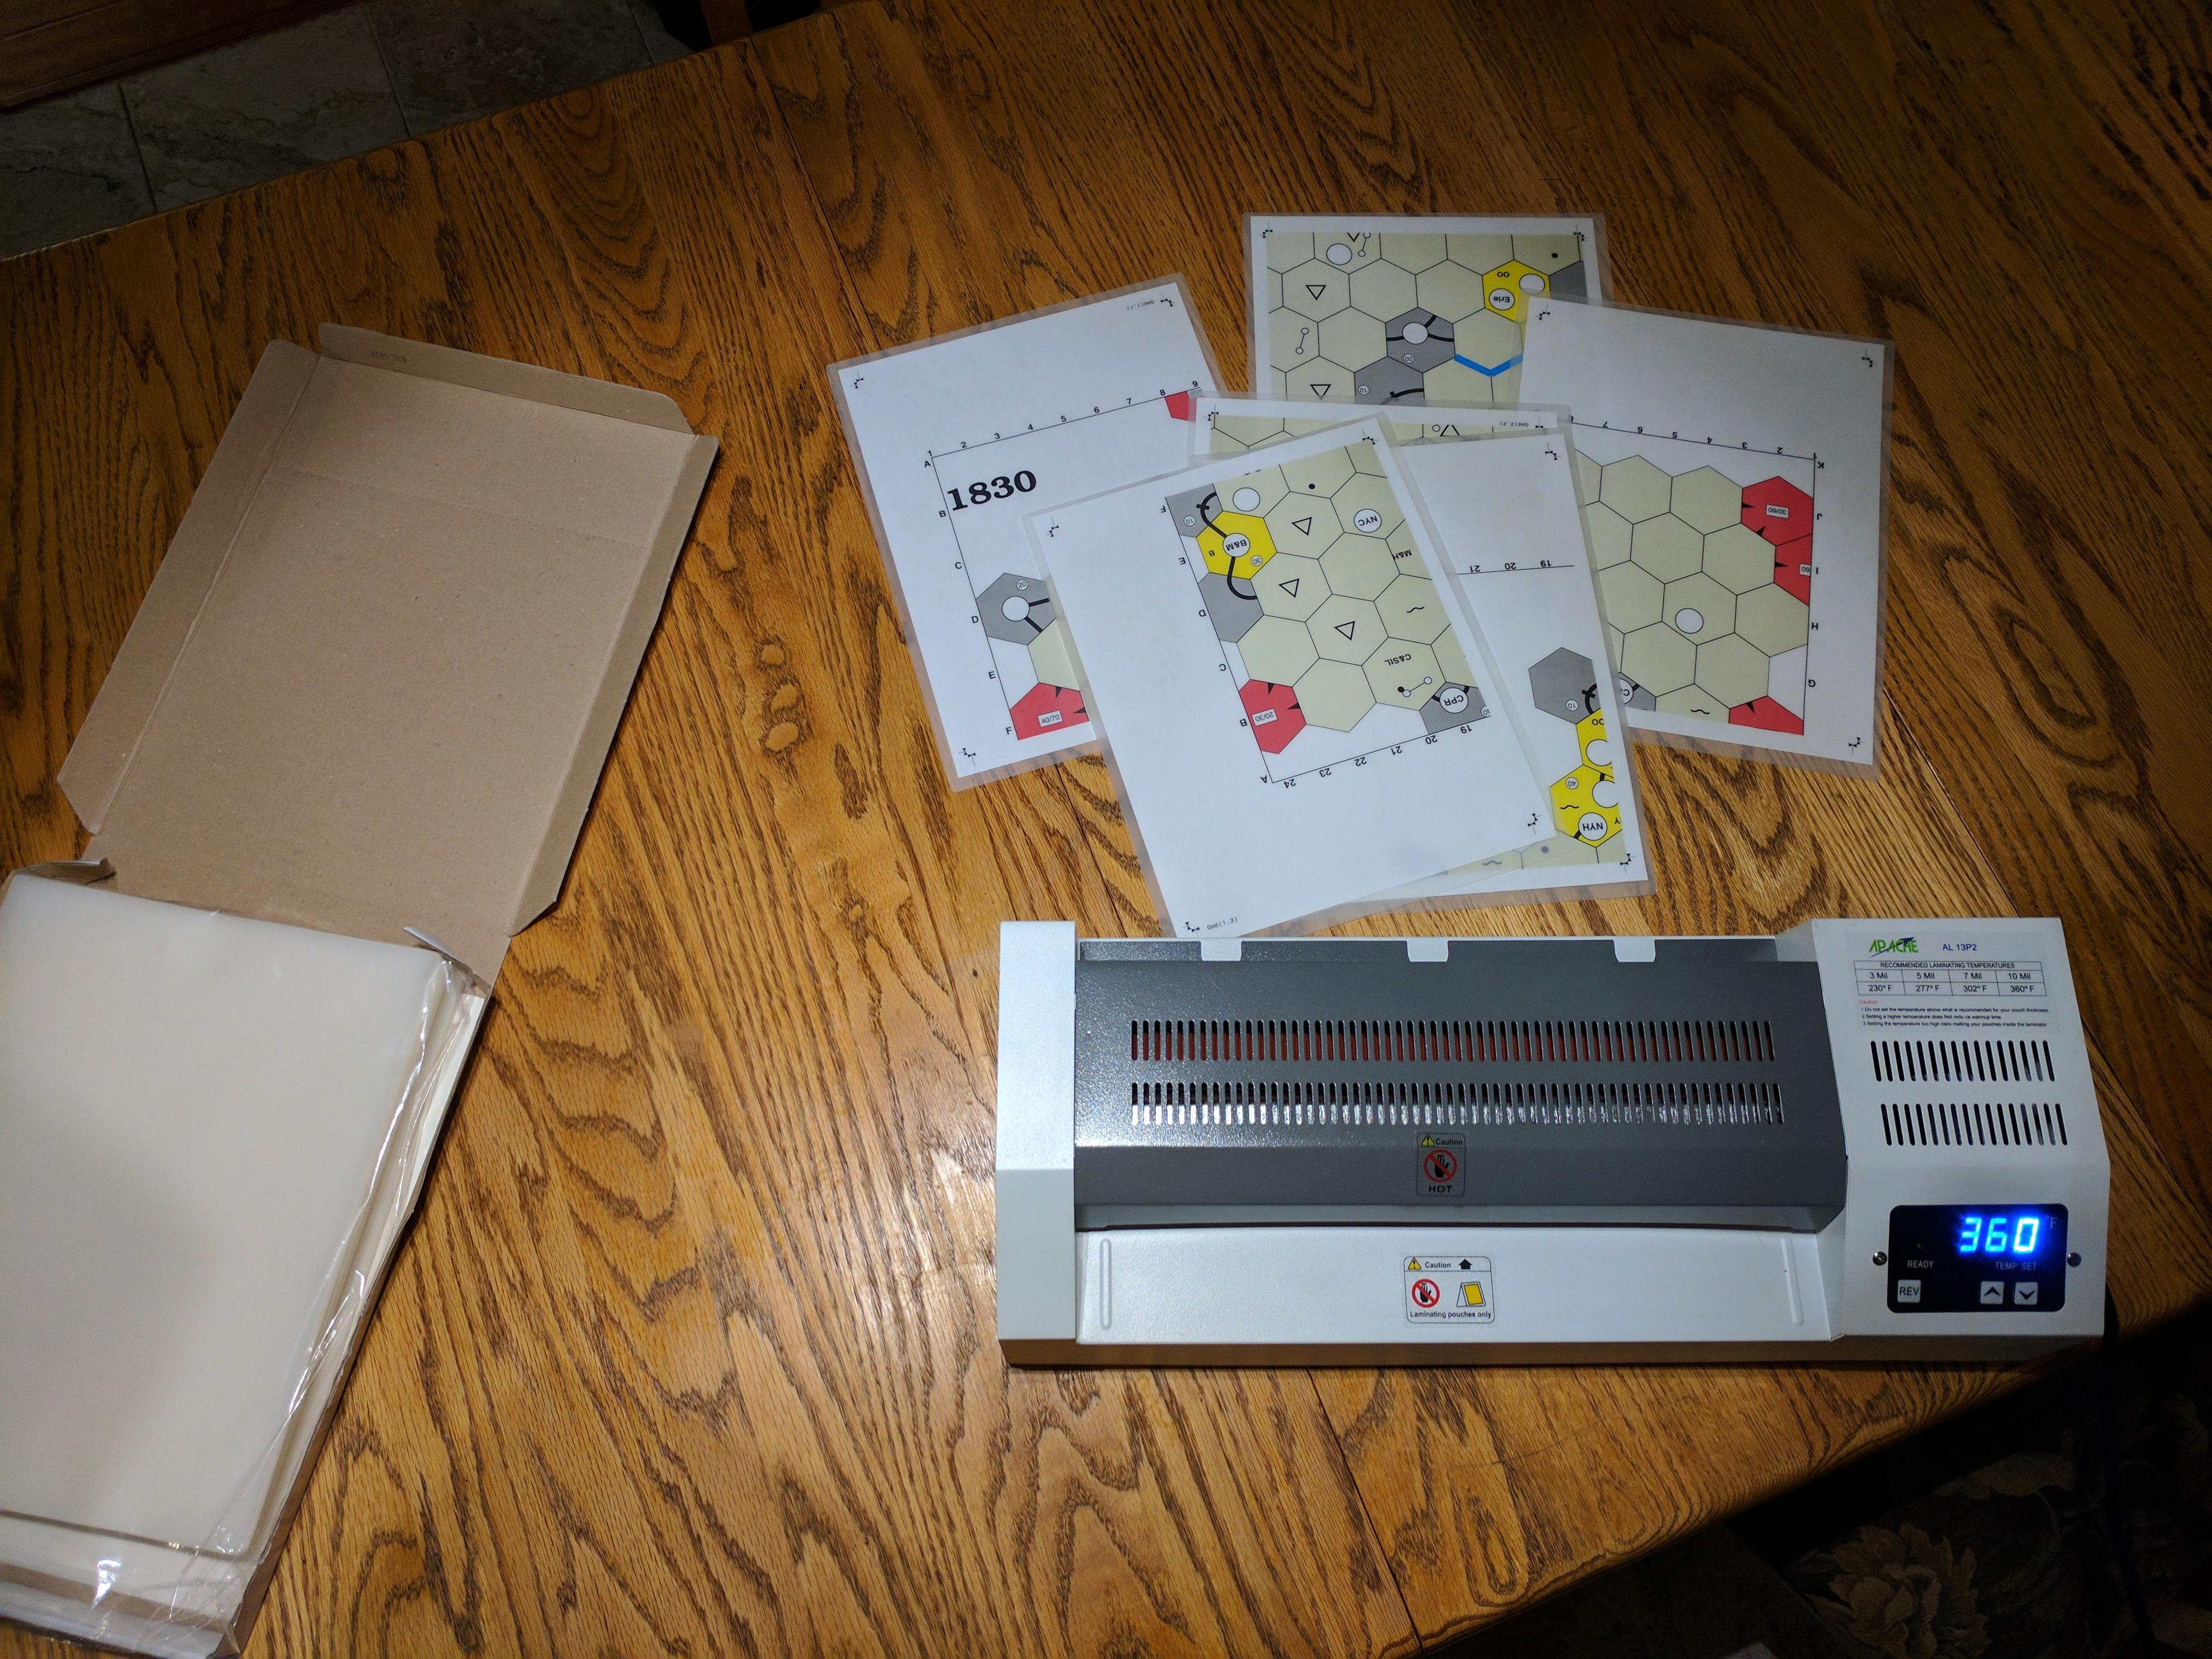
And then everything fully laminated:
Cutting
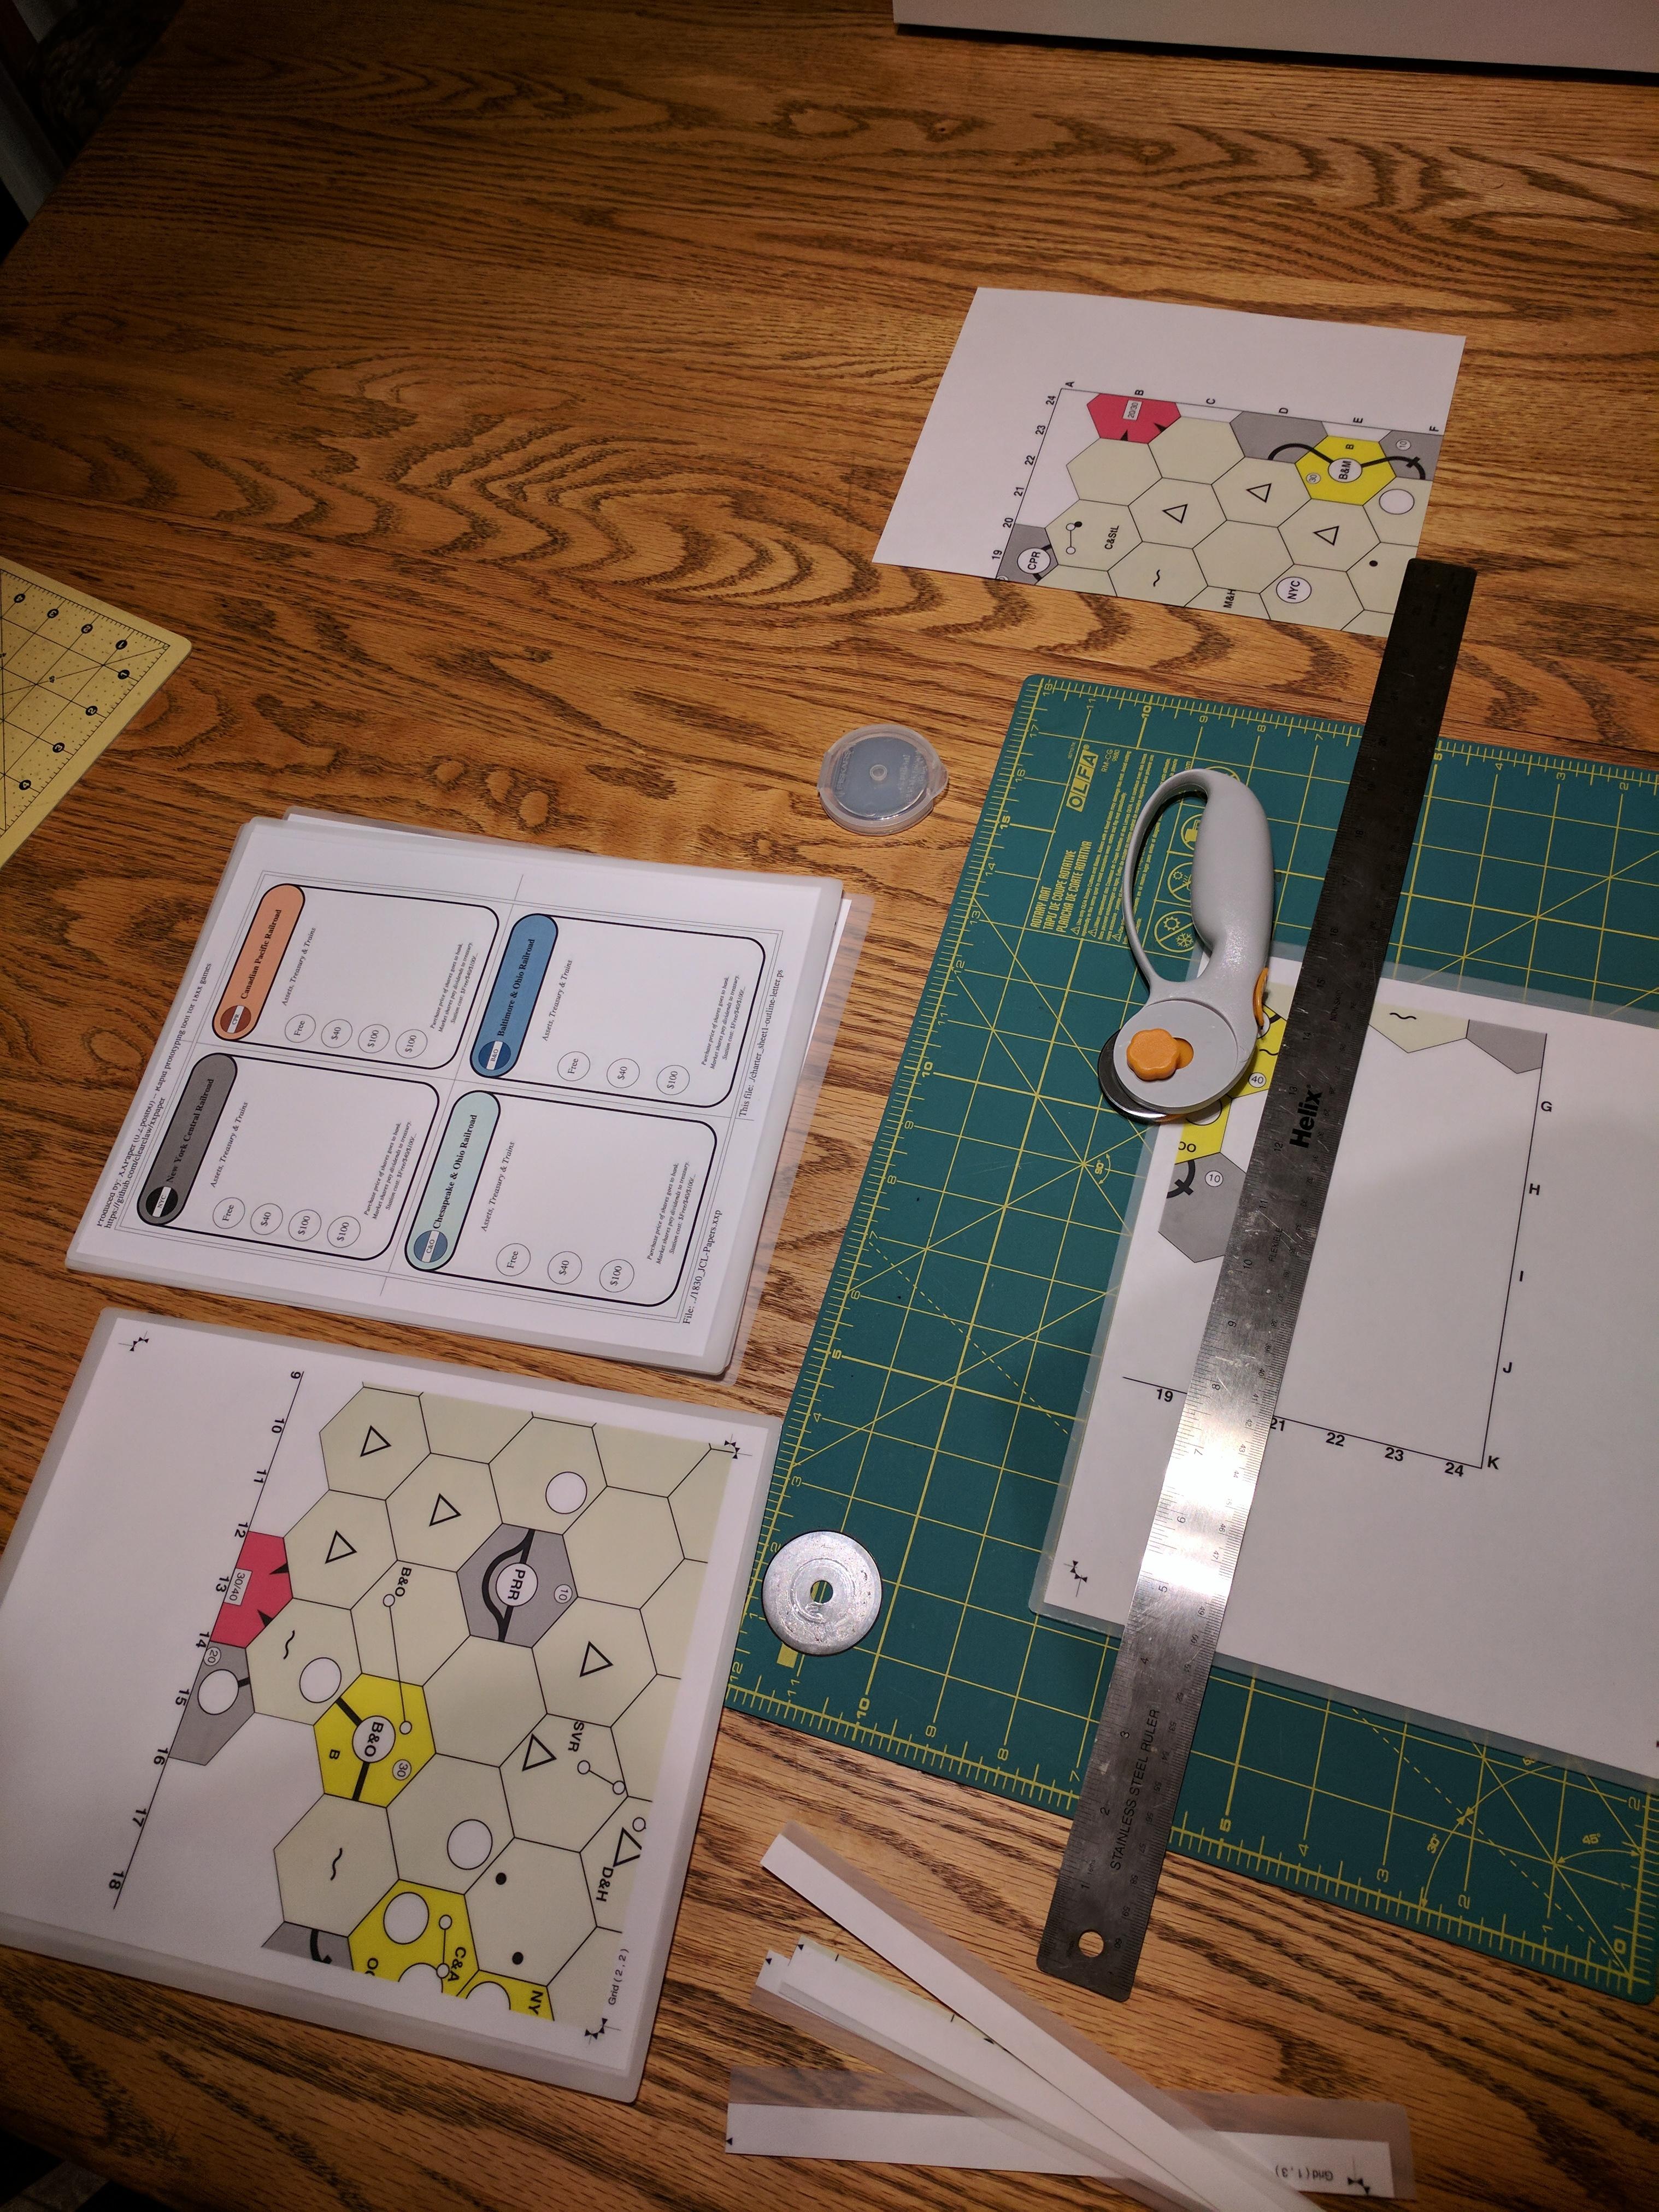
First, start with a new blade in your knife. I use a new blade for every game, two for larger games. The extra ease and precision is worth it (blades are cheap).
Also remember that I’m sitting to the long side of the cutting mat in the below pictures. New stock is to my top left, waste to the lower left, cut material to the right.
The map segments have cut markers showing precisely where to cut to get the segments to line up perfectly. The problem is that once you cut to one marker, you’ve also cut off the other marker on that side – and precision is particularly important in getting the map segments to line up exactly.
My trick was to make the cut along one side all the way through but not for the full length. I didn’t cut all the way to the end and left the extra bit still connected at the end. Thus the strip dangled and was attached only at the end…and was perfectly aligned with the remaining map. Then I made the next cut in the other direction, cutting off the loose end of the dangling strip while creating a new partial cut.
Lather rinse repeat around the outside and you get a perfectly cut map segment!
Checking the map segments are perfectly square and exactly the same size:
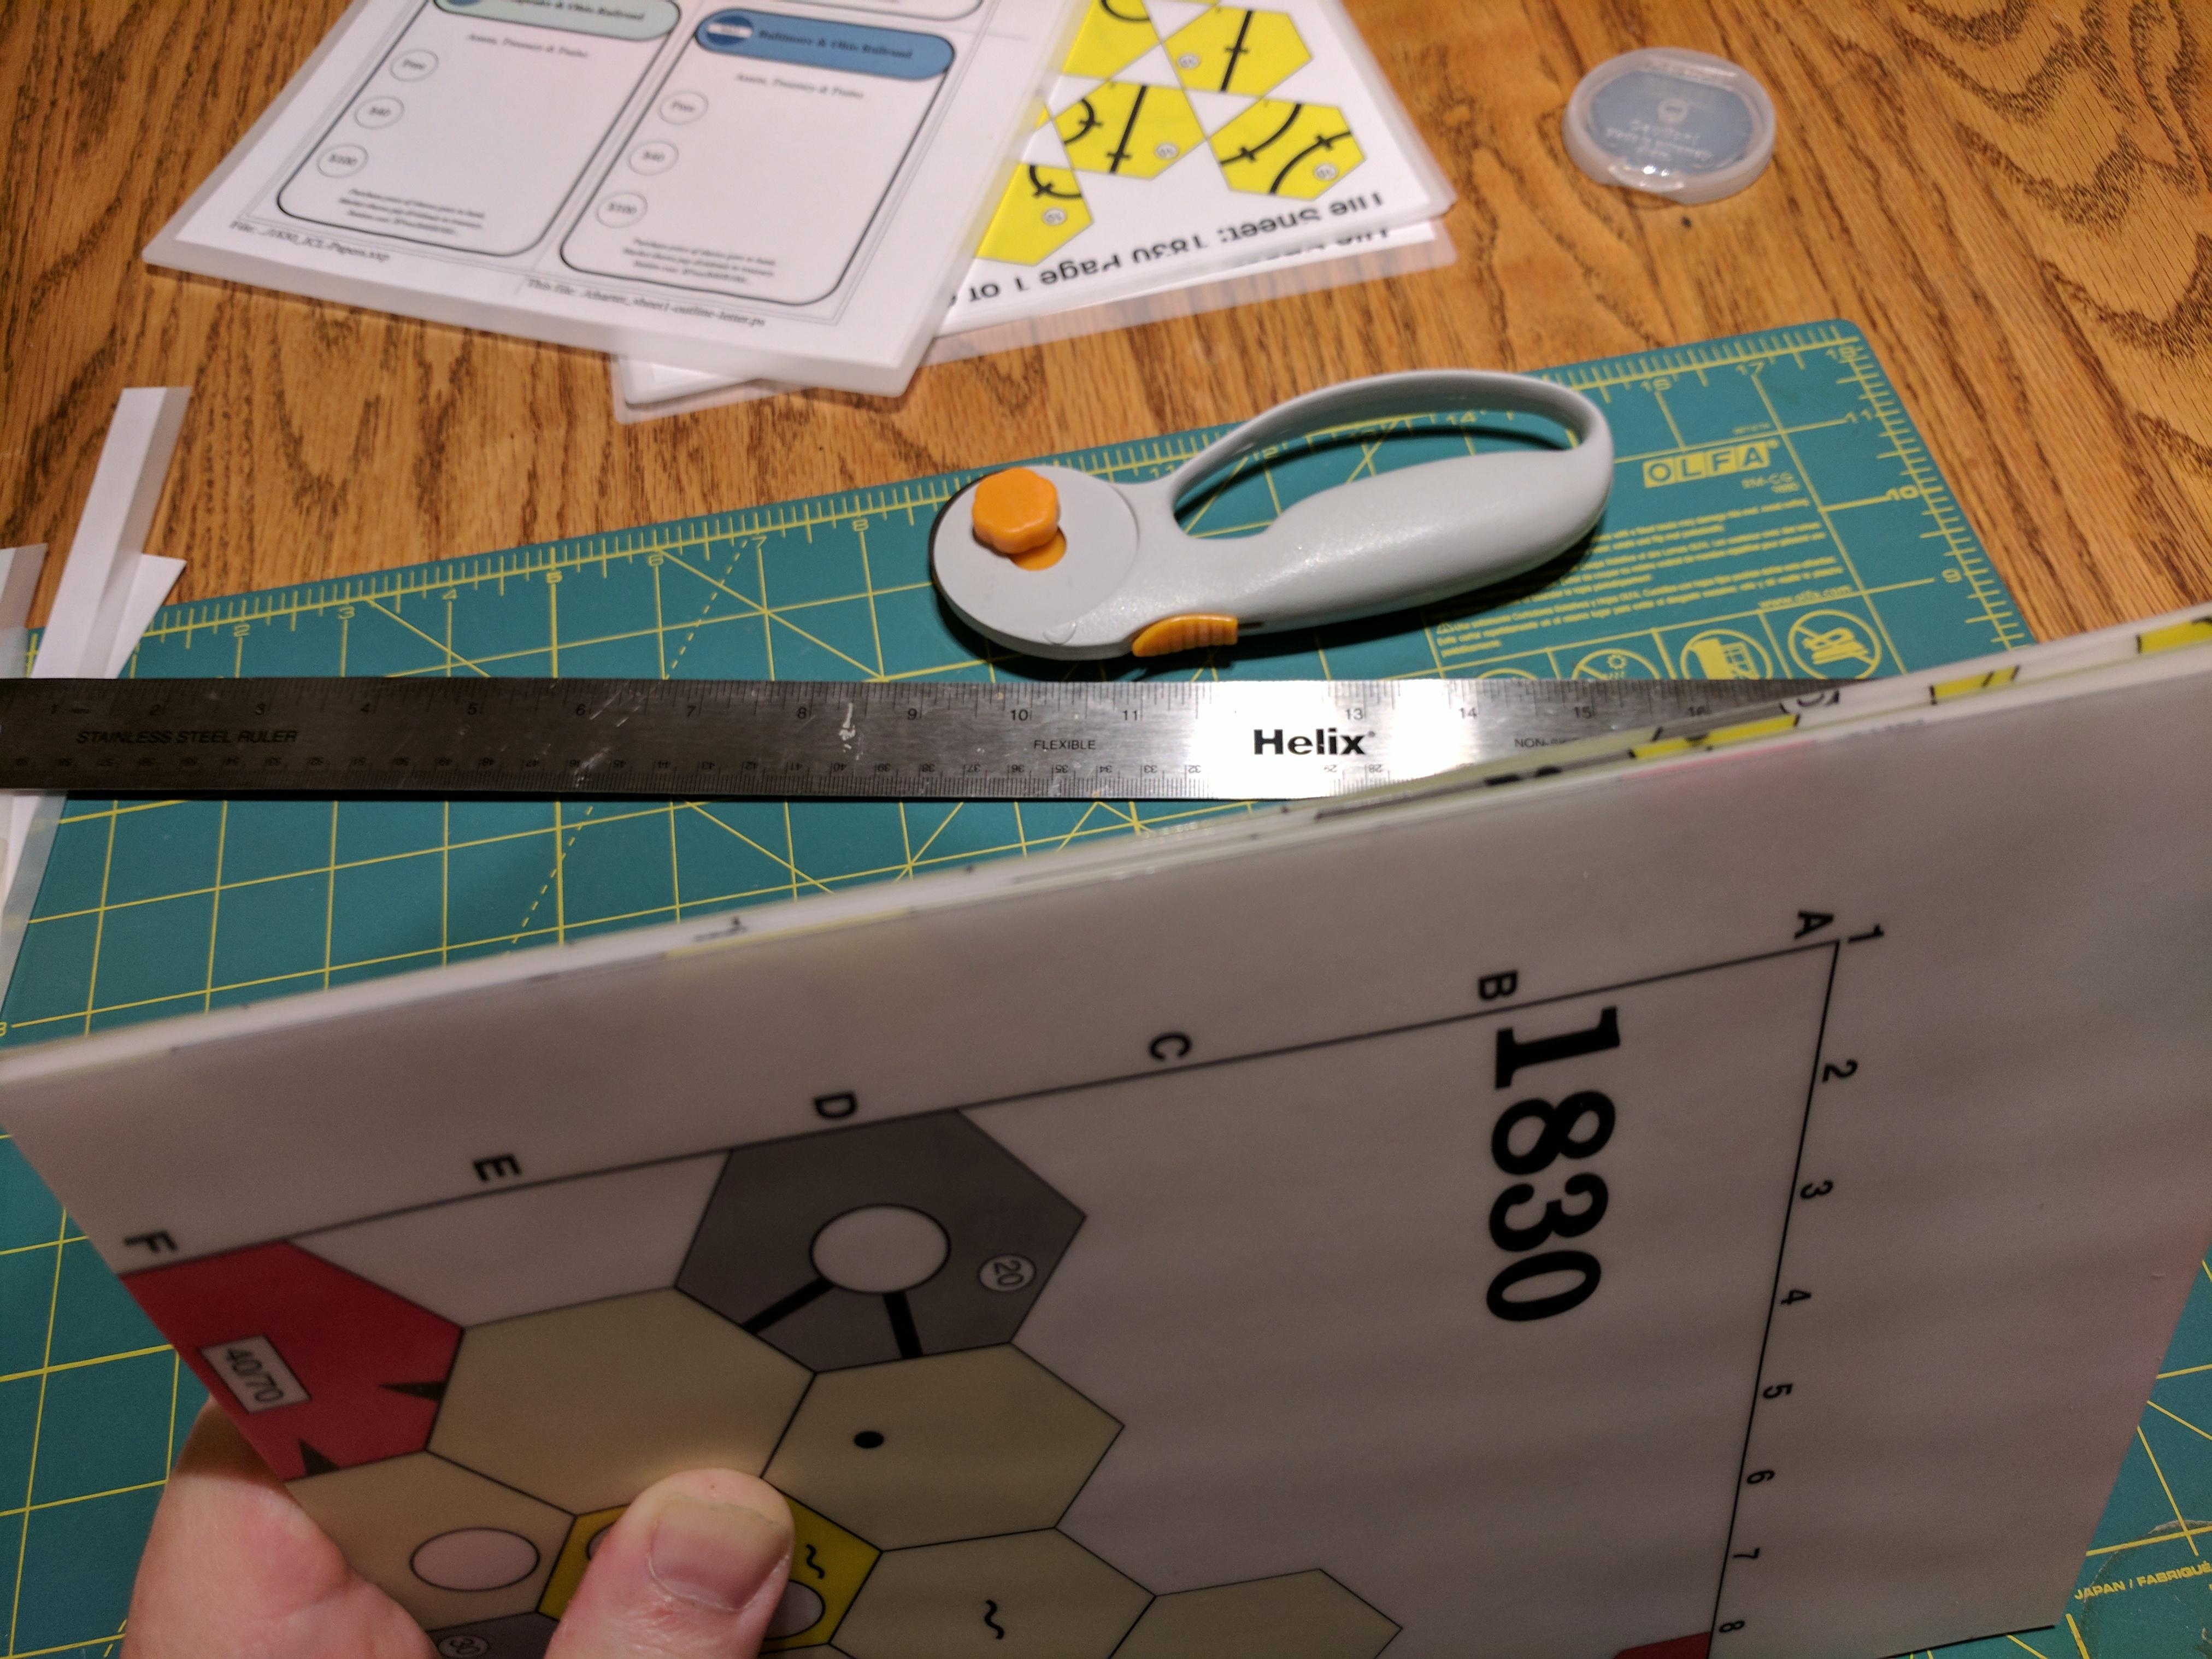
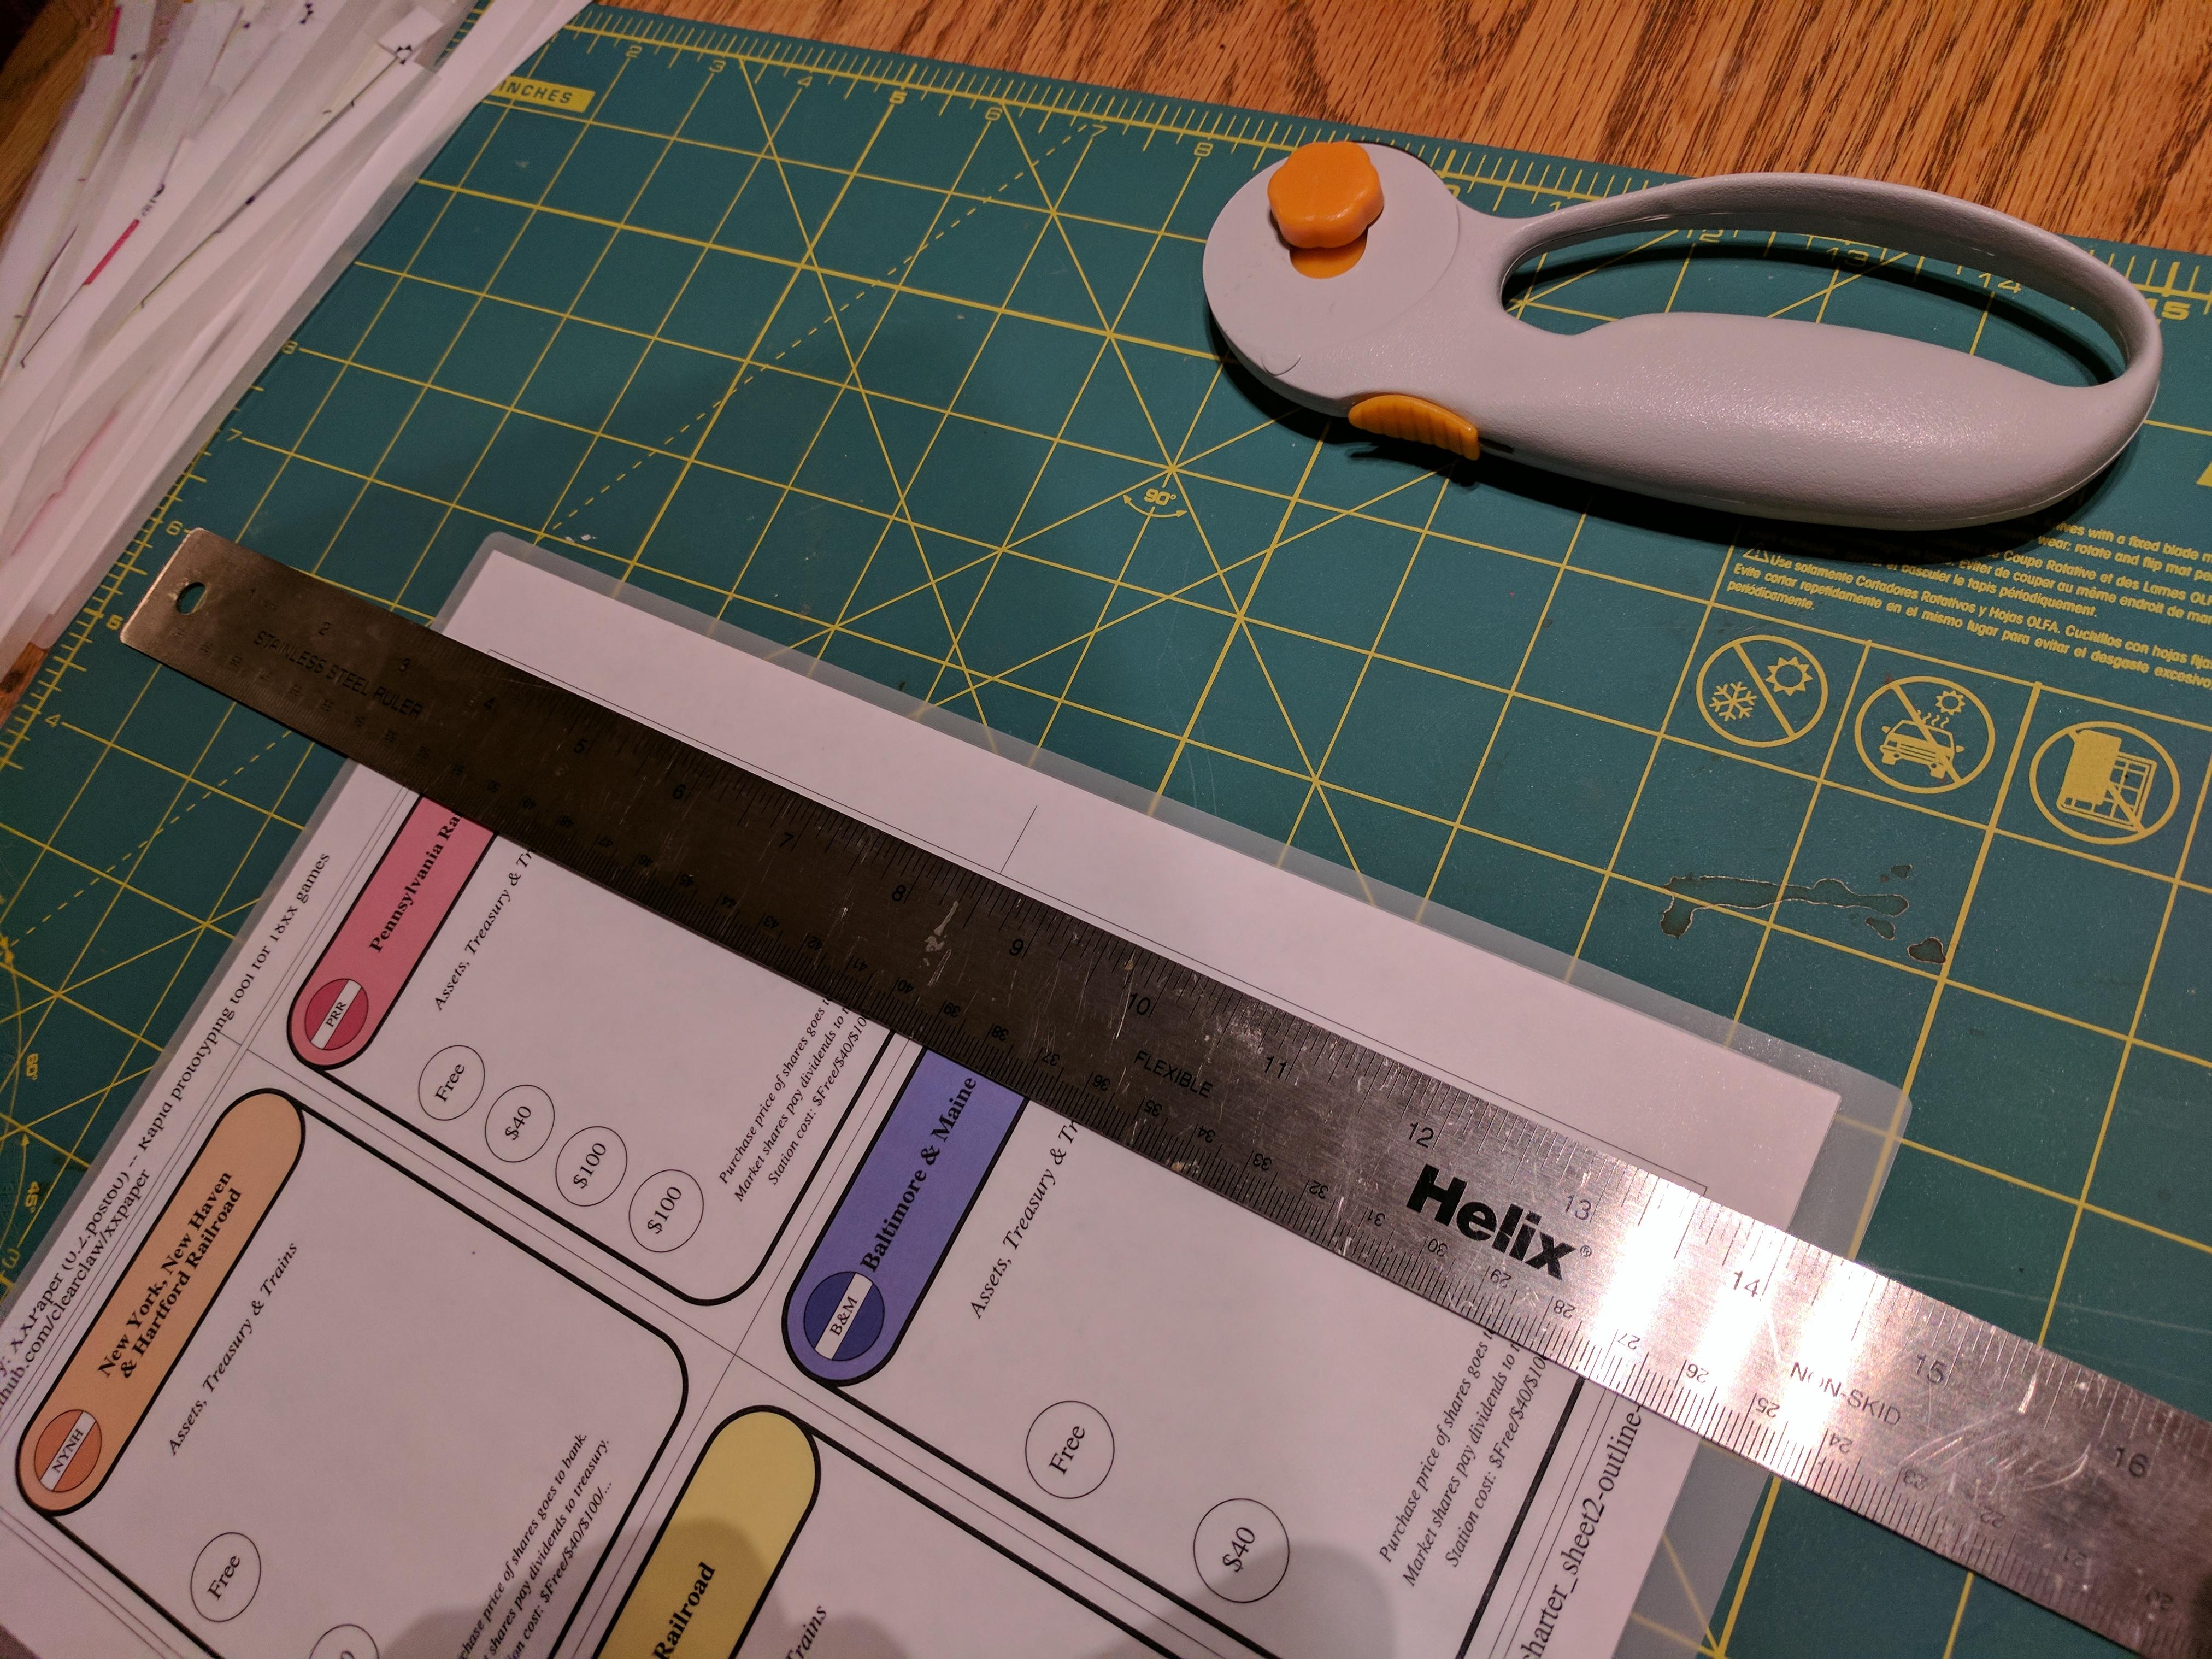
Now cut the charters, first pass trimming the outsides, then cutting them into two strips of two charters each, then cutting those strips into individual charters:
And now for the big monster, the track tiles! Following the rule of picking a single action and doing it everywhere before moving onto the next action, the first step is to trim the outside of the tile sheets. A secondary goal in this process: whenever possible make cuts that affect multiple track tiles. Doing so reduces the total number of cuts needed, thus also reducing possible errors.
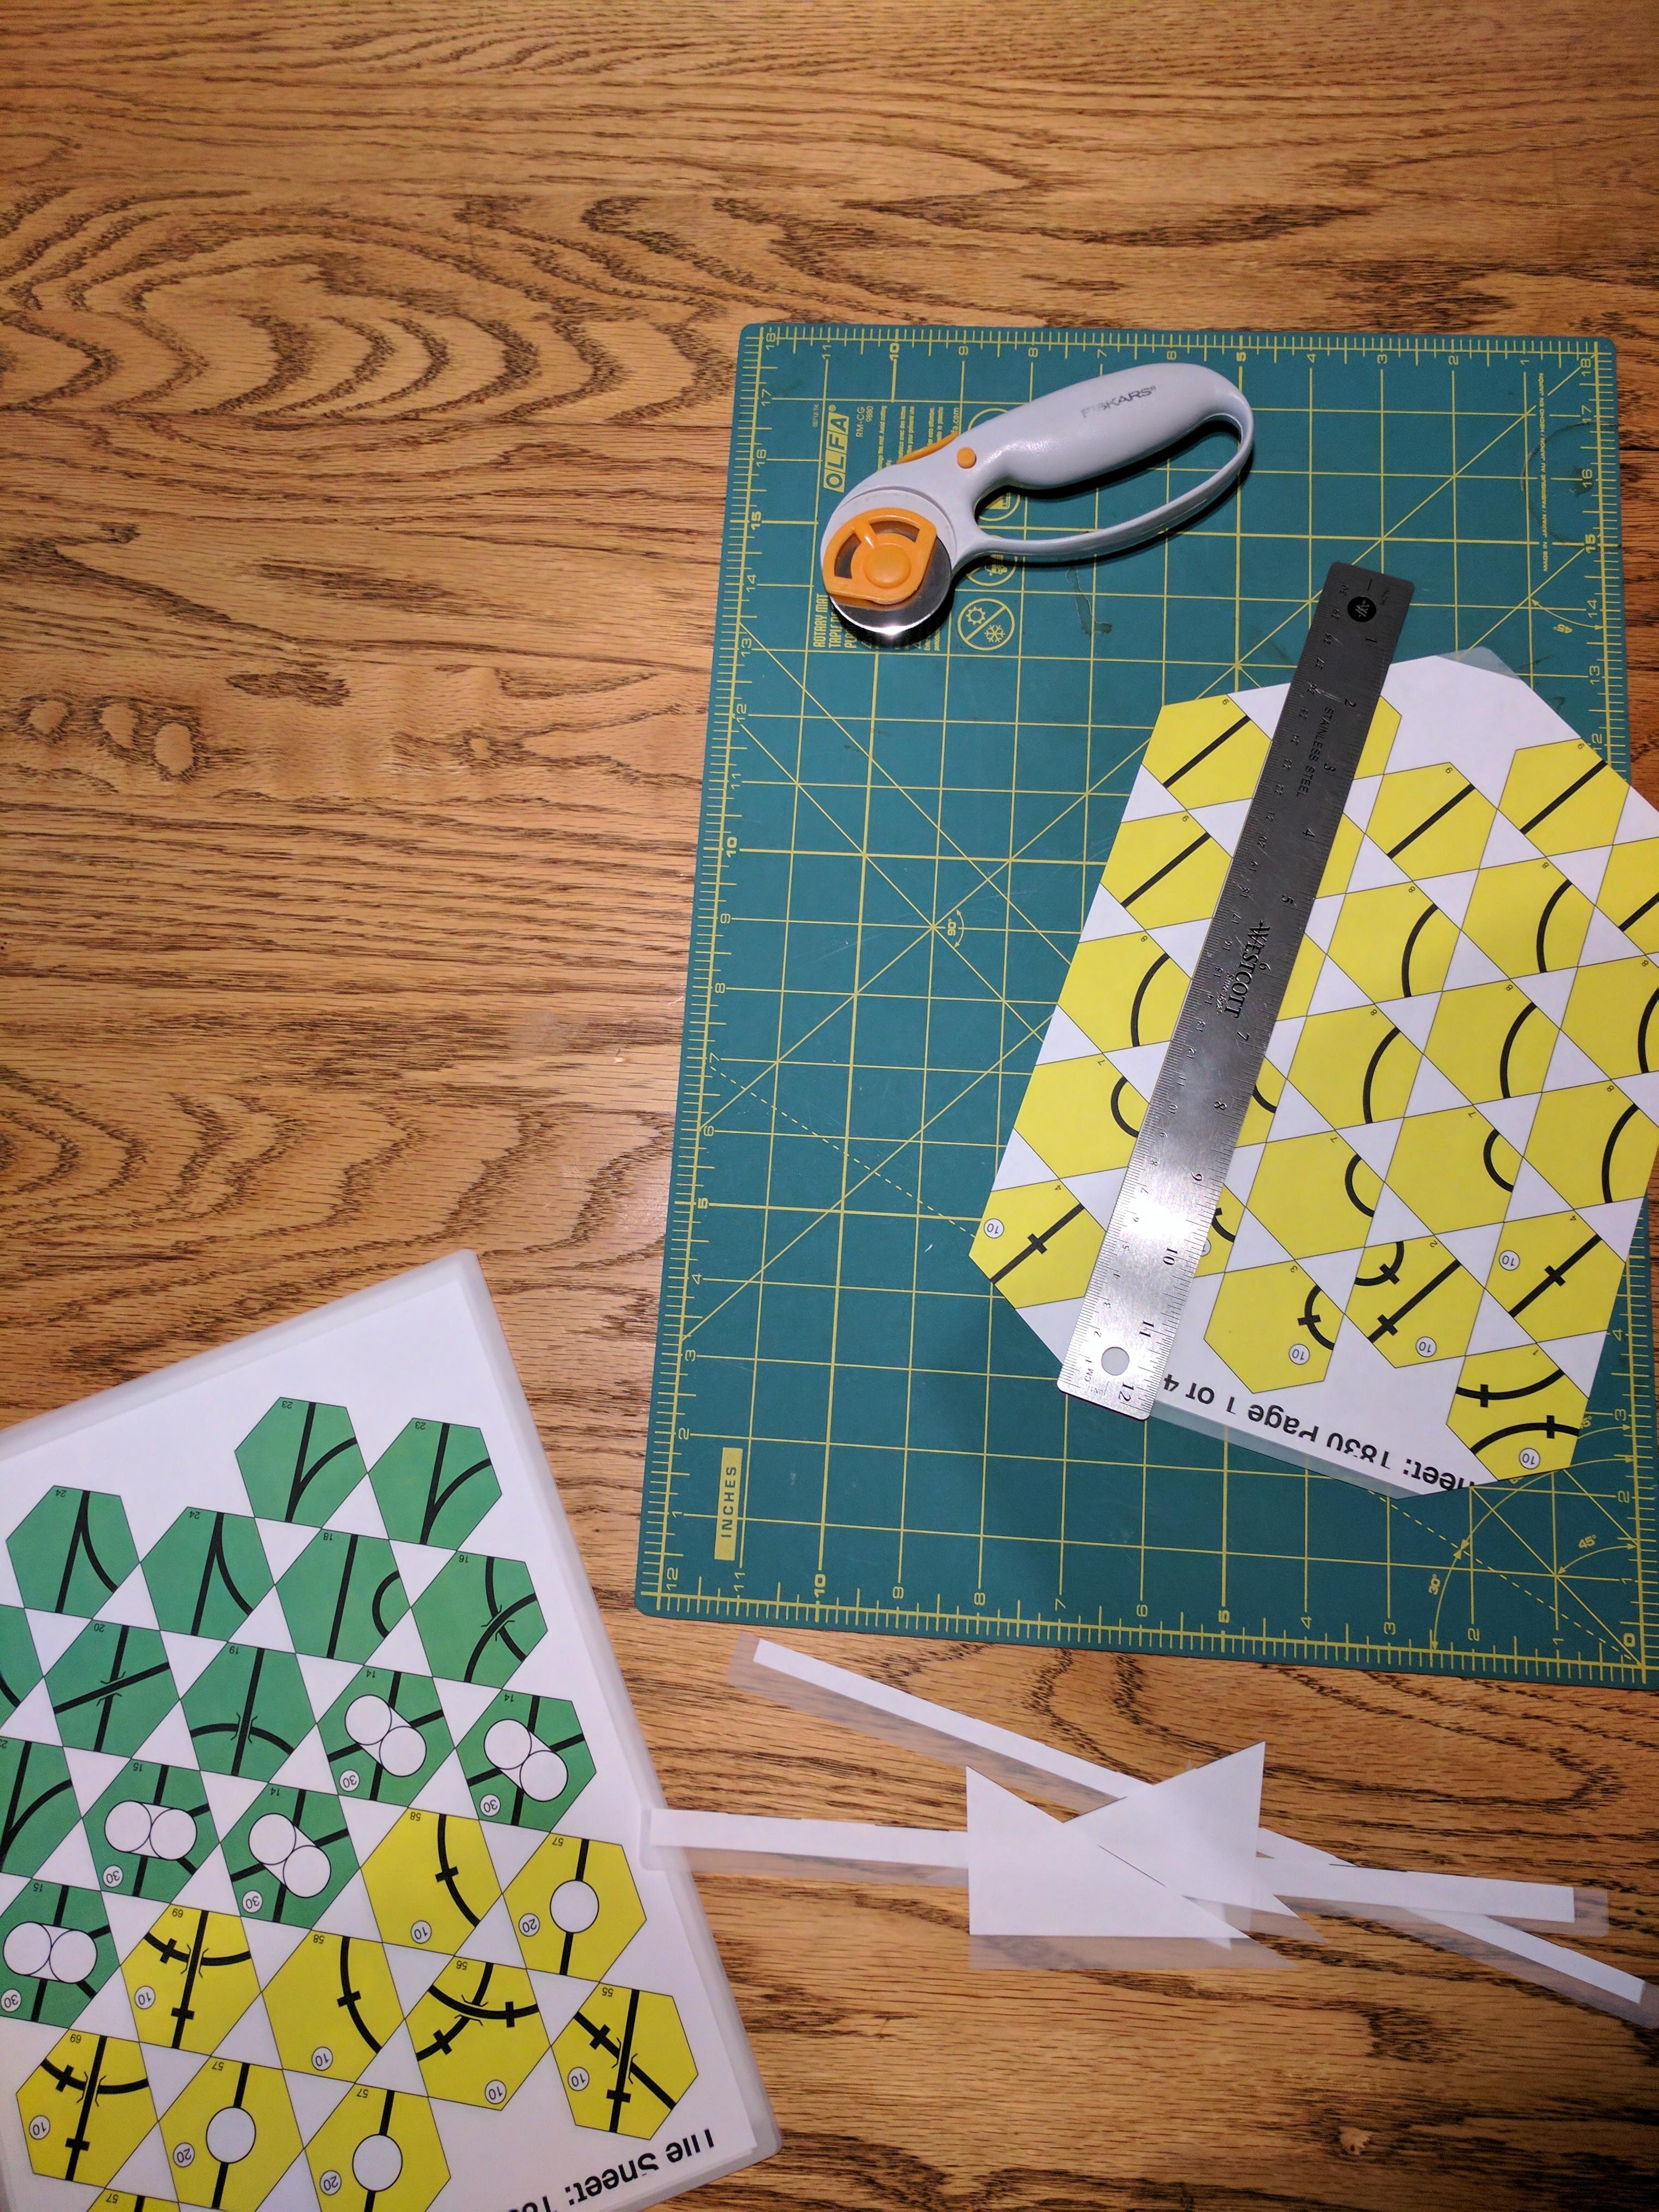
Next, cut the sheets into strips of tiles:
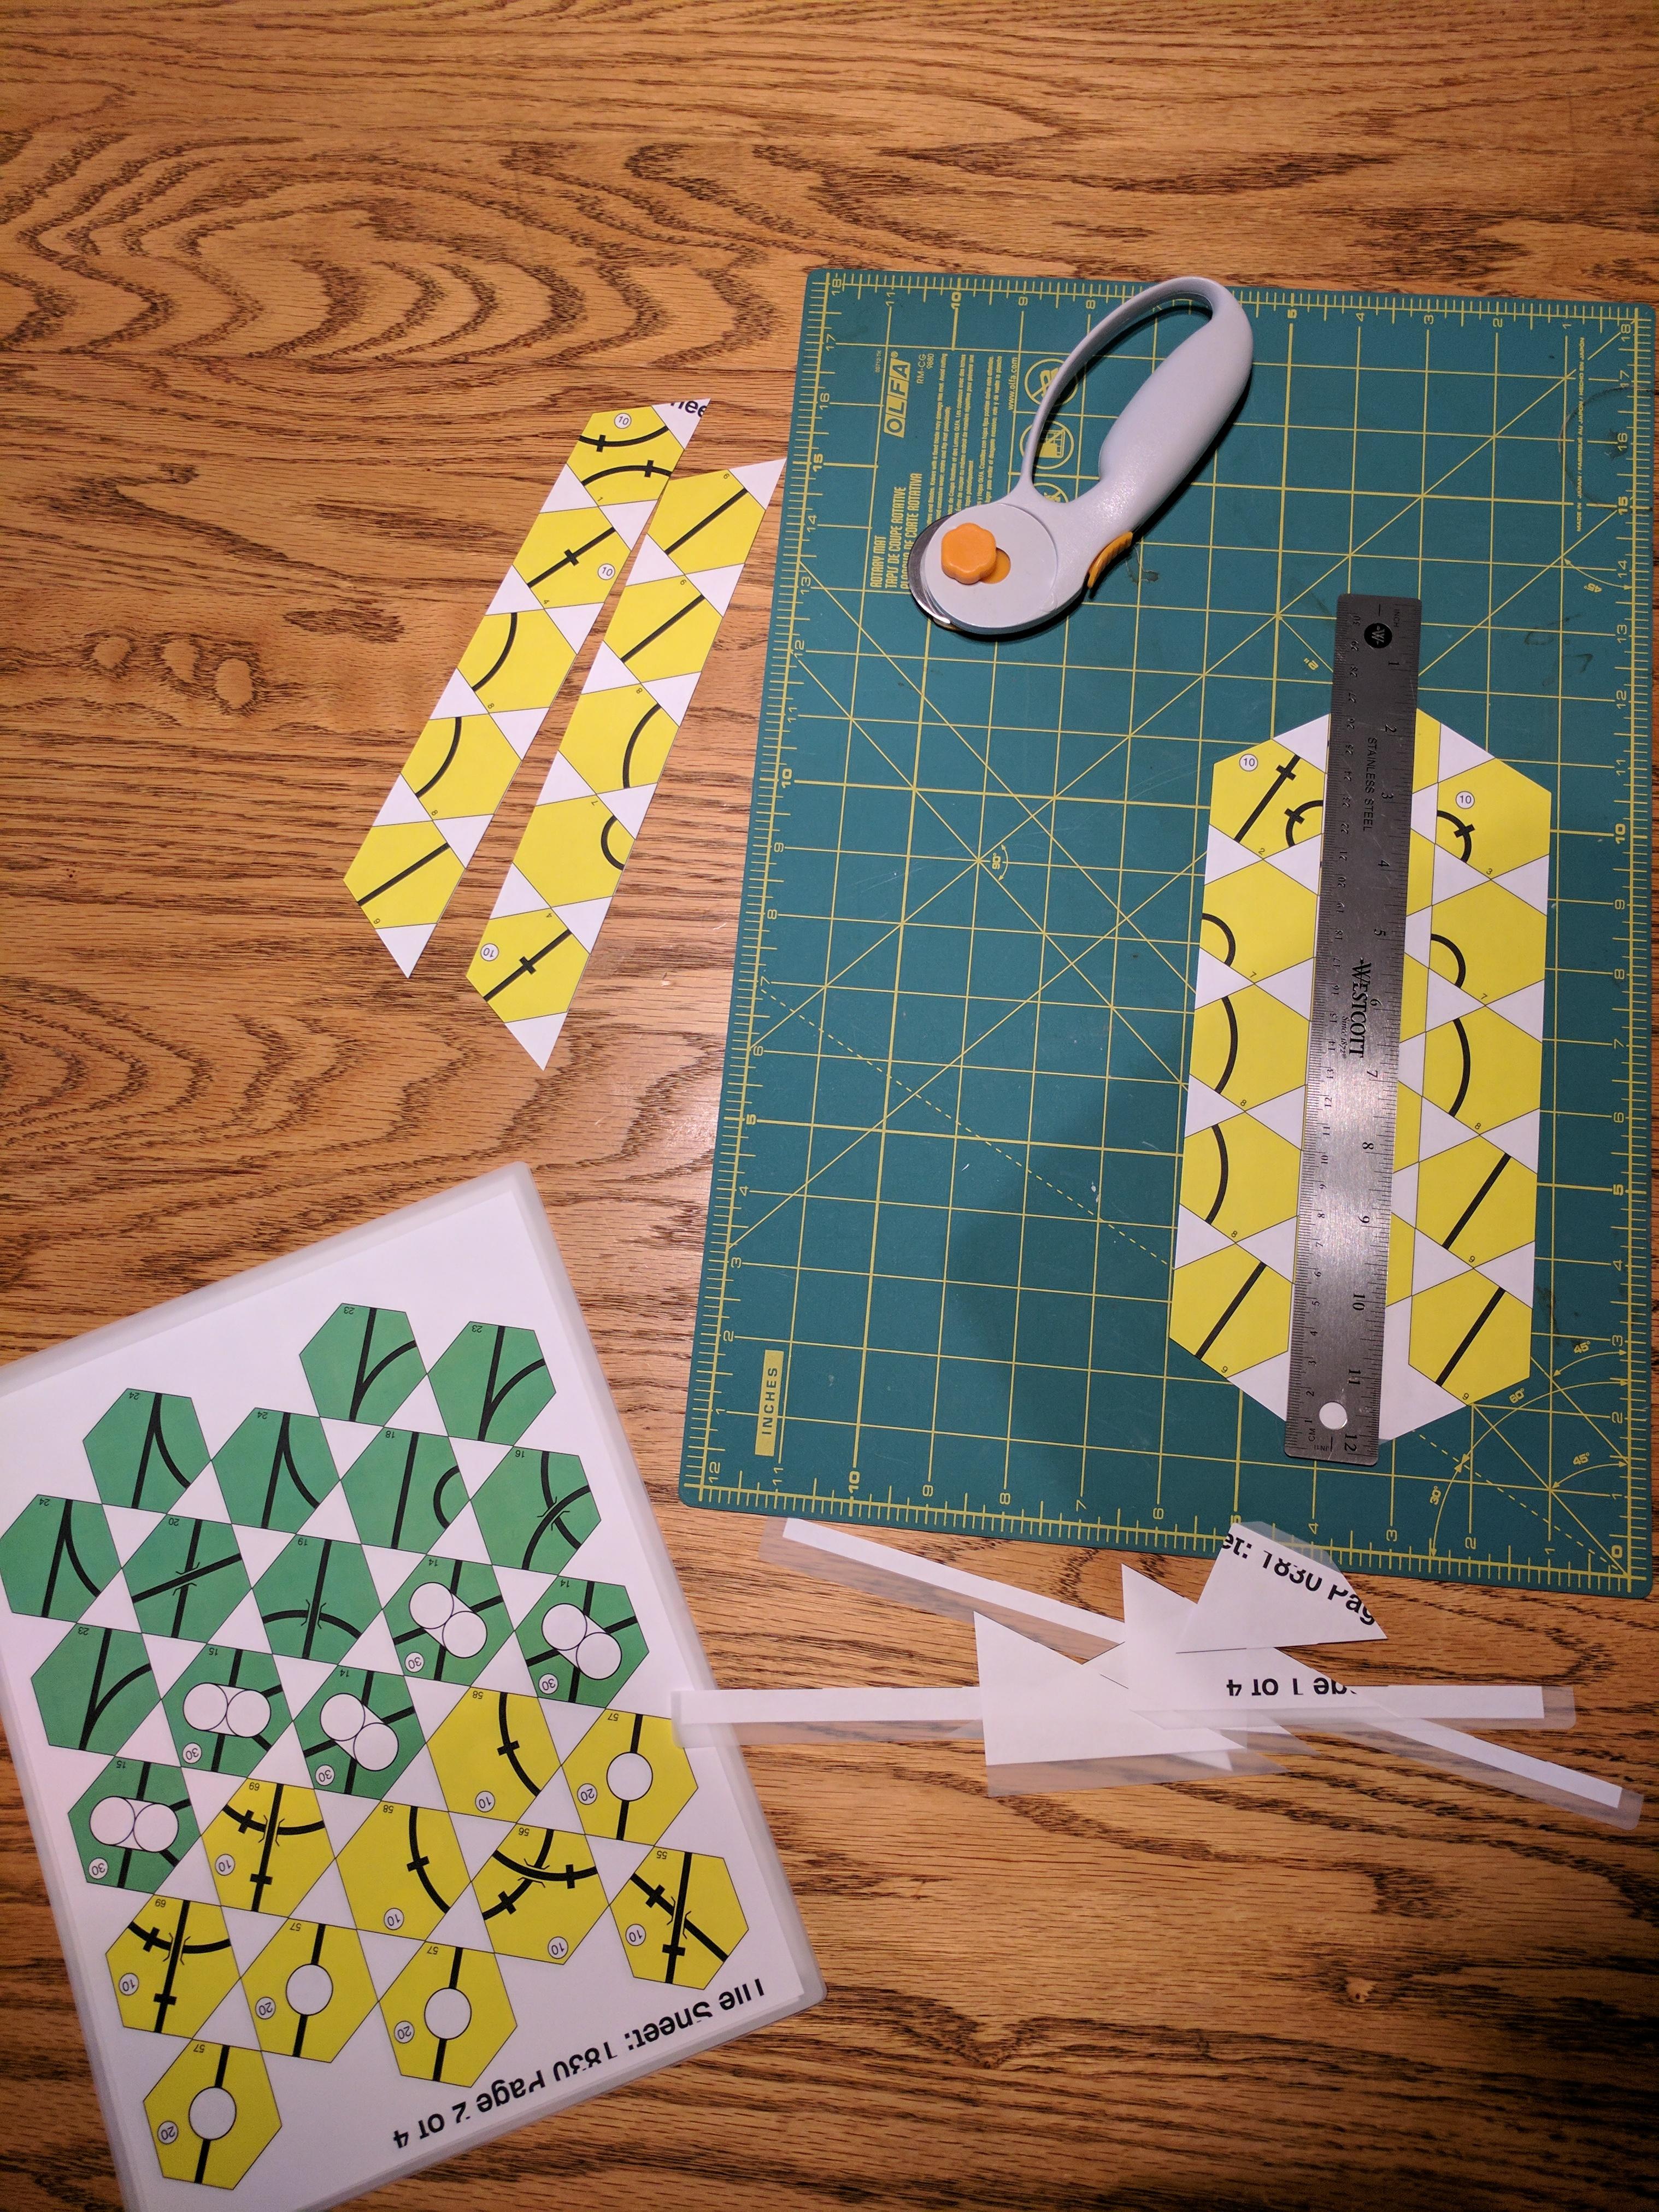
You’ll commonly need to trip both edges of each strip:
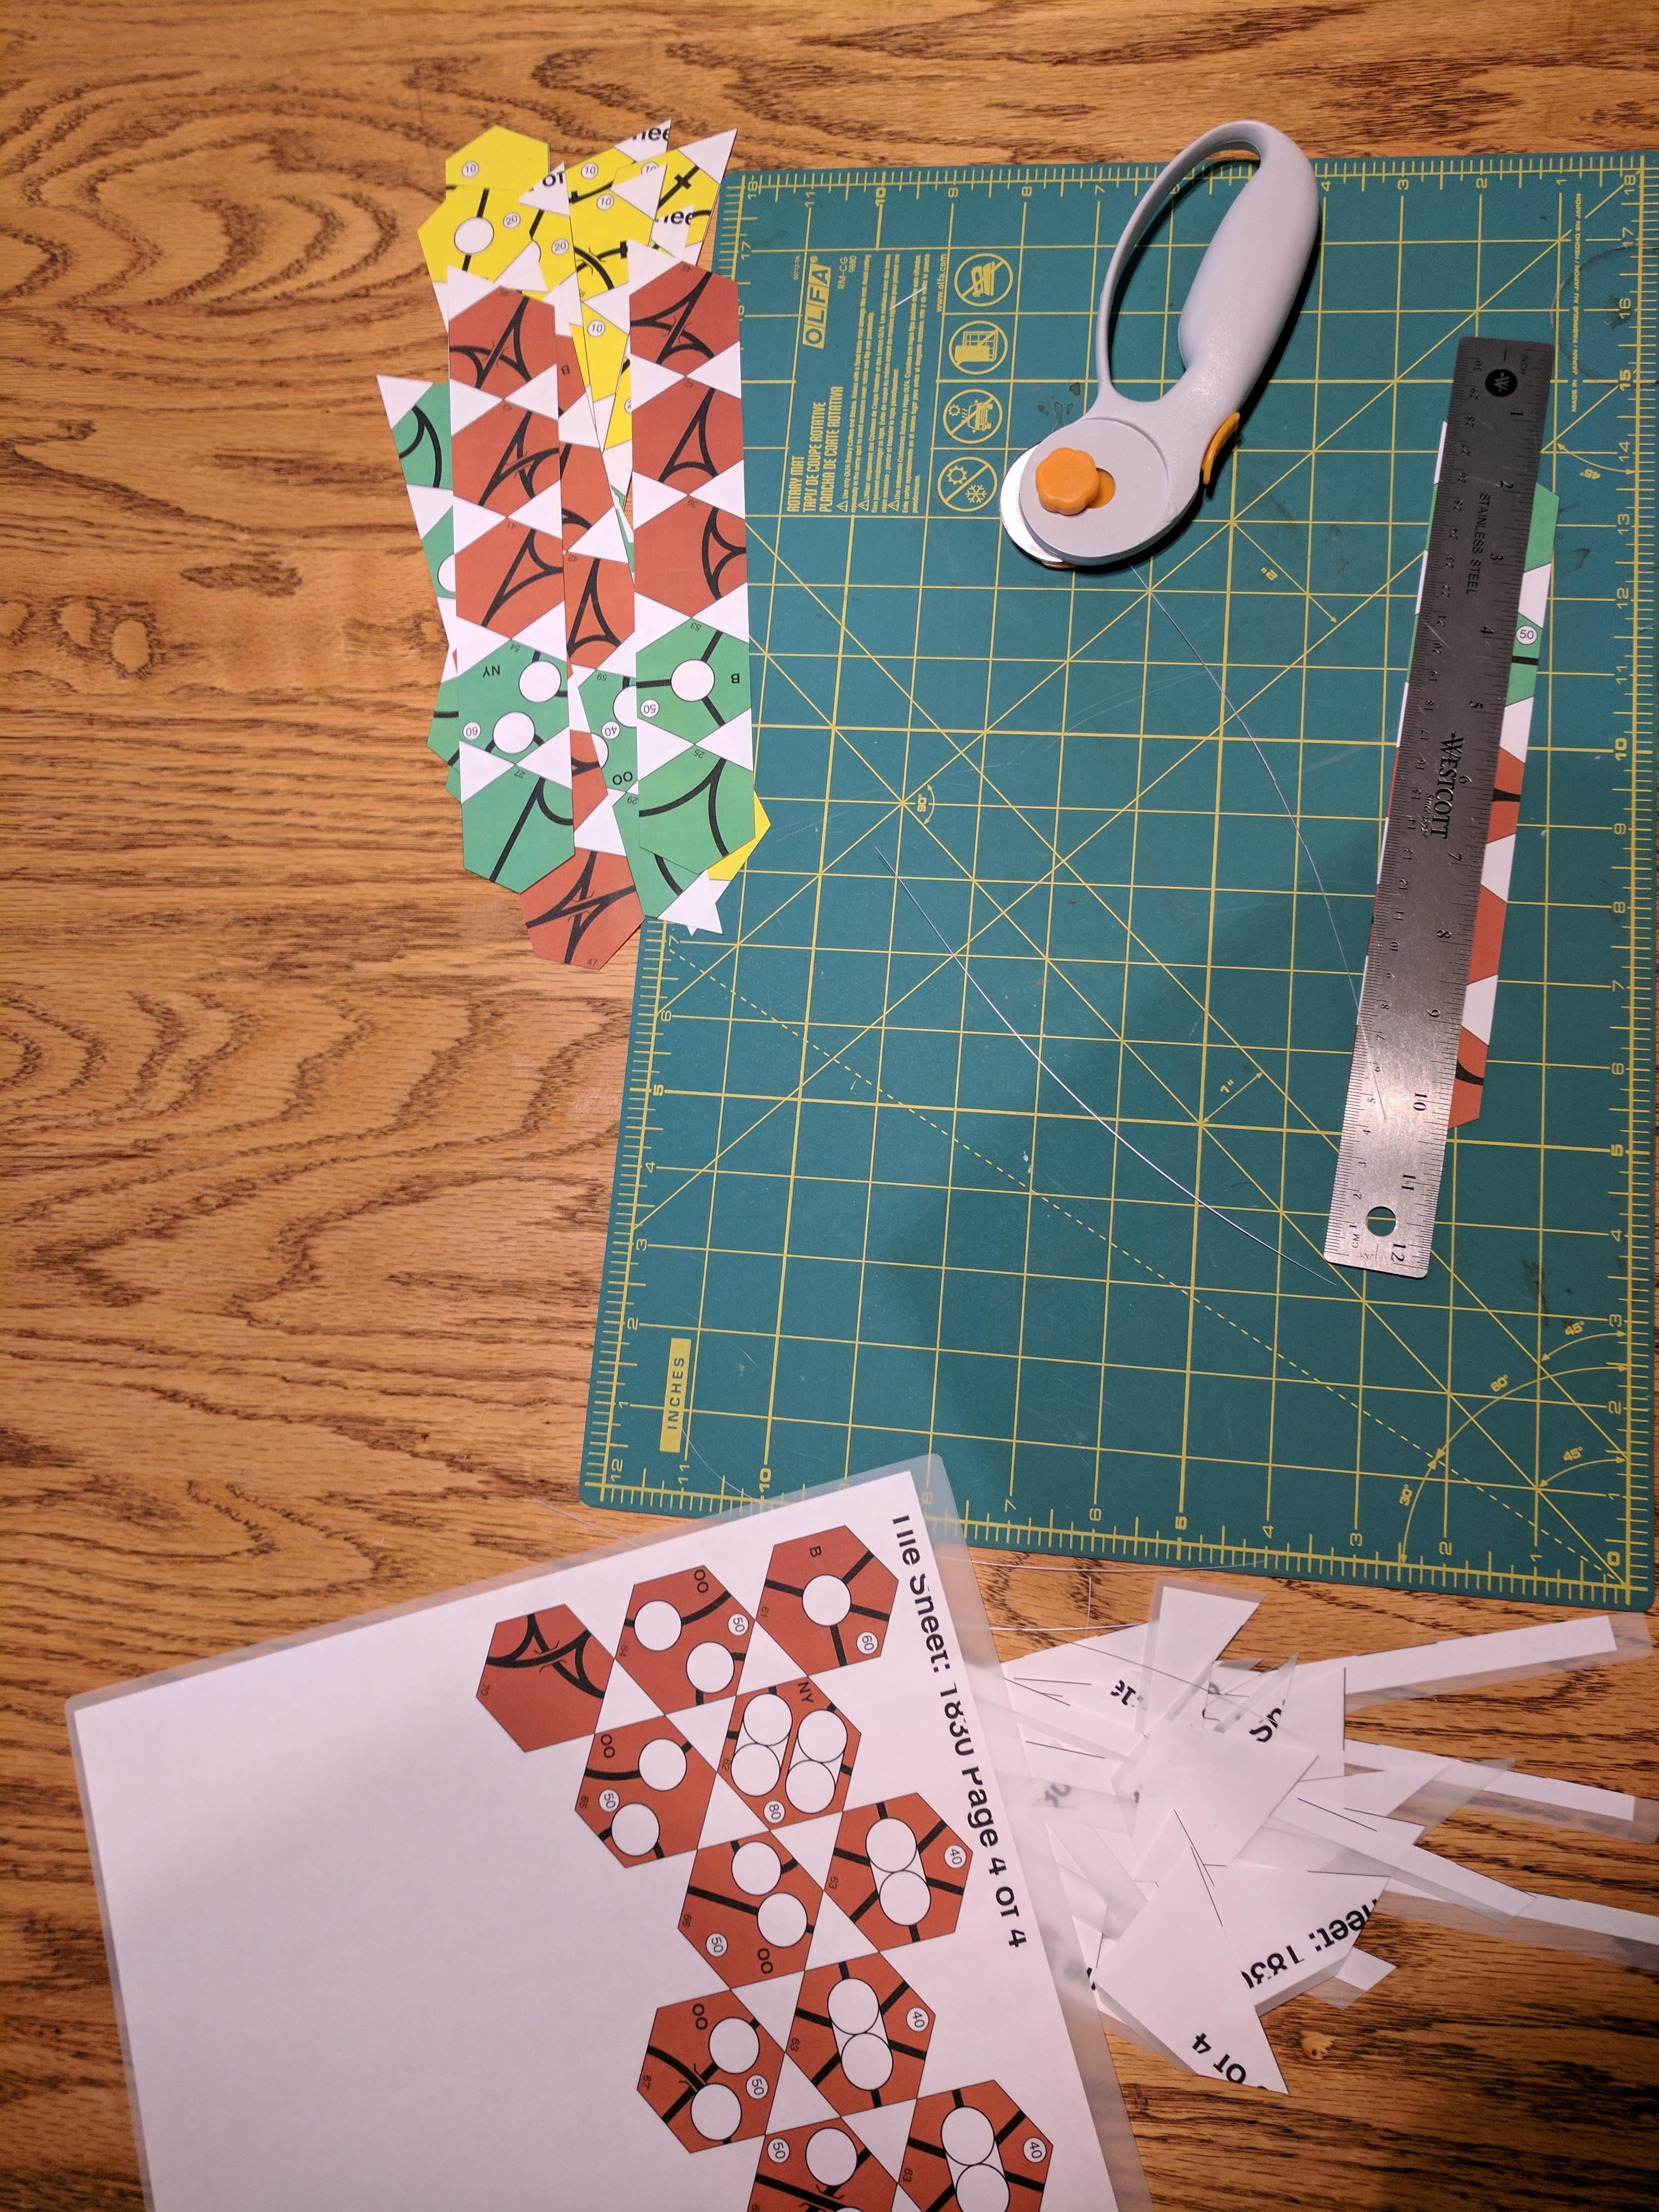
Cutting the strips into diamonds, each one containing one track tile::
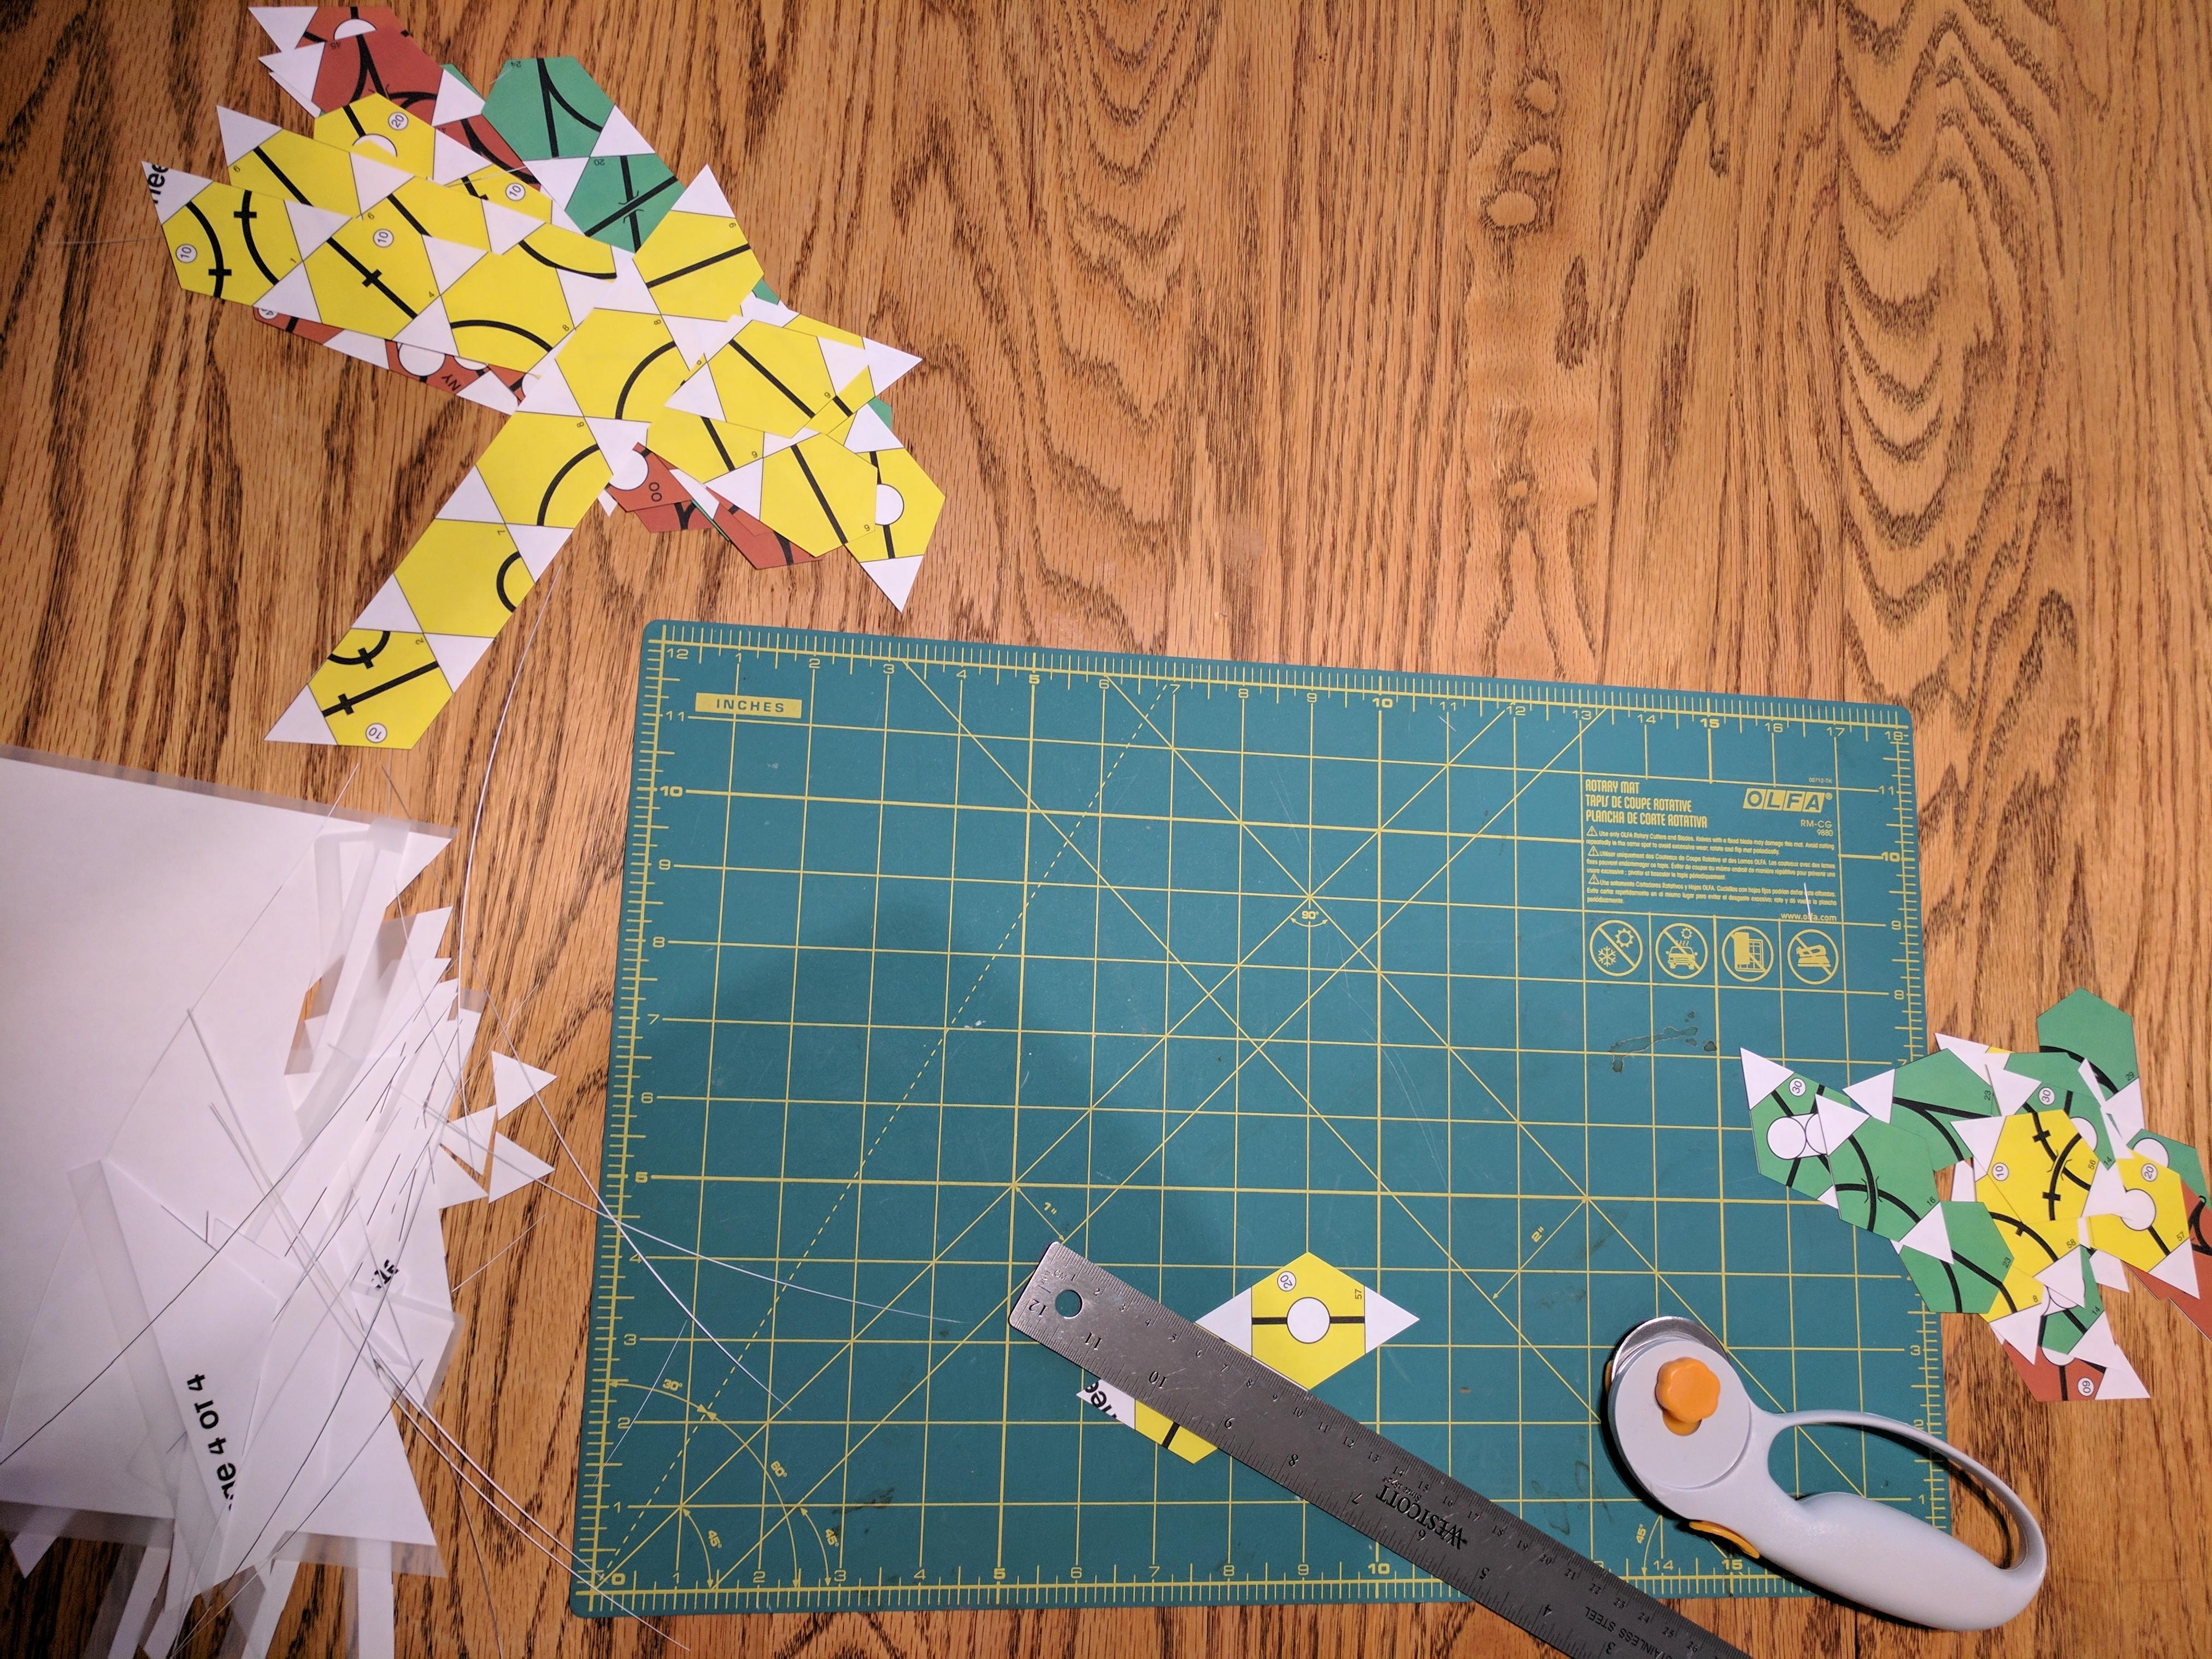
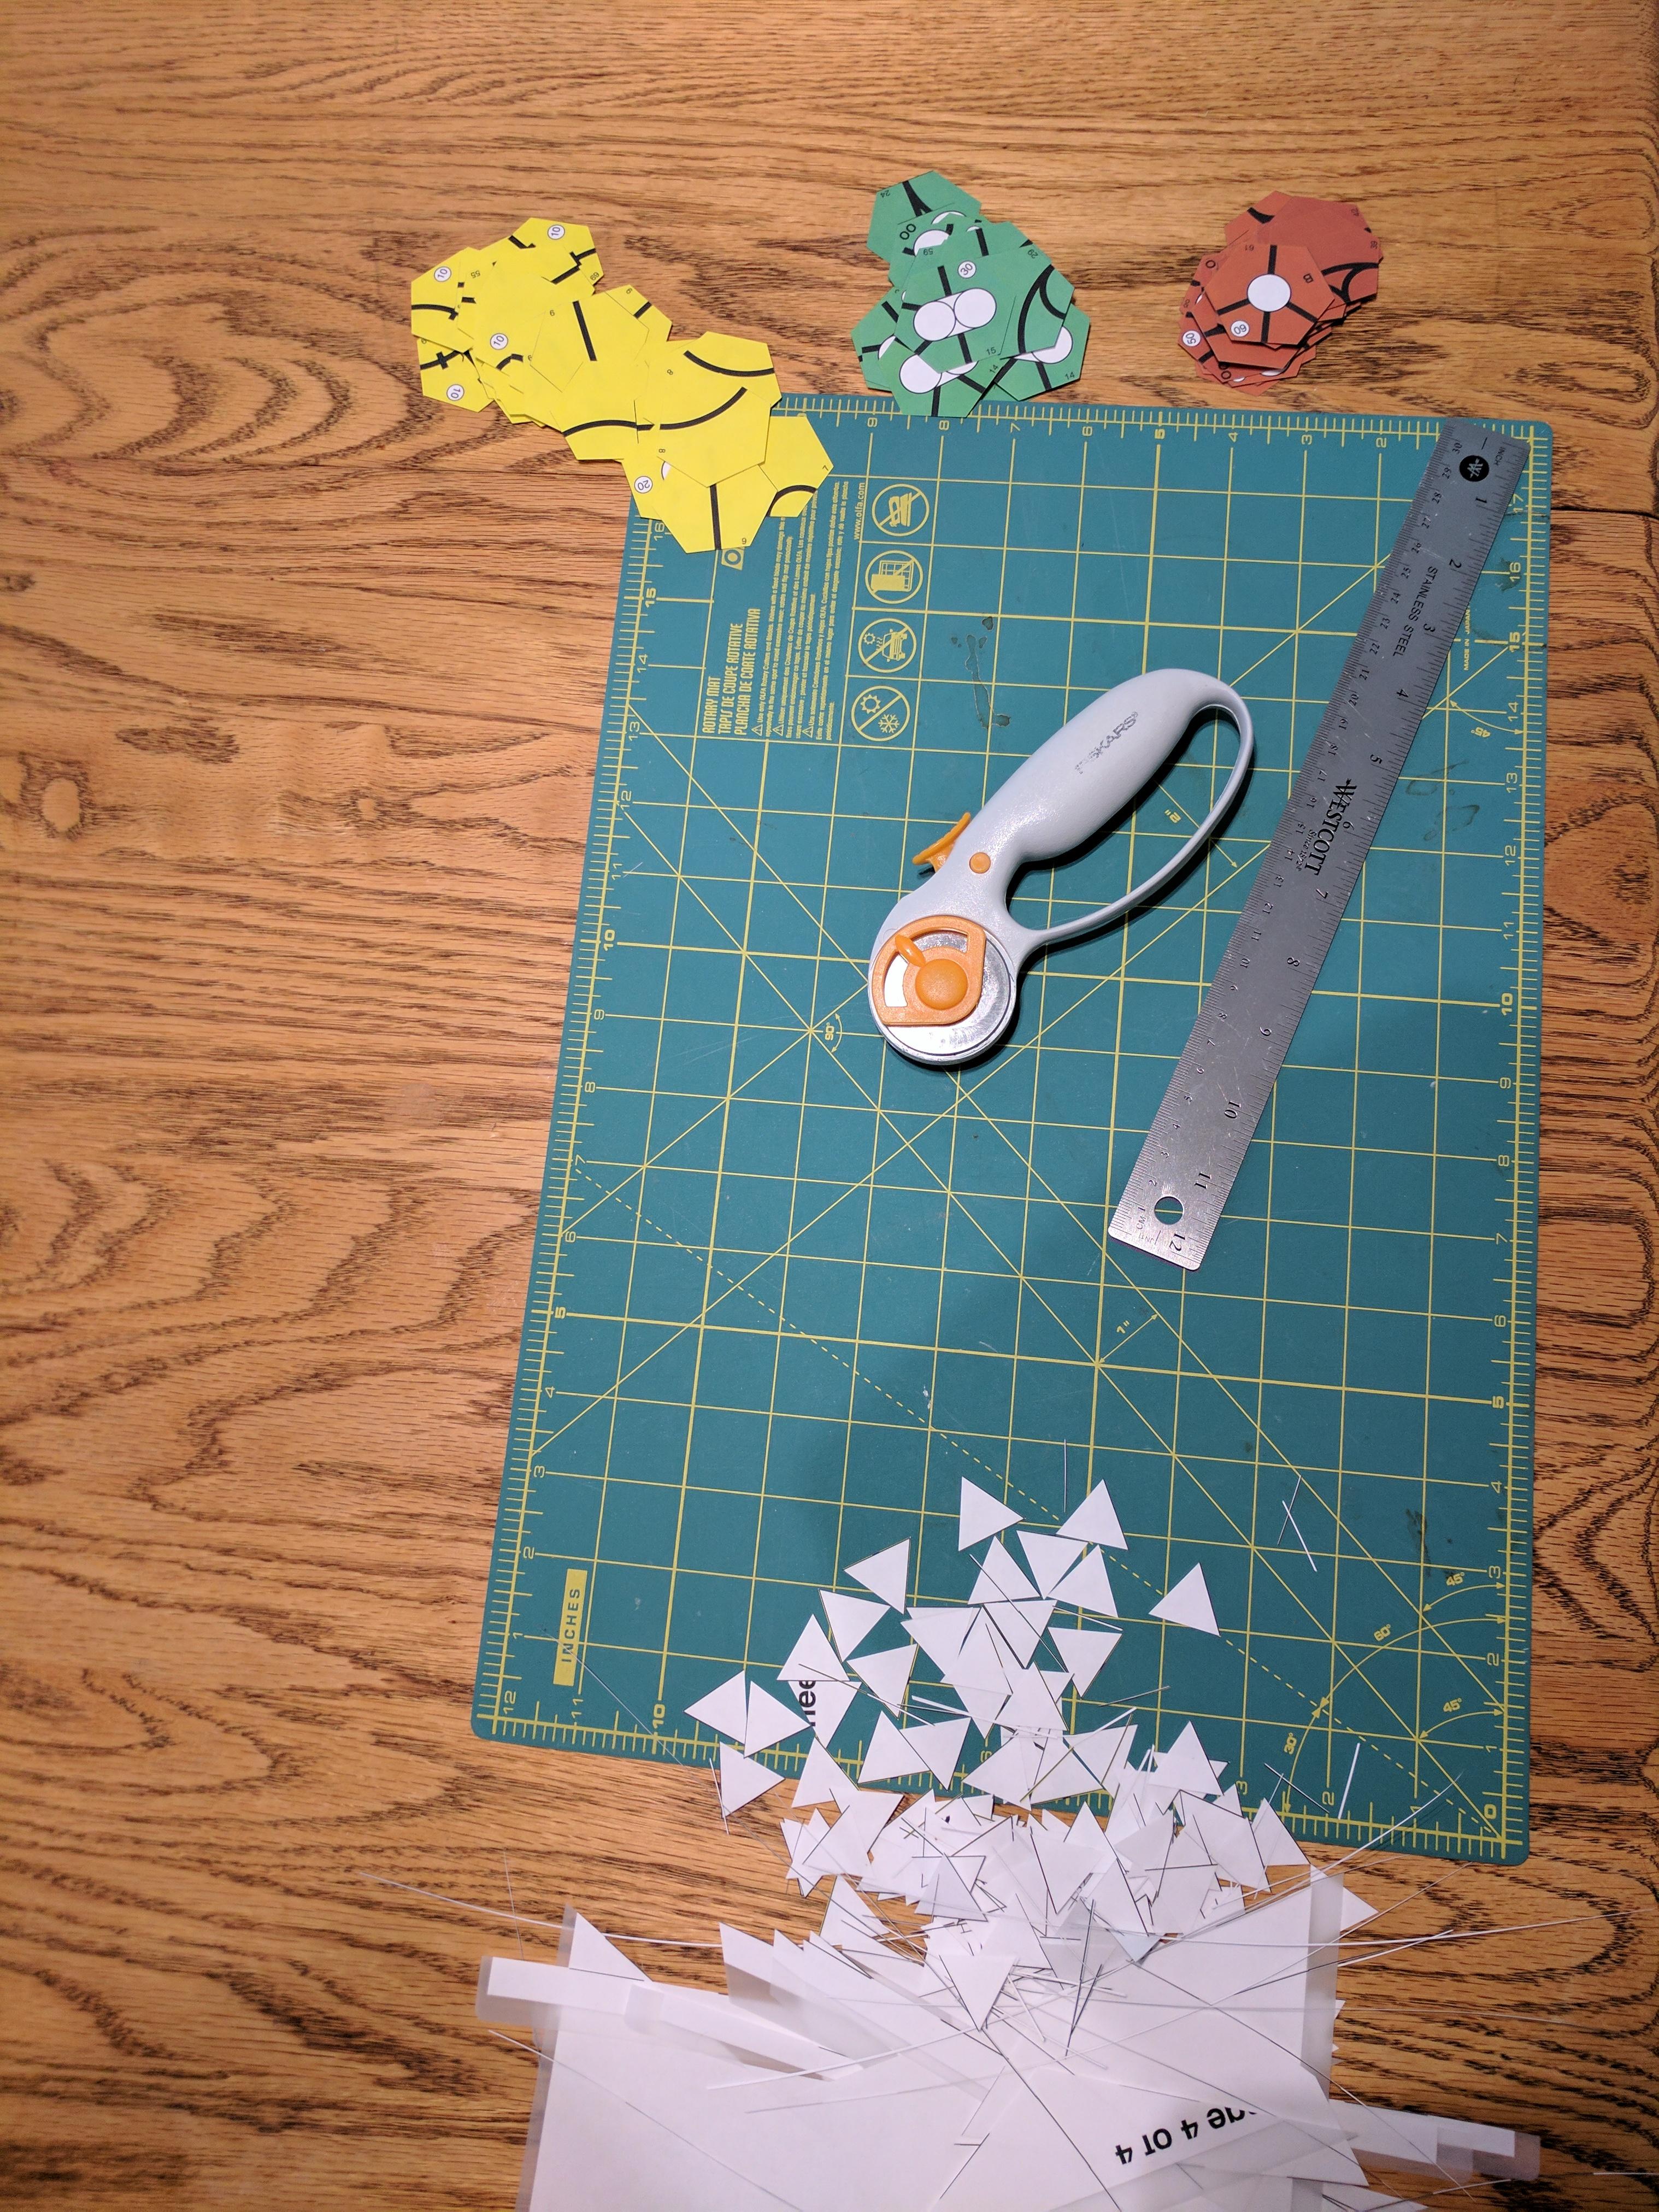
Now trim each individual tile, checking all 6 edges for precision:
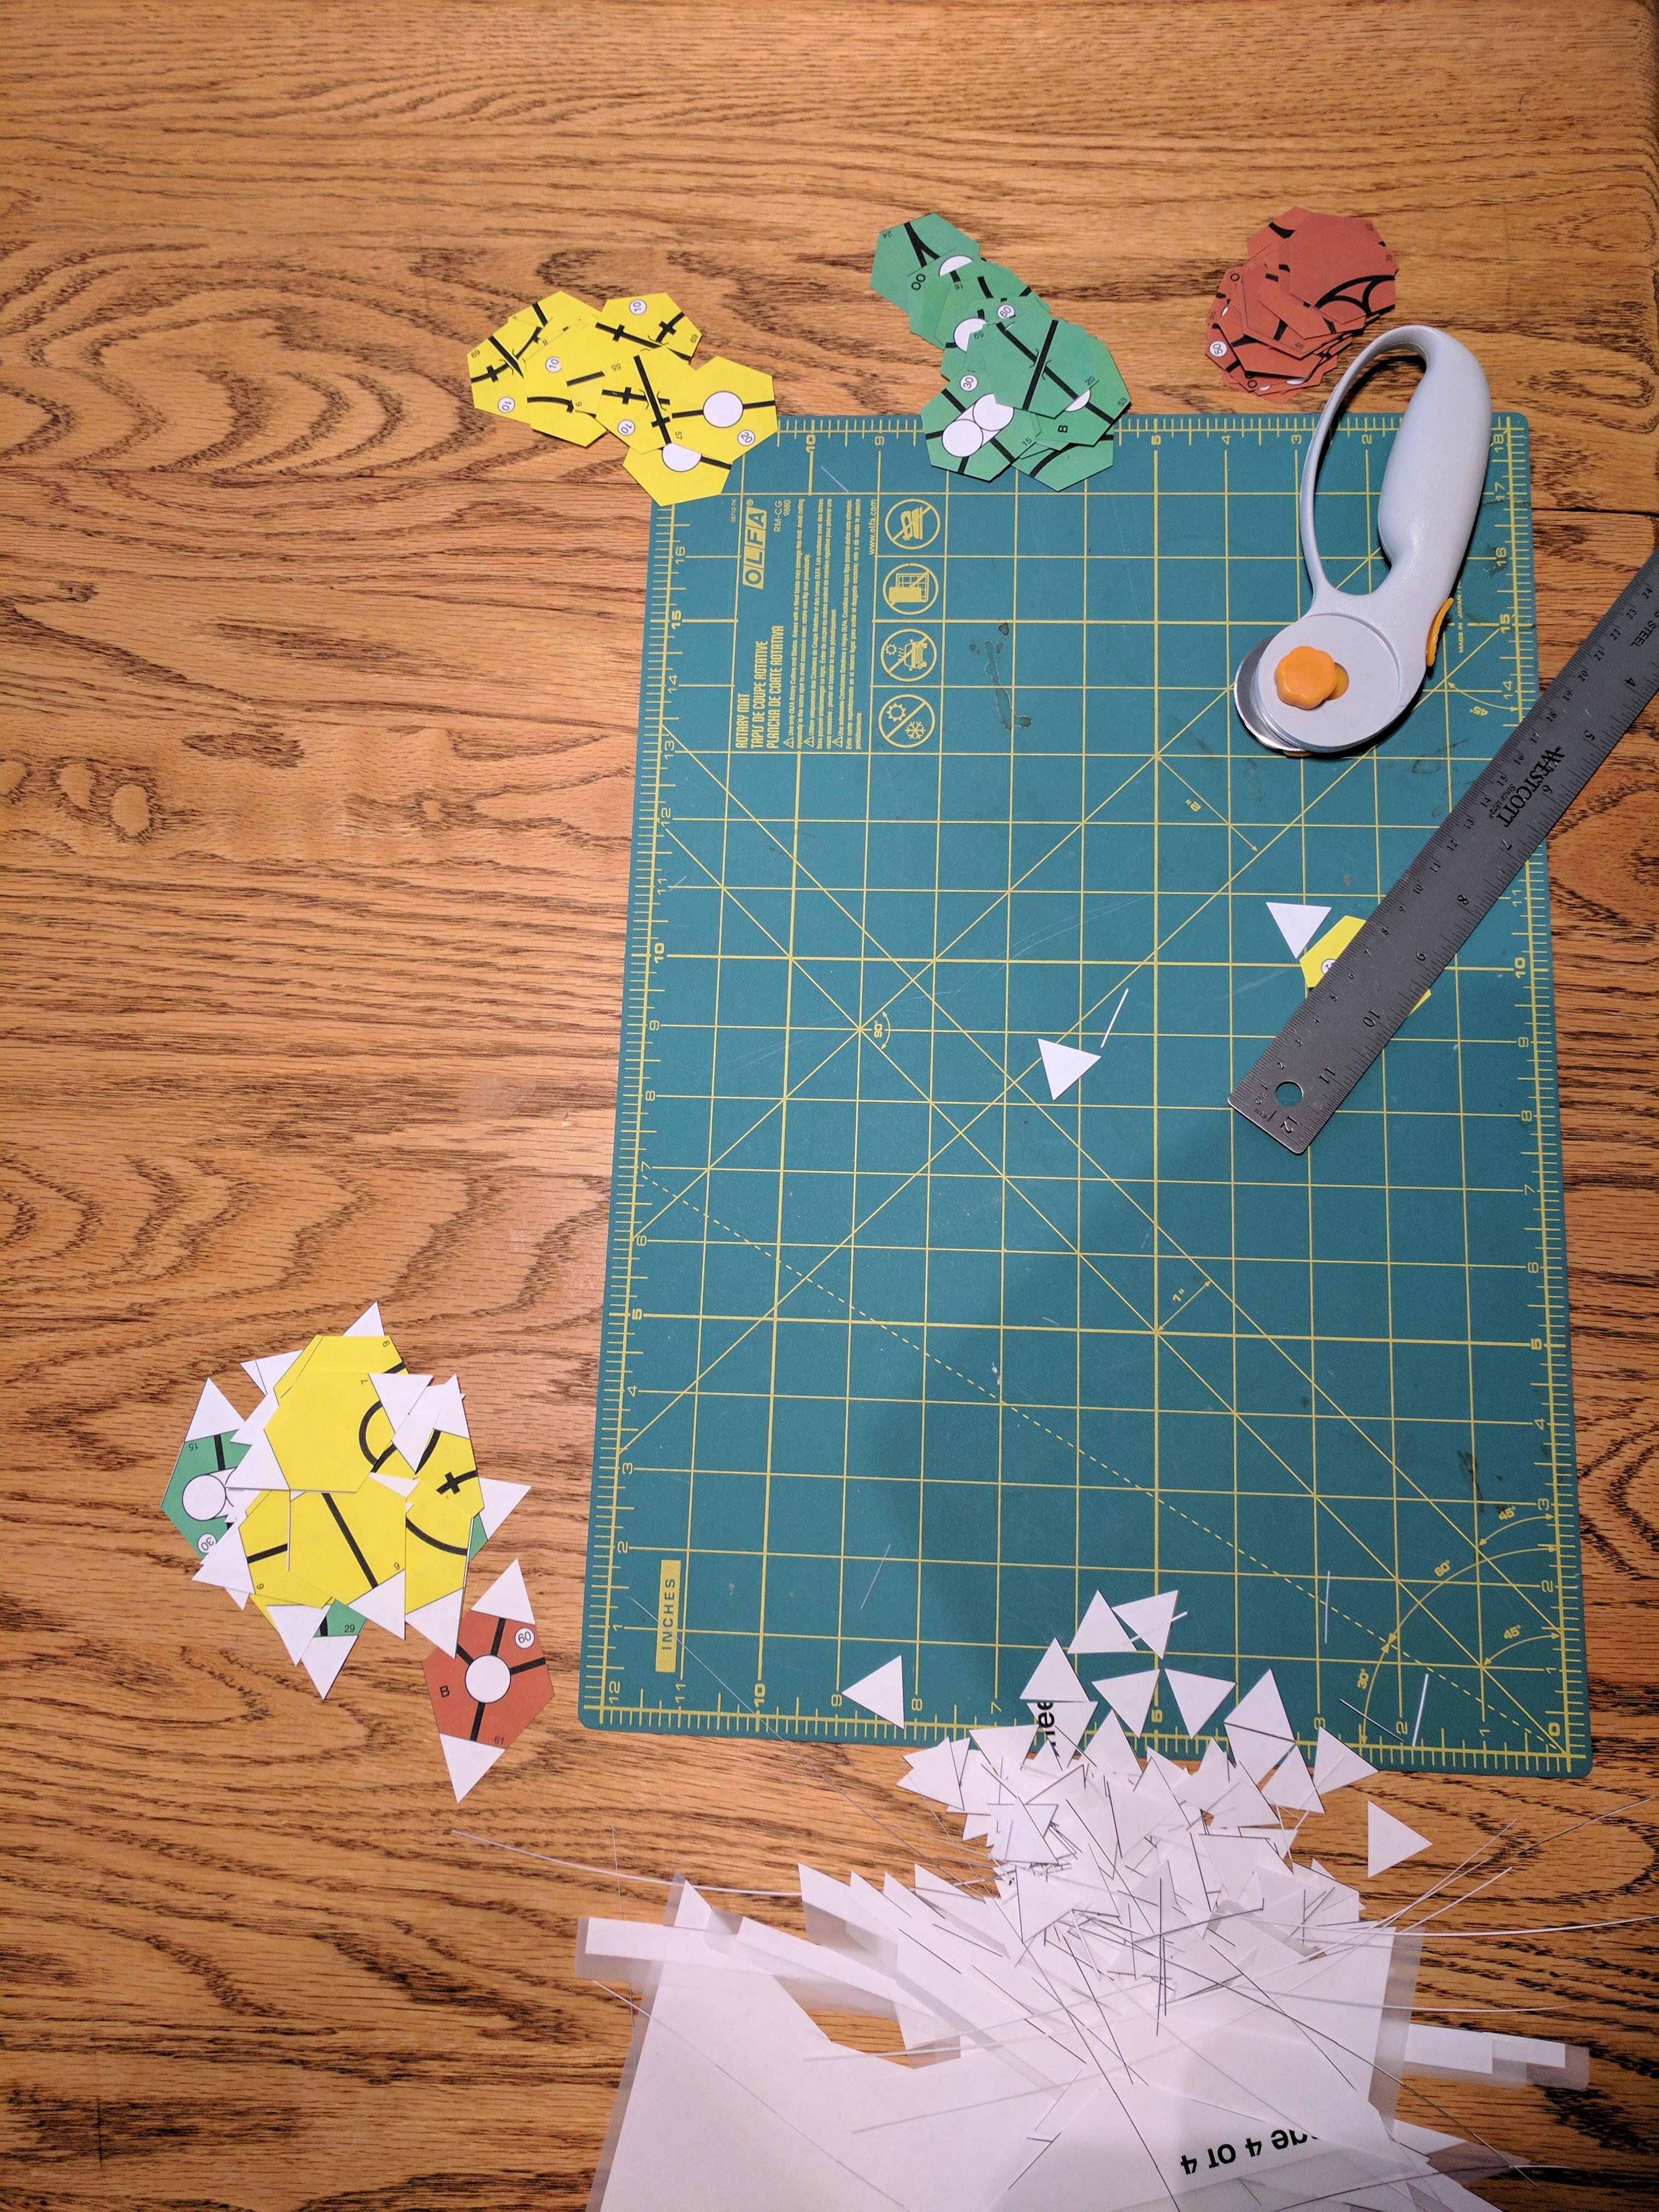
And all done in 1 hour and 10 minutes!
Carefully aligning the map segments and putting a strip of standard cello tape across the back seam to make a folding board:
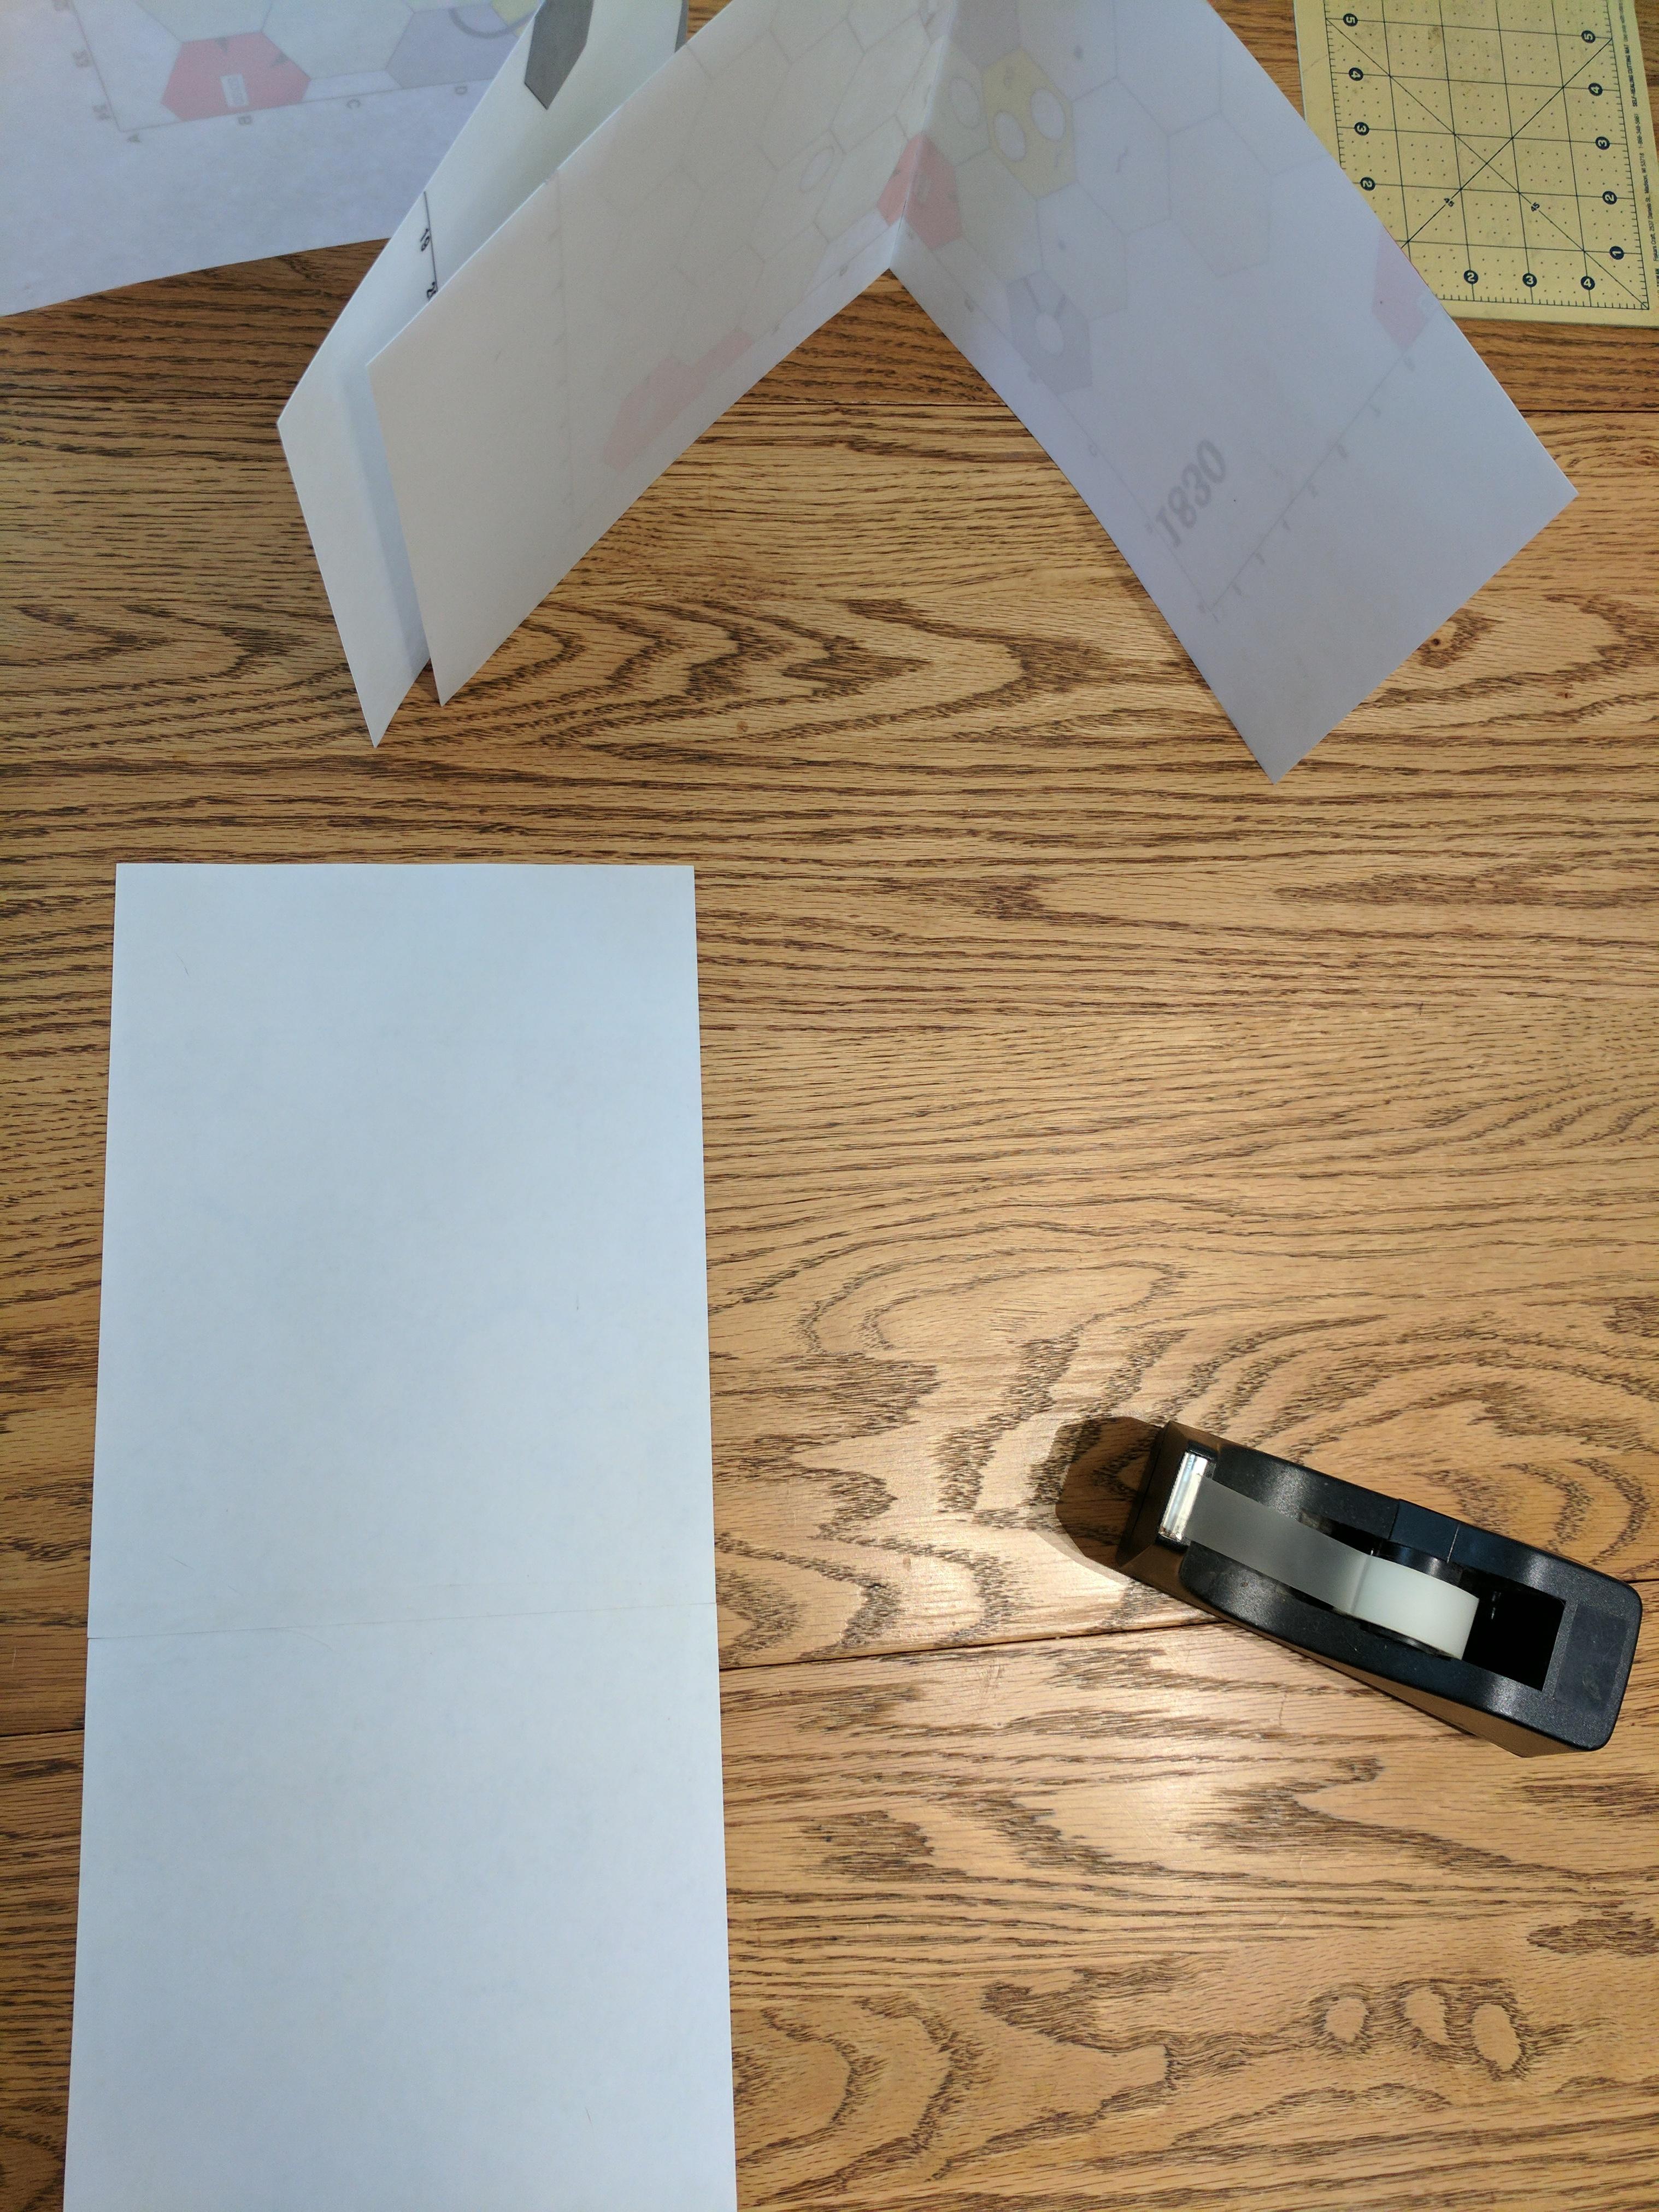
I originally stuck the segments together in pairs. Since then I’ve decided that was a poor(er) choice and instead to make a 6-panel folding map. This will mean that some of the cello tape is on the top/visible surface of the map, but as I’m using a slightly whitish tape, something close to a “magic tape”,” and it just disappears once it is on the map.
The stock market was made just like the map, but only had two panels.
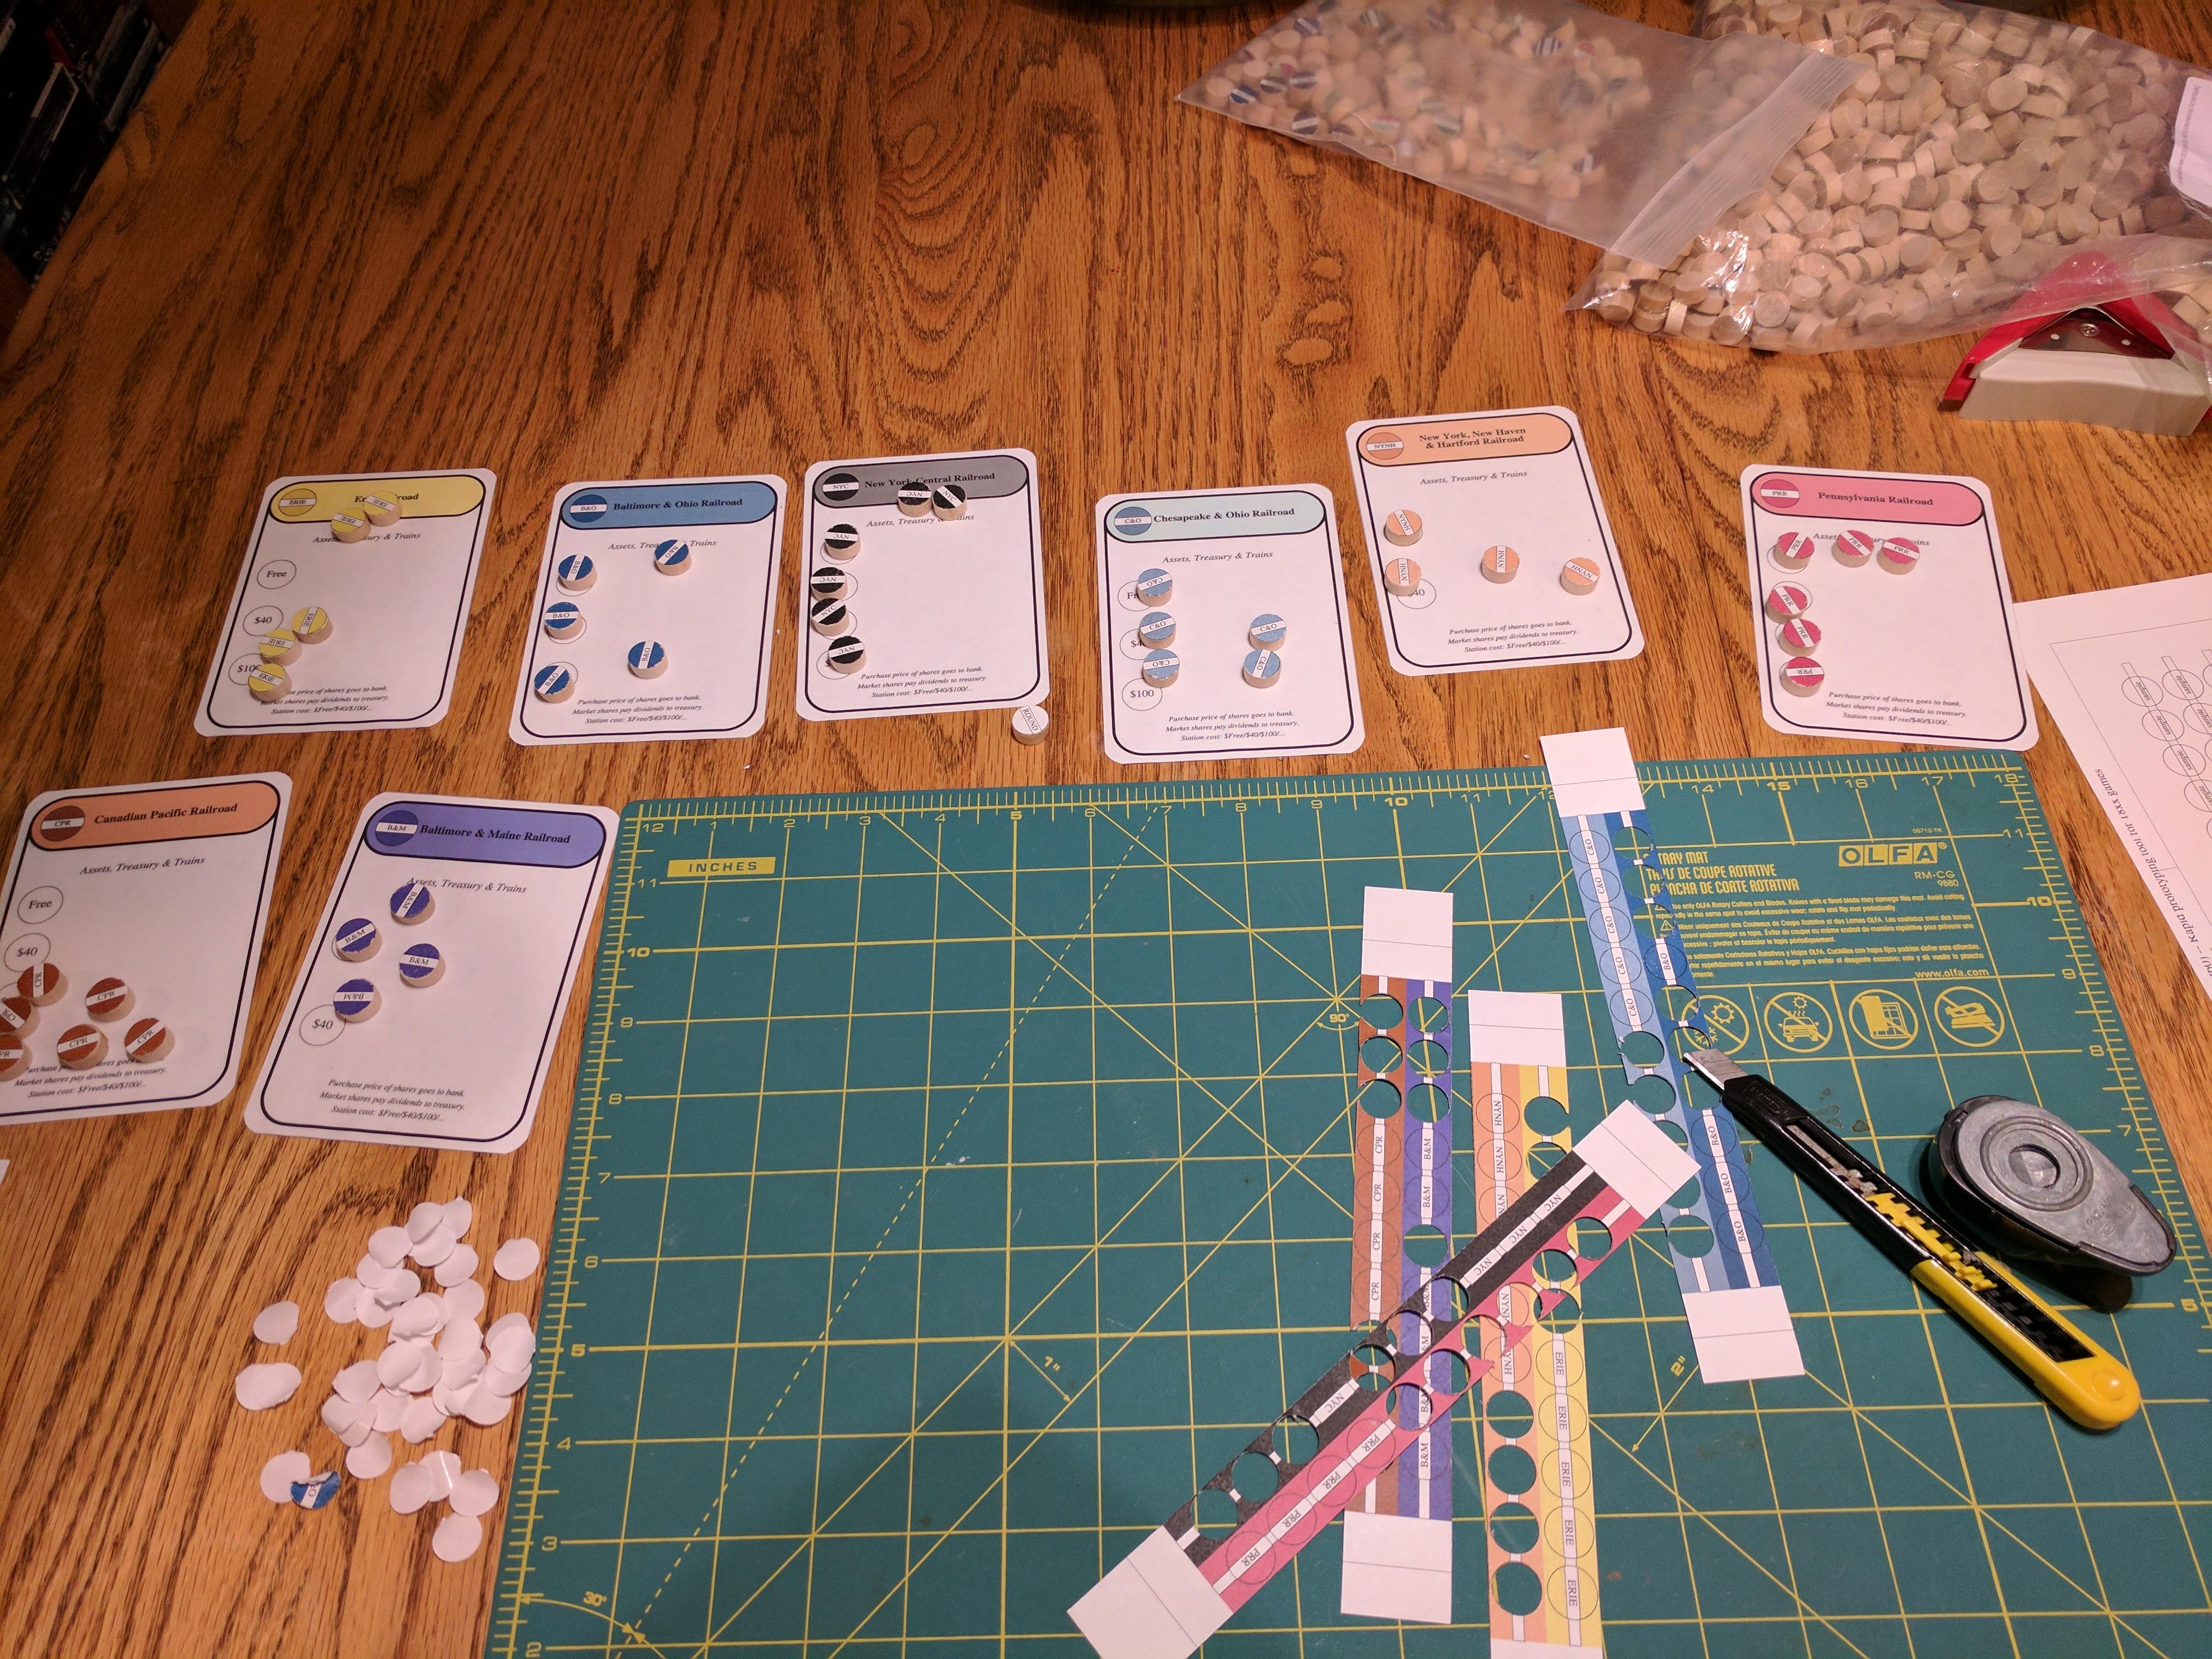
Ahh, the Ellison Prestige Pro die cutter! There it is in all its glory along with a test due and an old extra private I’ve previously cut with it.
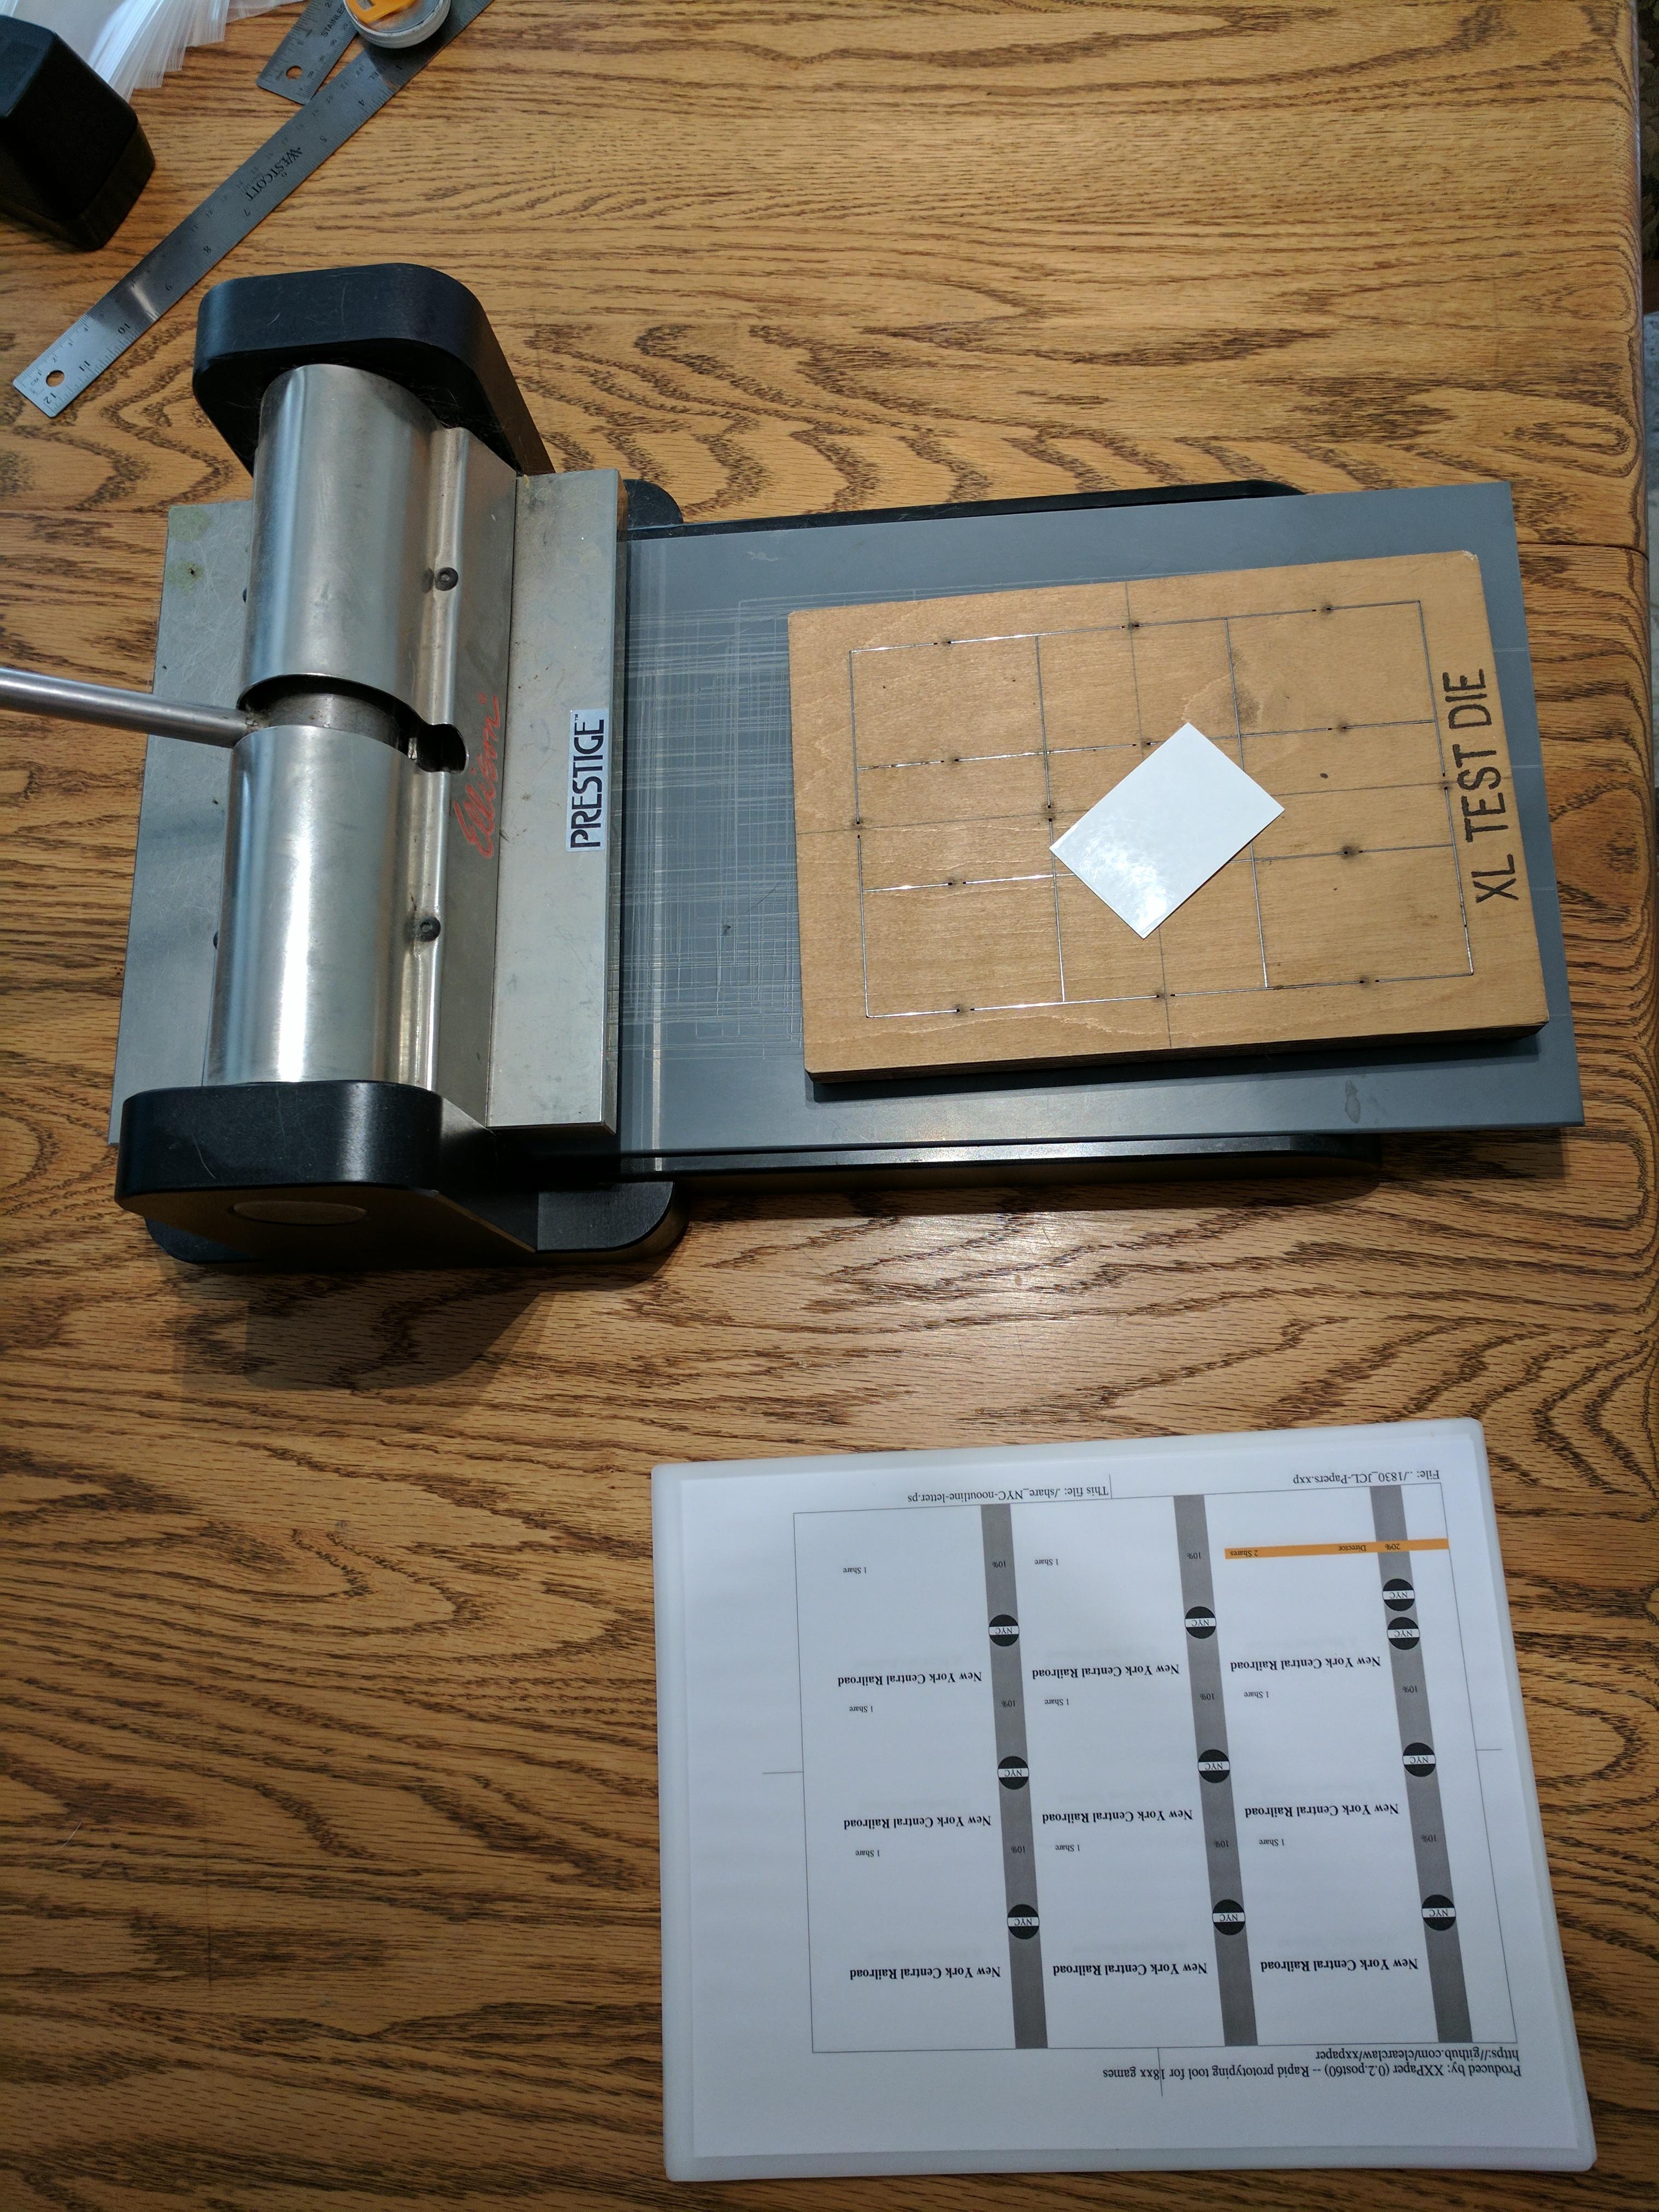
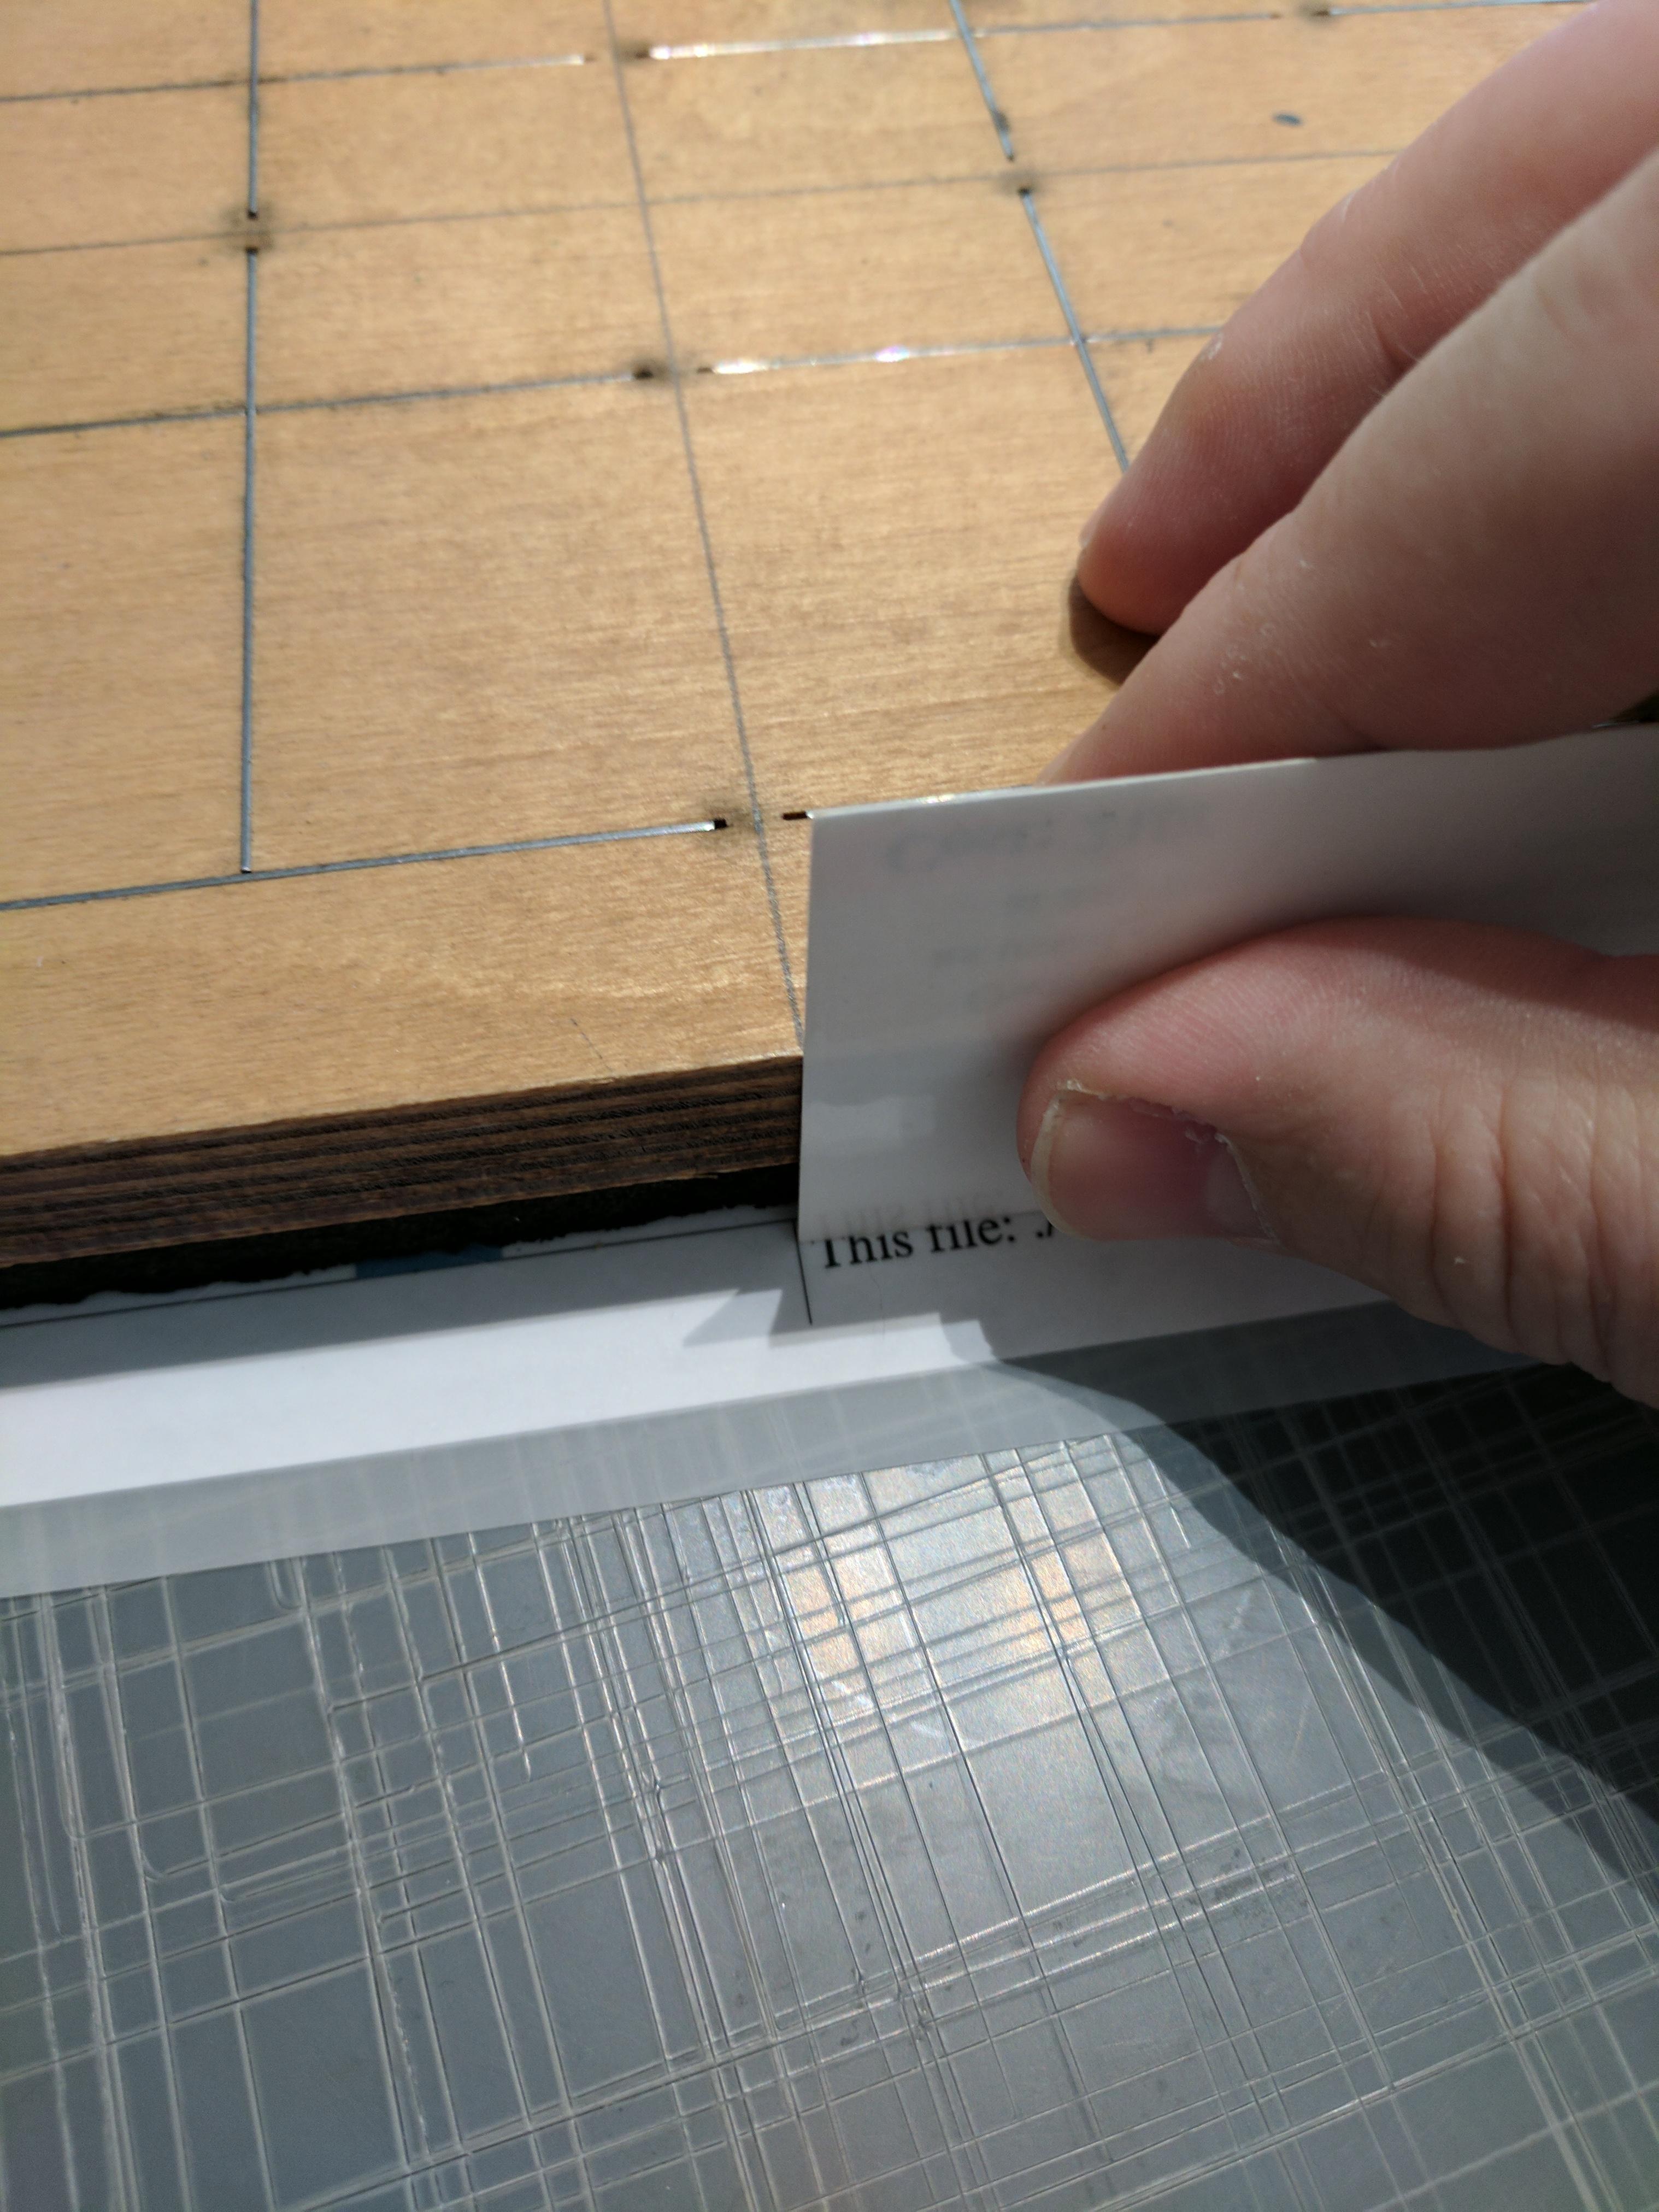
If you look carefully you can see that I’ve drawn pencil lines along the middle of the die in both directions. XXPaper puts similar lines around its art-files and they can be used to correctly align the die with the printed page:

I use an old spare private or share I cut earlier to ensure that the alignment lines that XXPaper made on the art-file lines up perfectly with the registration lines I drew on the die. As you may imagine, this can be a bit fiddly8].
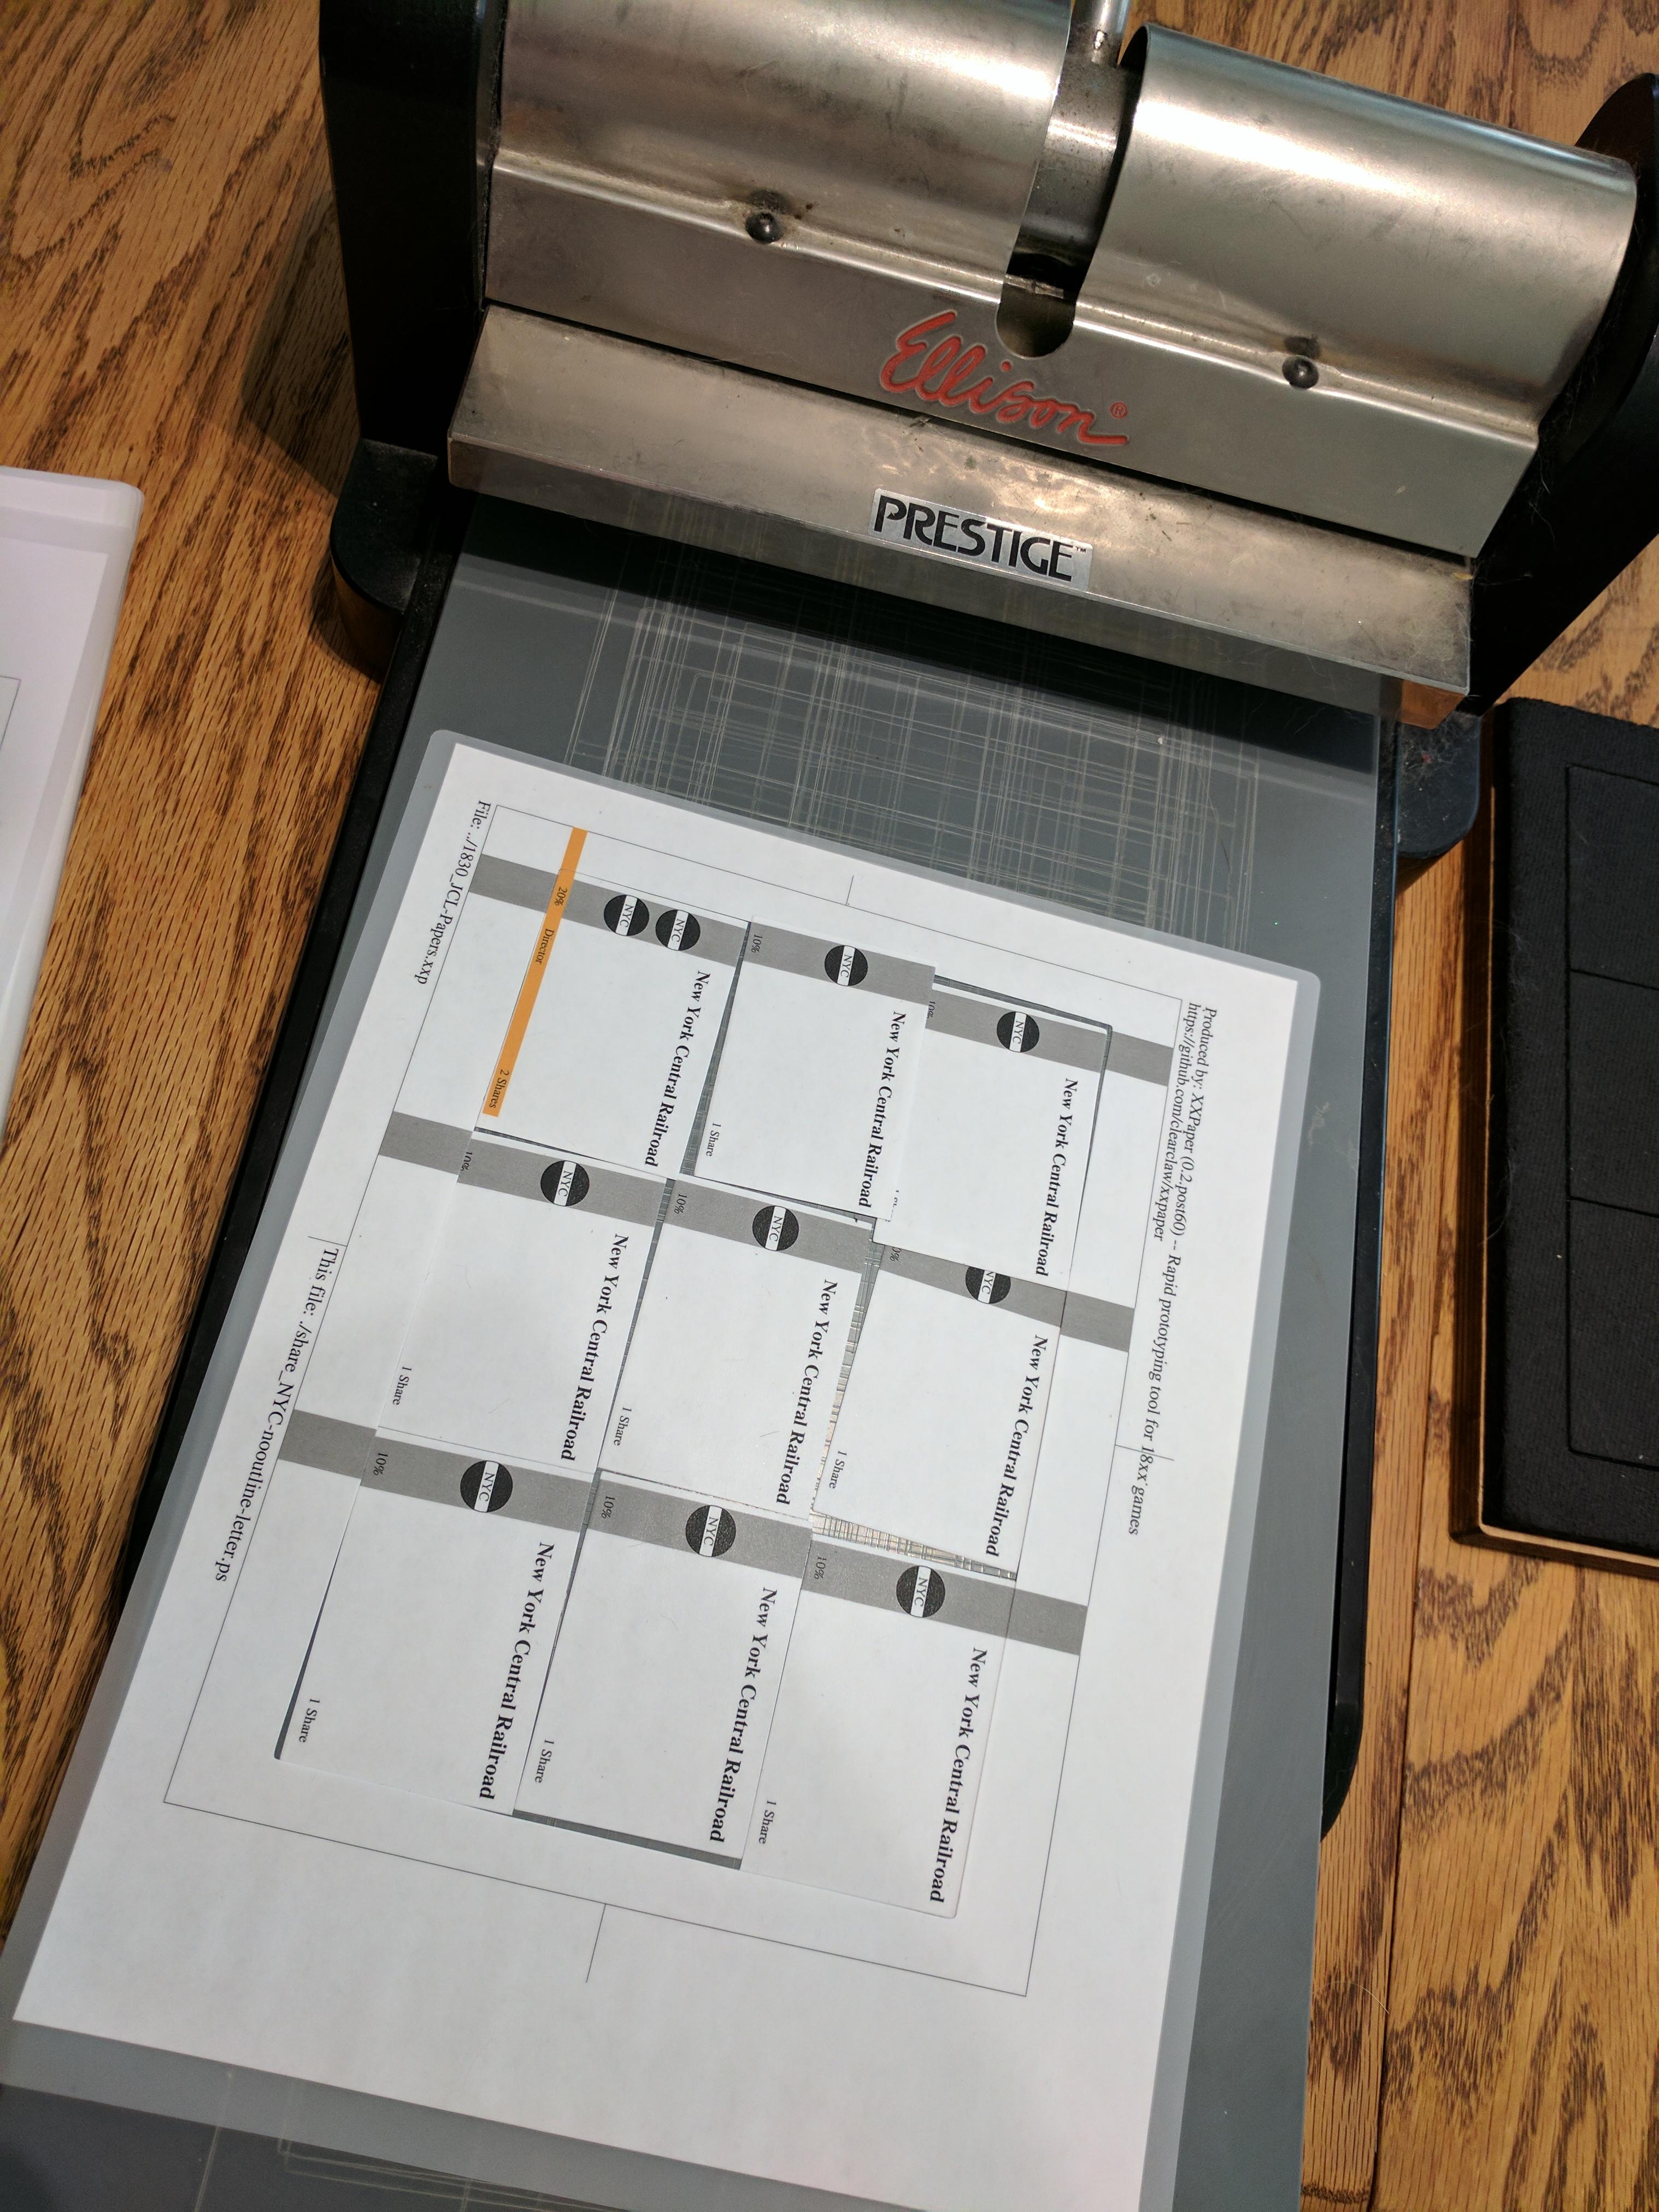
And voila, a cut sheet of shares!
All that’s done, all the privates, shares and trains, and now to round the corners of the charters and trains.
I only round the corners of charters and trains, nothing else. I could do the privates and shares too, but I find that square corners on the shares make it easier for players to display their portfolios neatly (okay, I find it easier). And as for privates? Some privates contain a lot of information and the corners can get a bit crowded. XXPaper‘s format is still generous enough to allow the corners to be rounded, but not by much and privates aren’t handled much, so I leave them square.
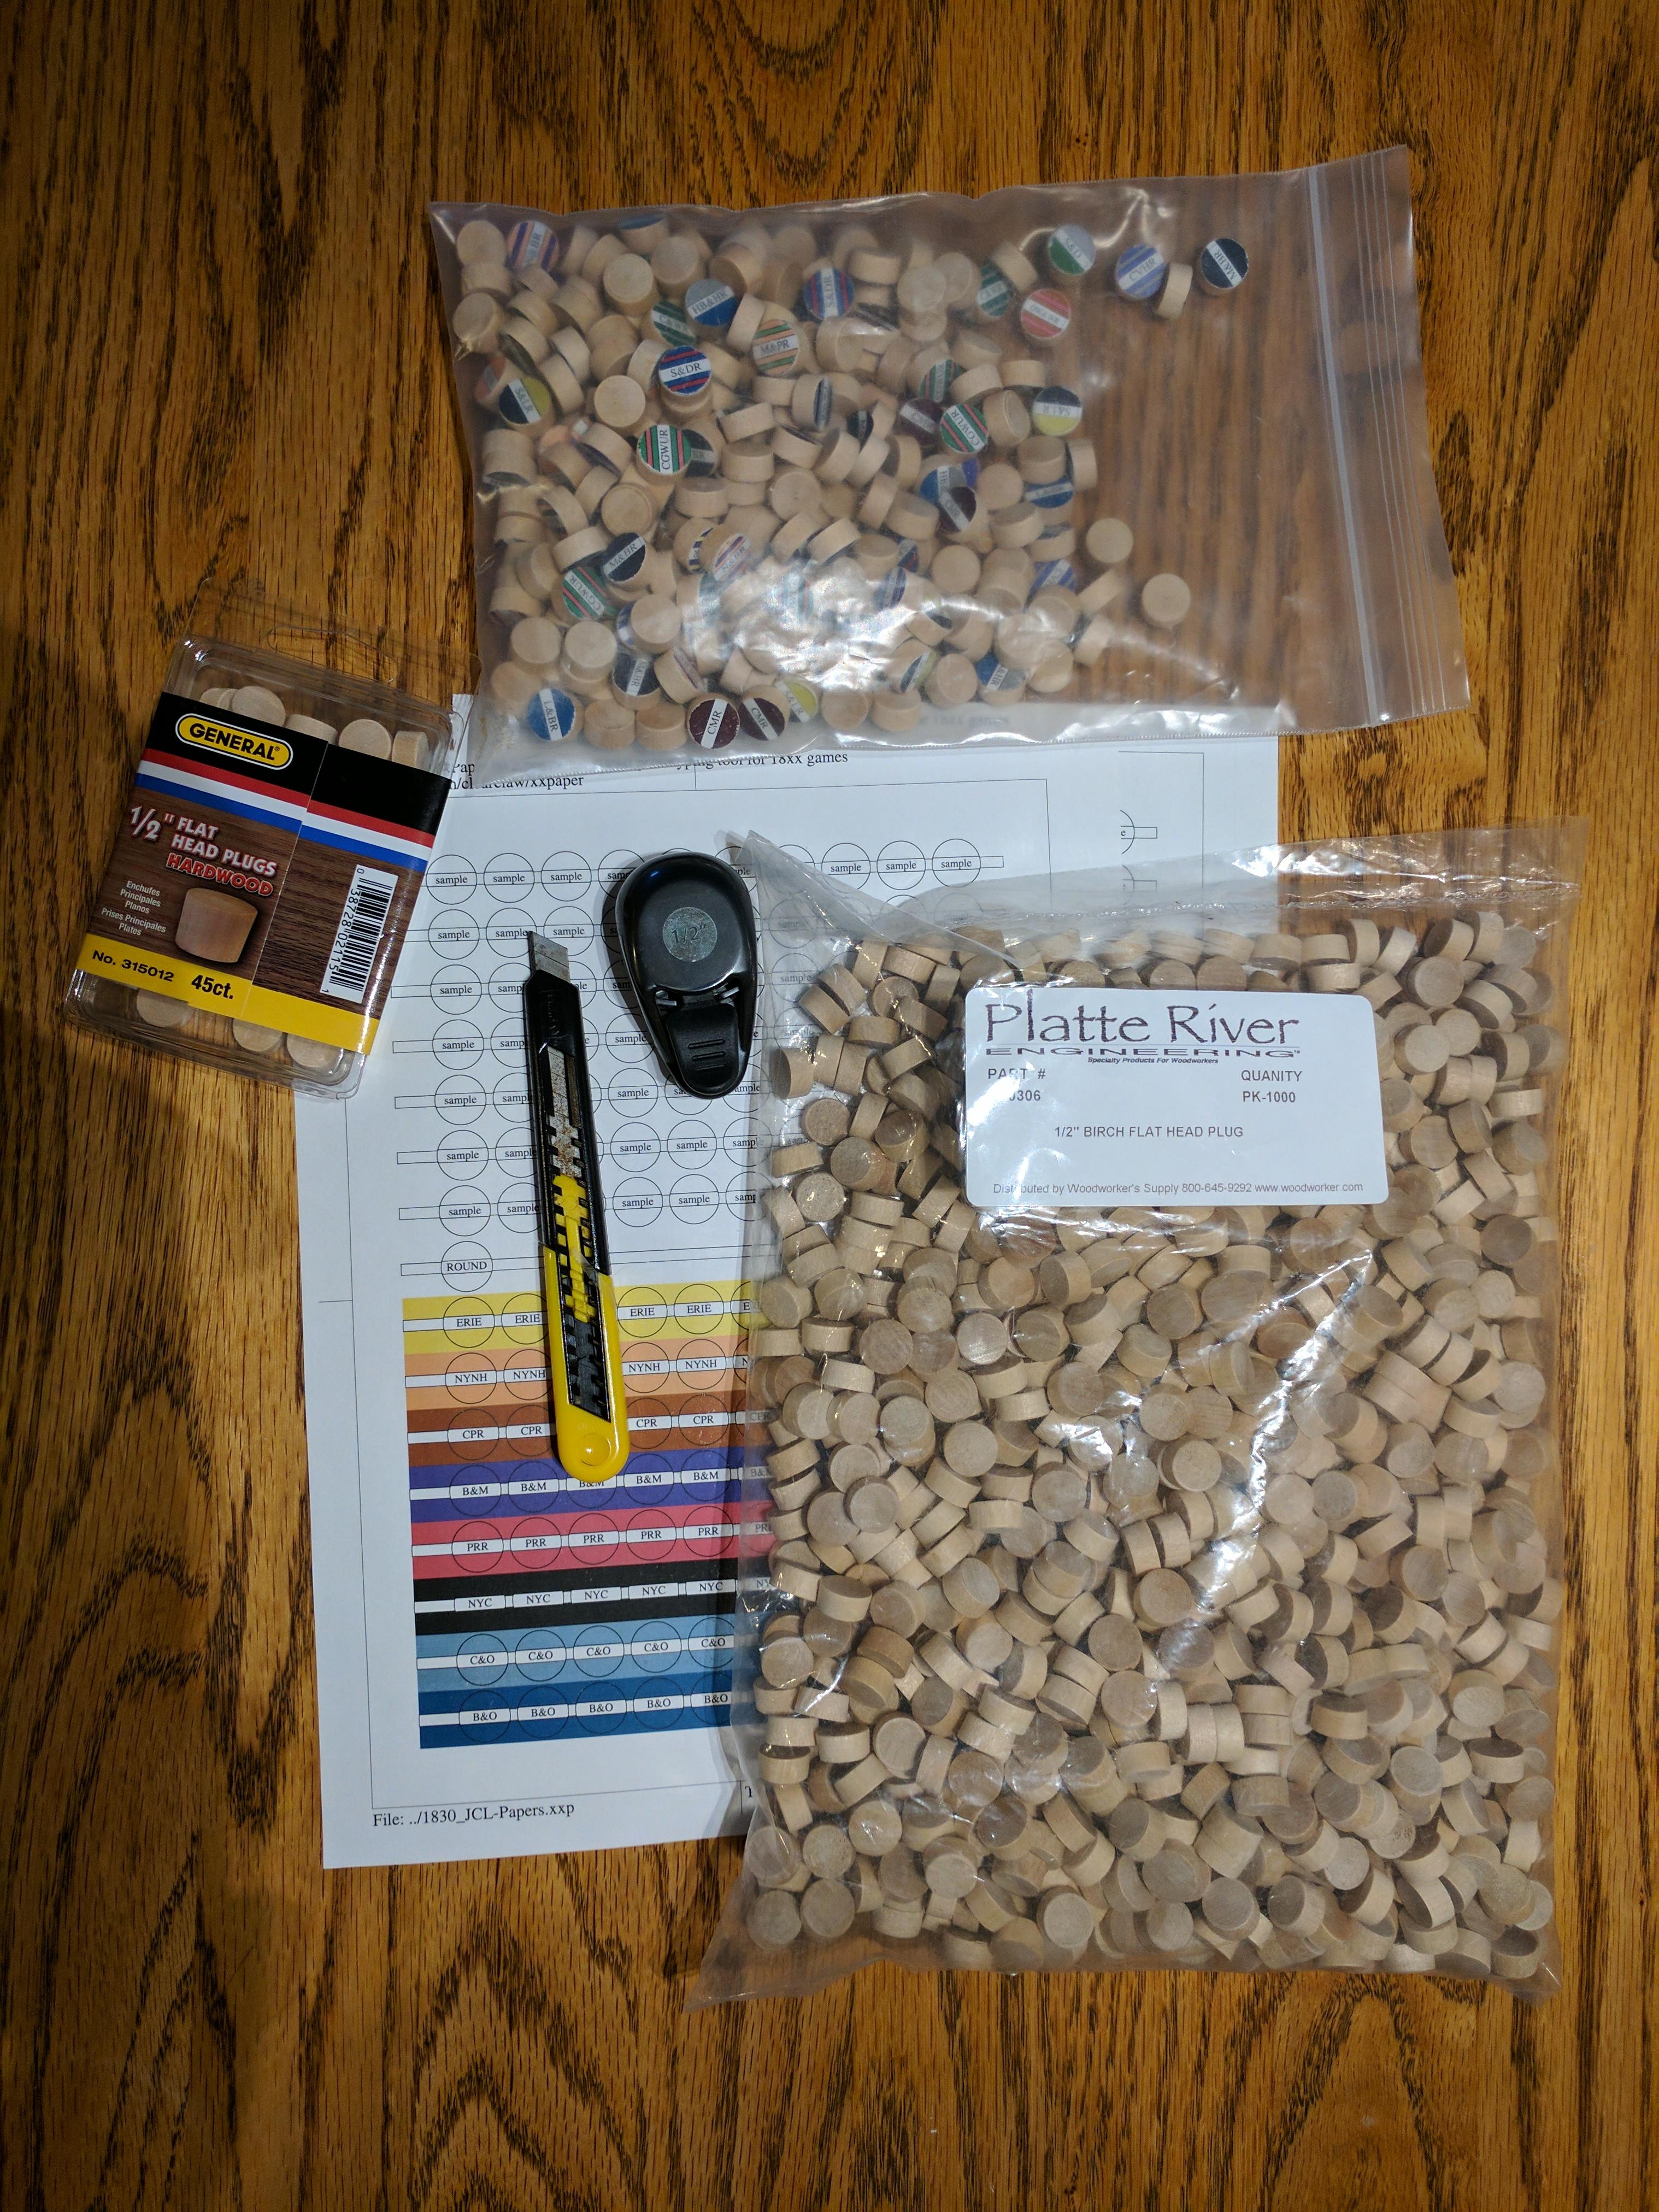
Now for the tokens.
I used to use wood plugs manufactured by General Tools as sold by Home Depot (the small box to the left). They work well. But Home Depot is out of my way and General Tools no longer sells direct…and I’ve found that Platte River sells bags of 1,000 even more cheaply on Amazon. If you’re only making a few games I recommend the General Tools product.
But for this game I’m going to use tokens from old prototypes from the bag at the top of the picture. I’ll be peeling off the old stickers and attaching the new.
Showing how easy it is to peel the sticker off an old token using a thin-bladed knife.
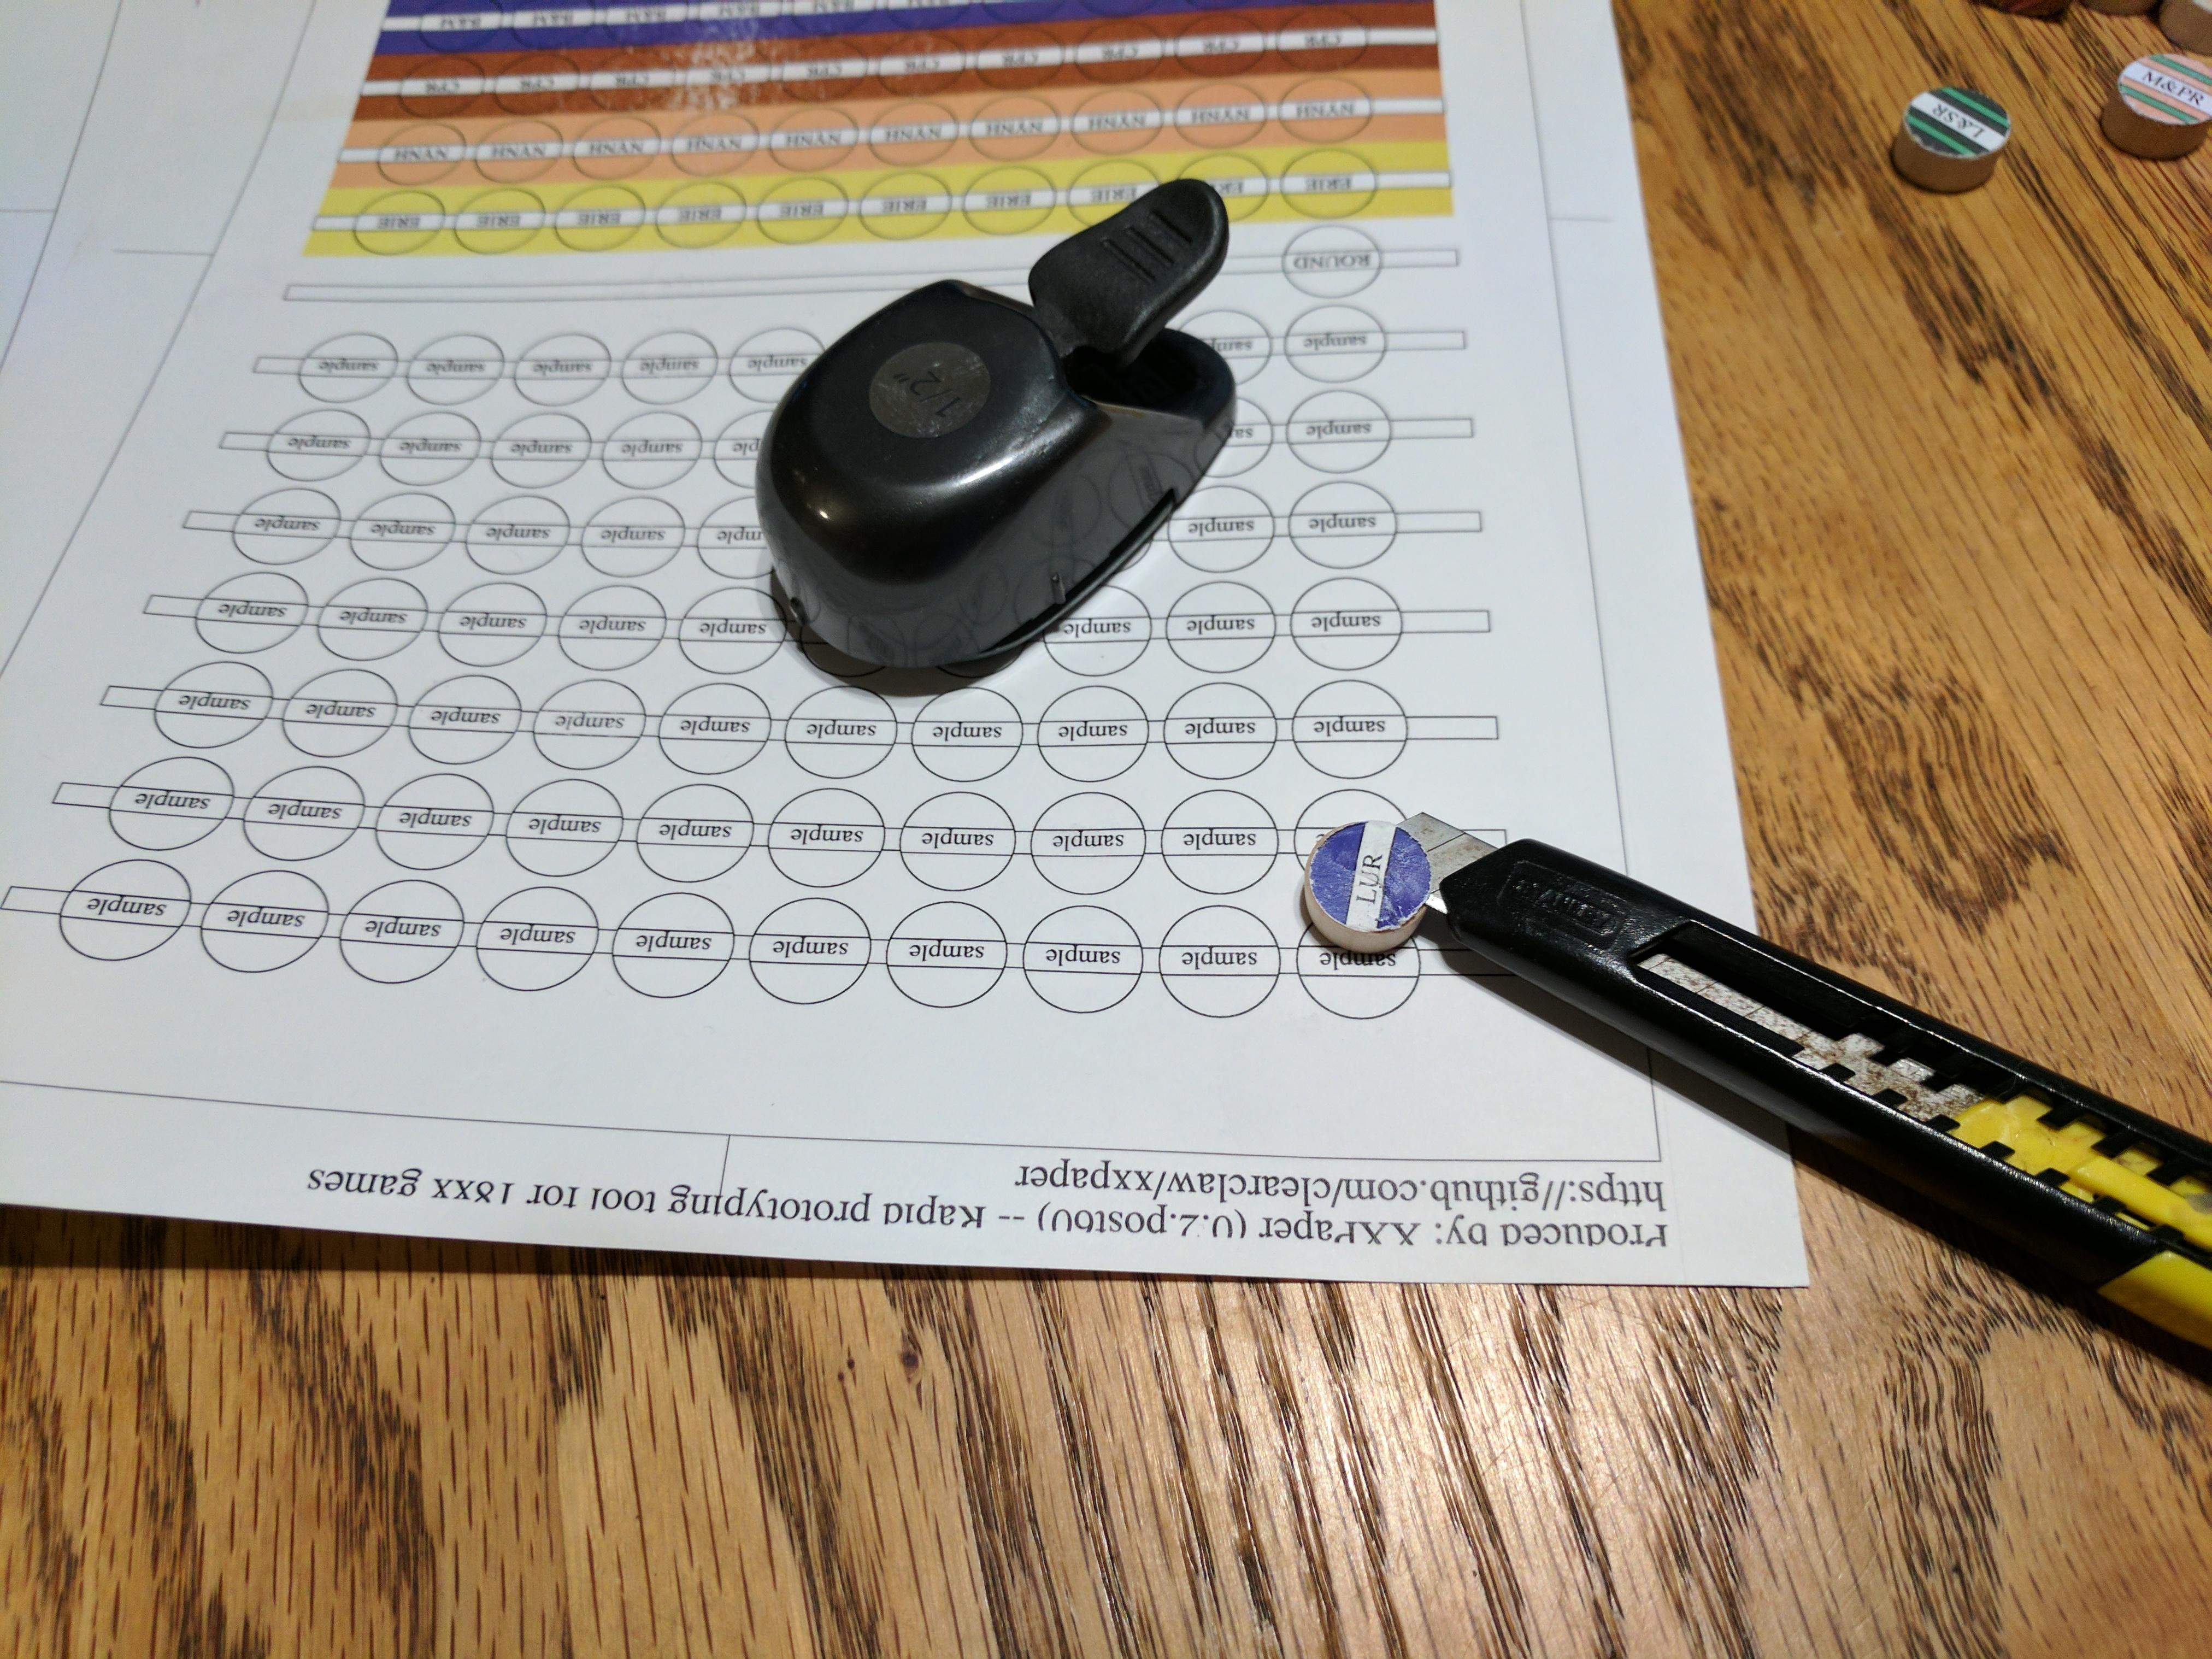
First, cut the whole-page label with the tokens into strips, two tokens wide:

See the little flap sticking out one side of the punched token? Almost every time that will be there due to the different behaviour of the backing paper to the main paper of the label in the punch. The little tab is the backing material and is an easy handle to grab with a fingernail to peel off the rest of the backing.
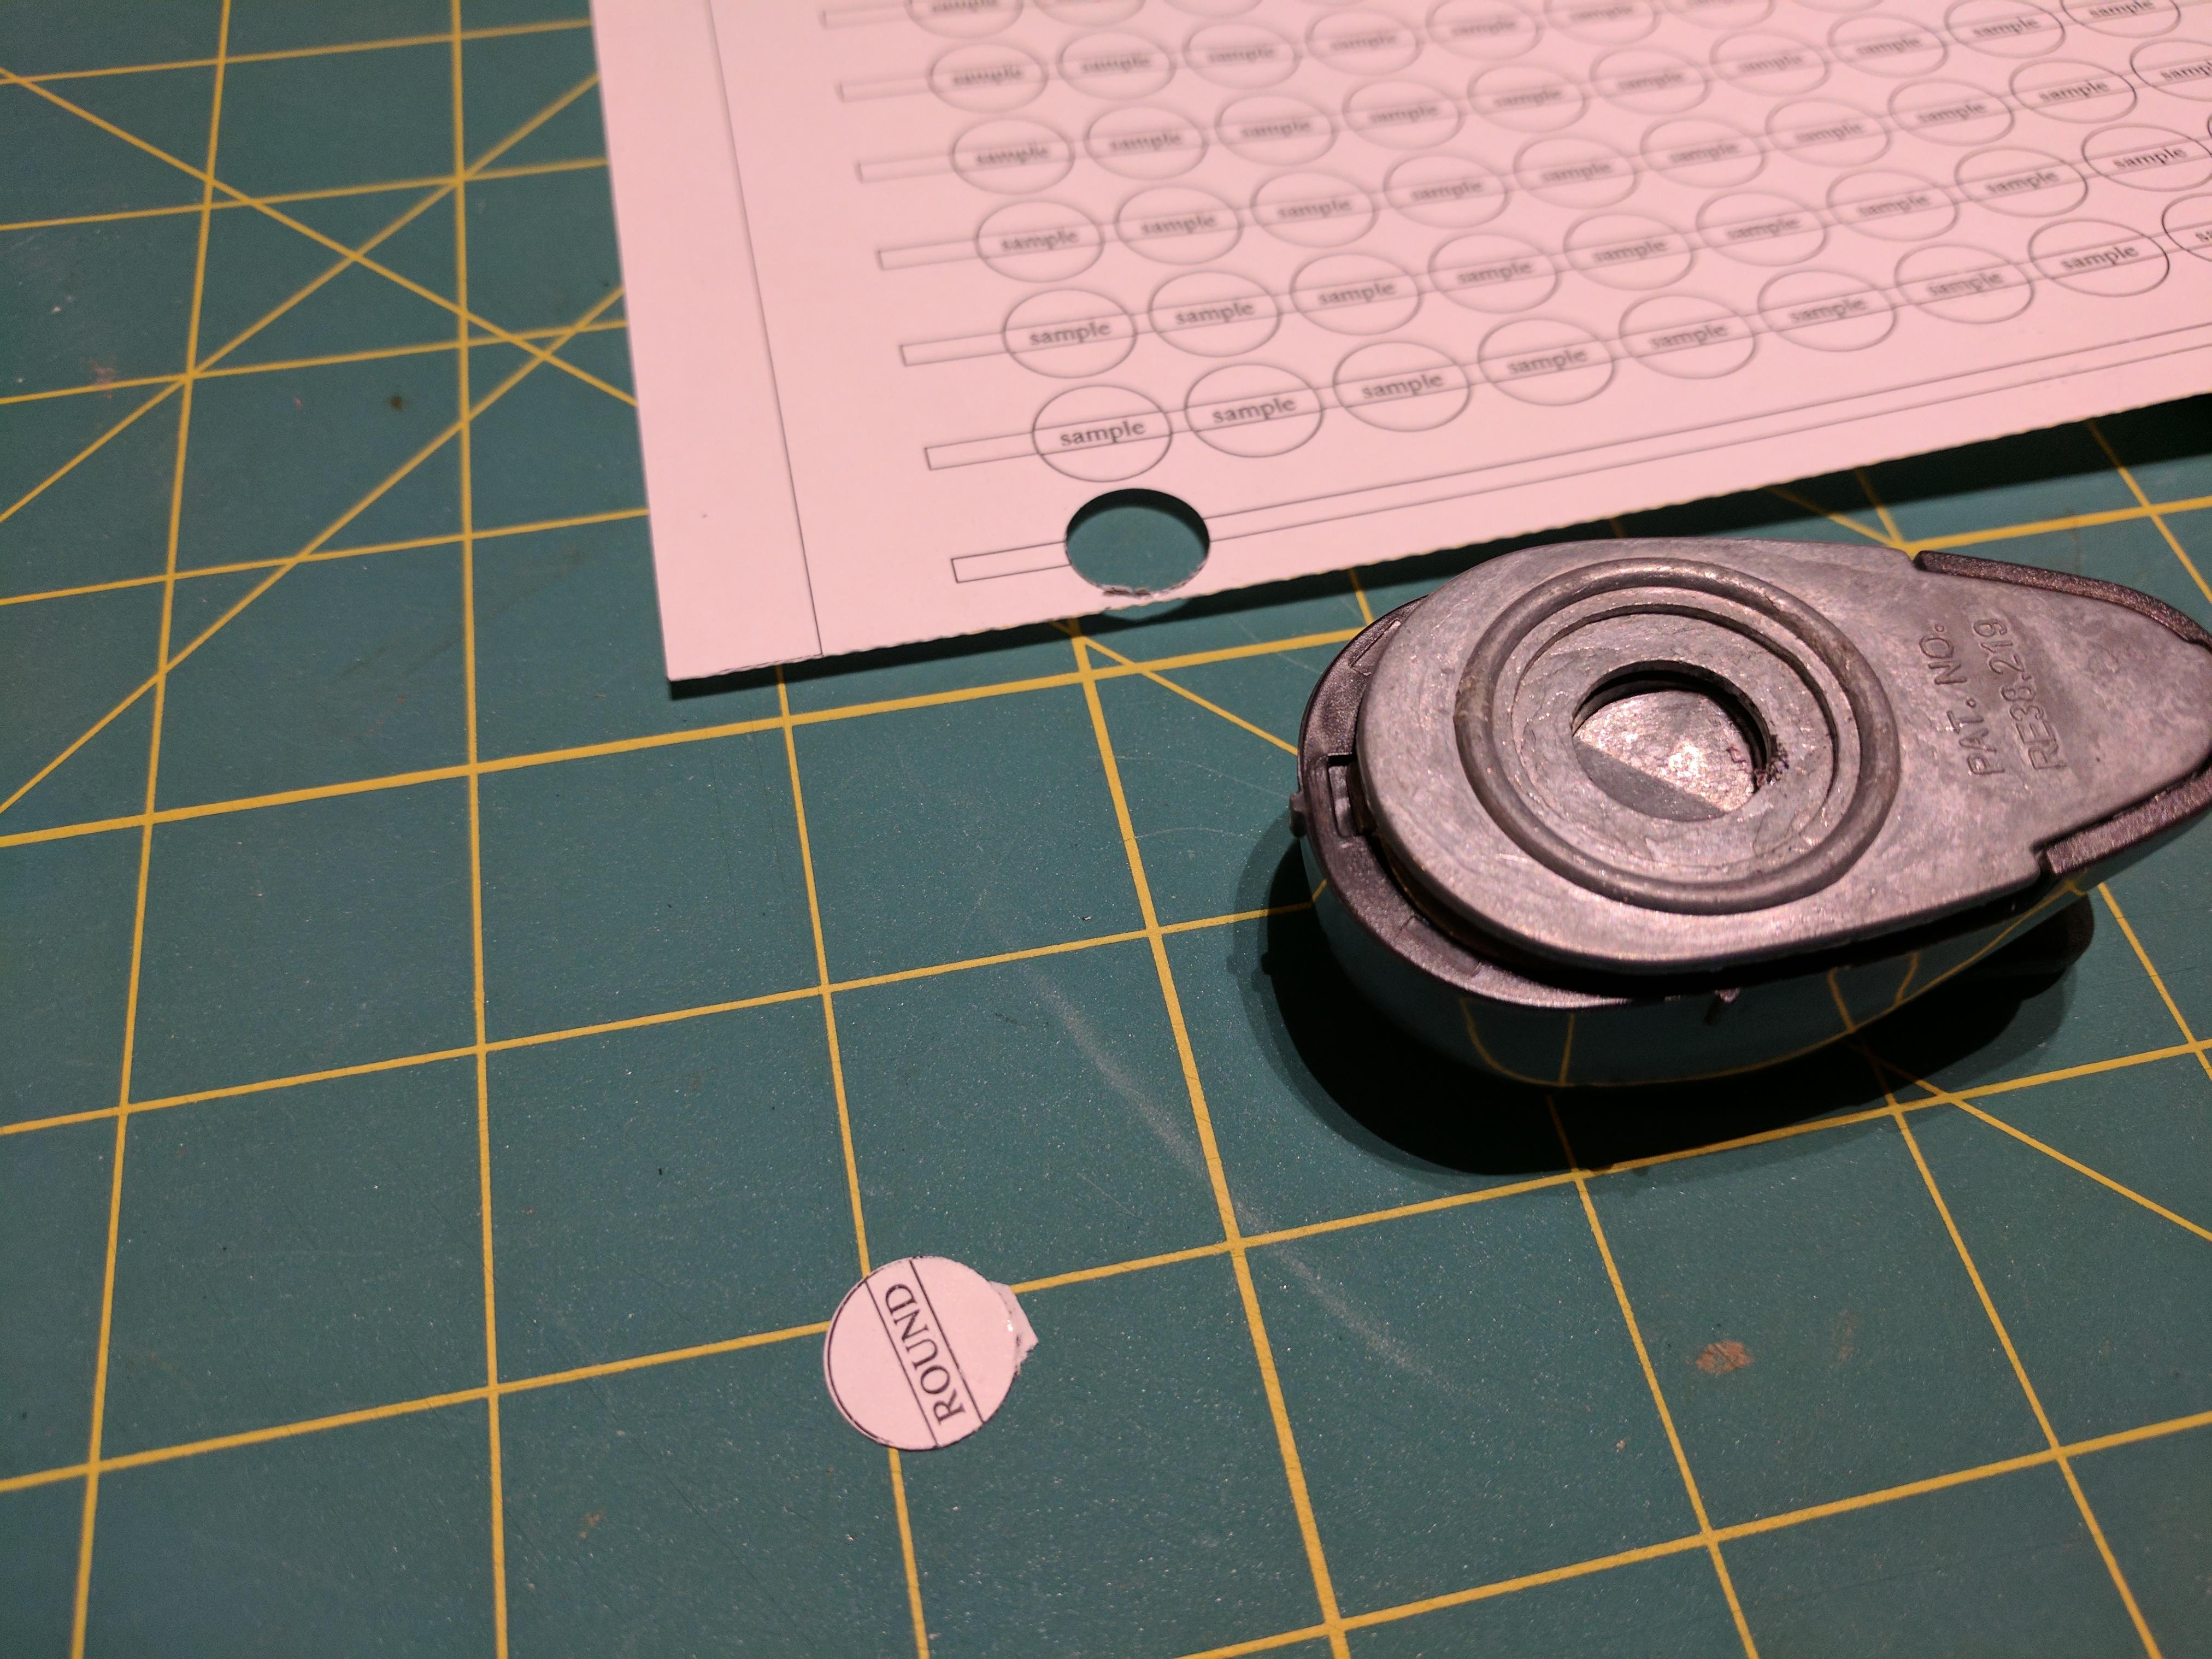
But if it is missing (happens sometimes) the thin-bladed knife can slip in the edge and peel off the backing paper:
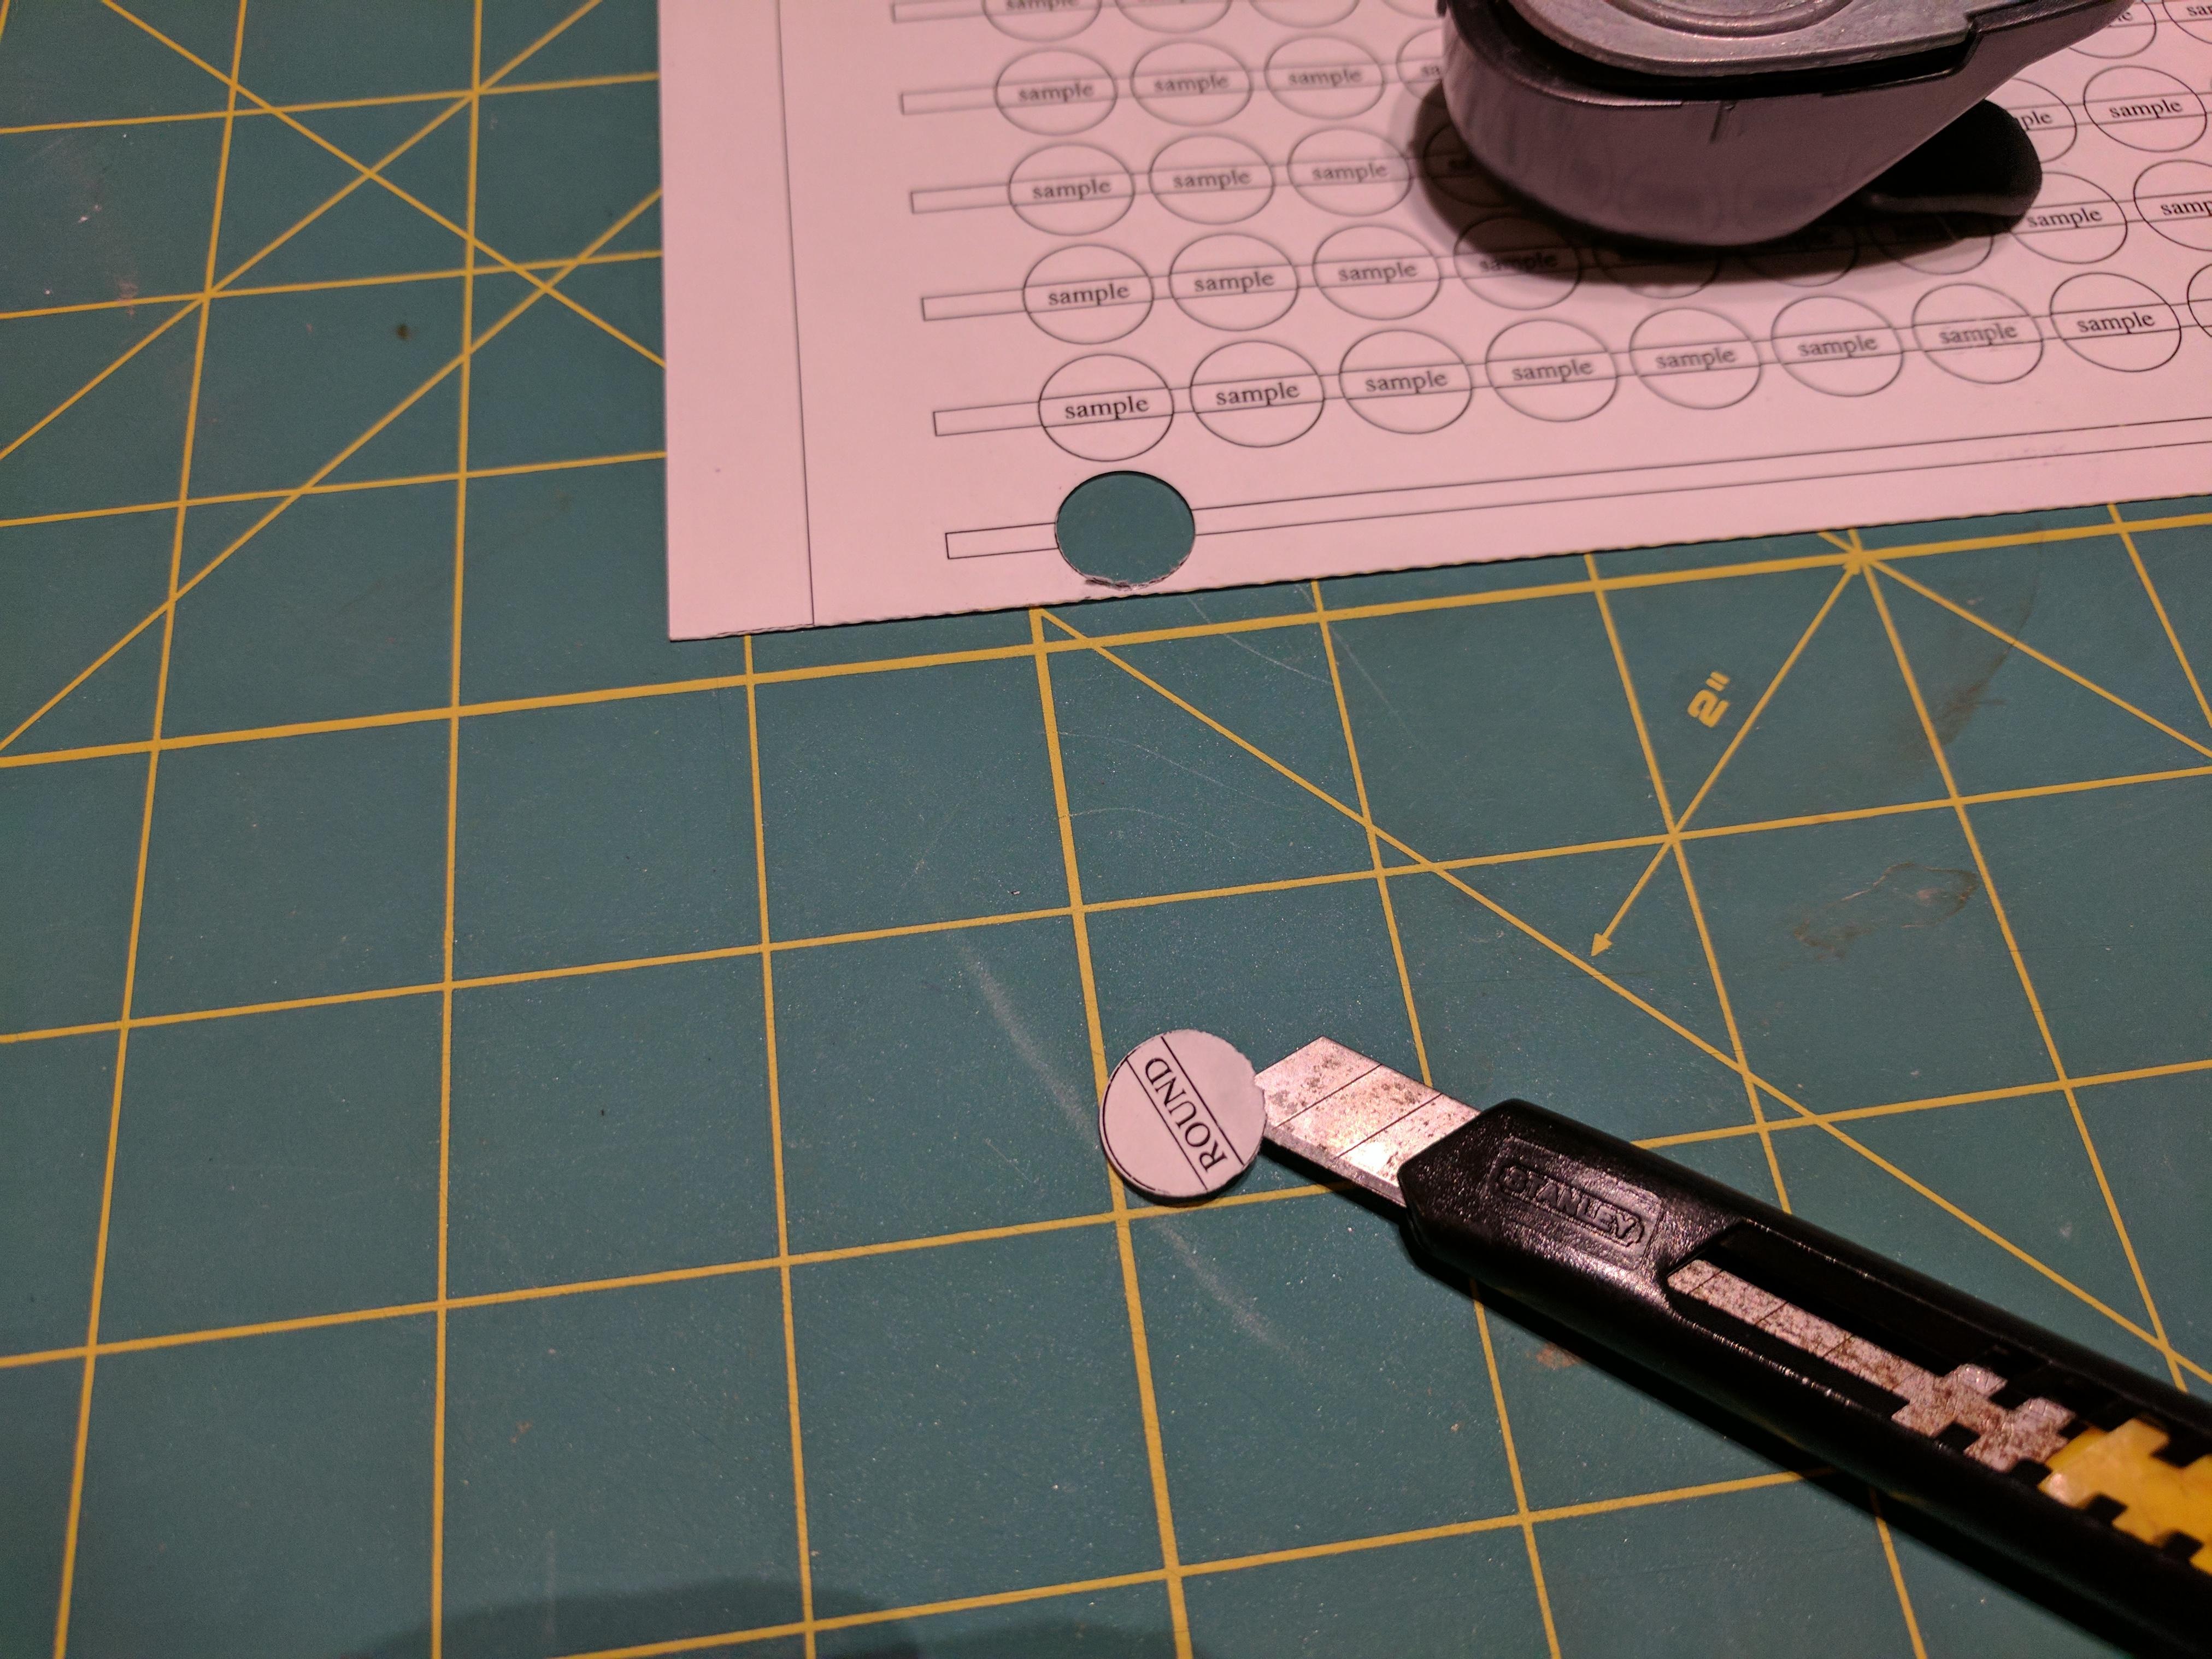
Peeling the back off normally:
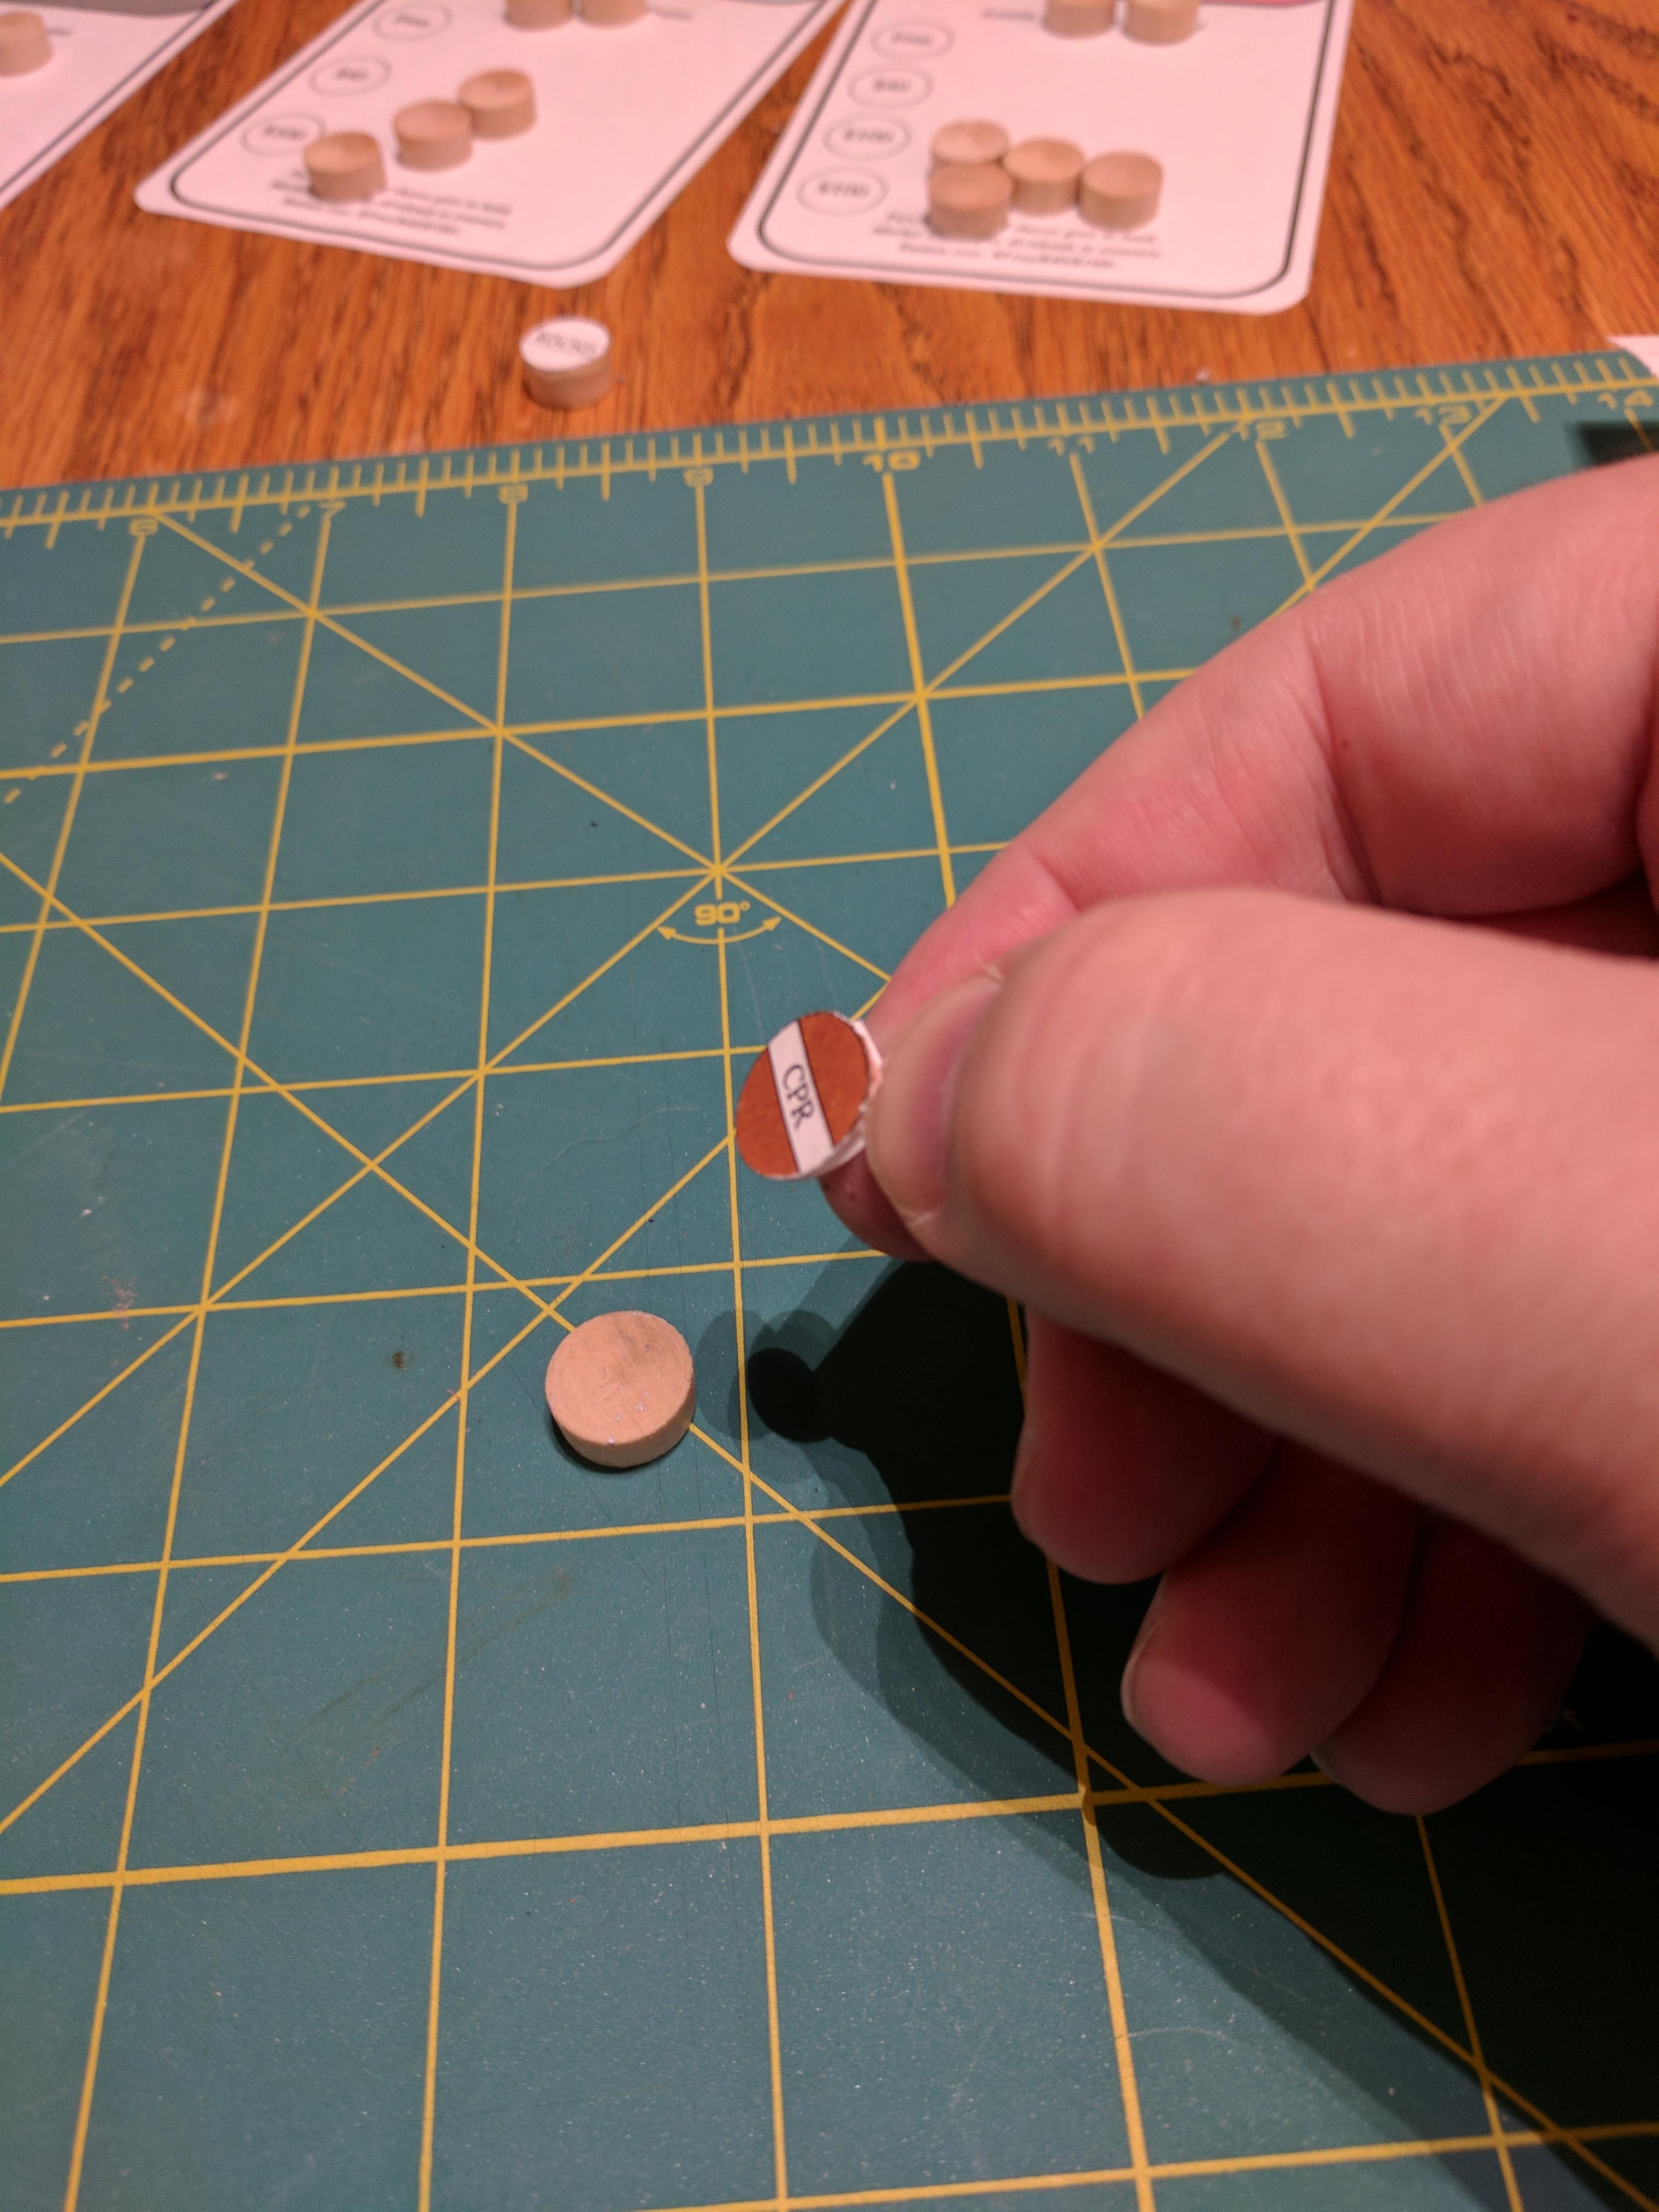
Marching through the companies:
The finished game
You may note that there’s some shading, that the left edge of each map segment is darker than the right edge. That is a previously unknown behaviour of my printer – I’m pretty sure it didn’t used to do that!
Note: The perspex sheet atop the map isn’t actually needed, its just convenient and now almost expected for my table
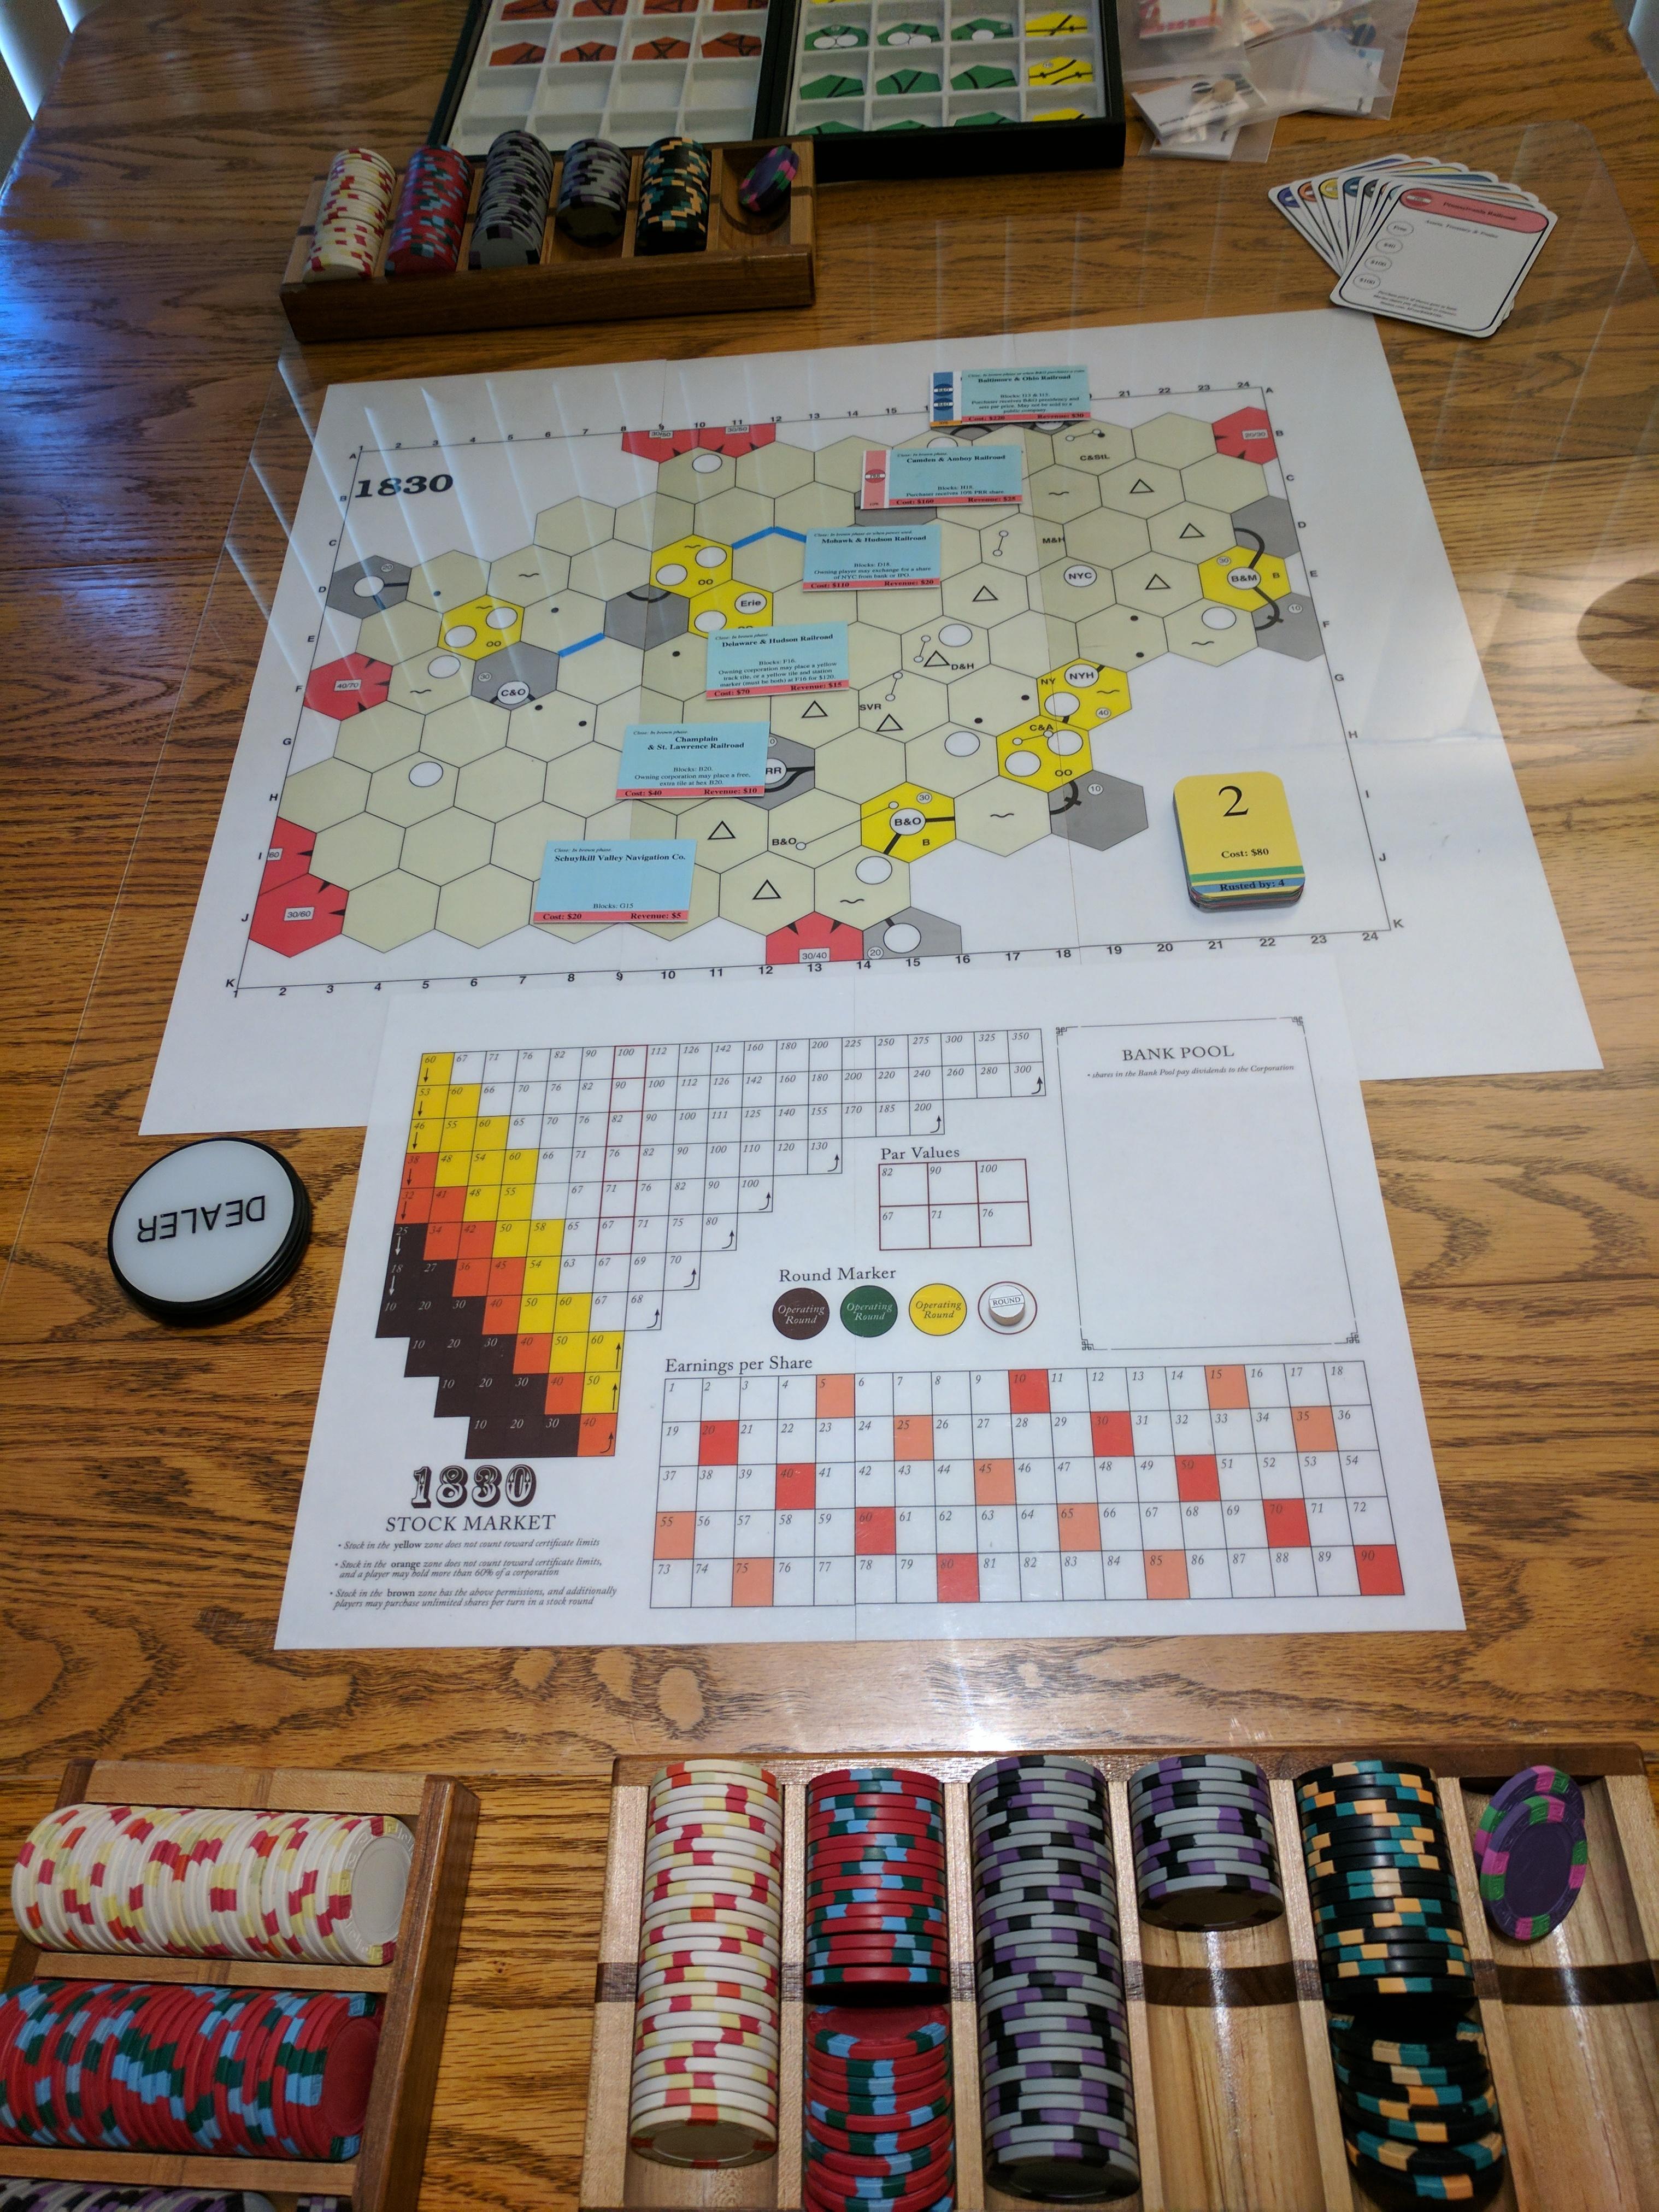
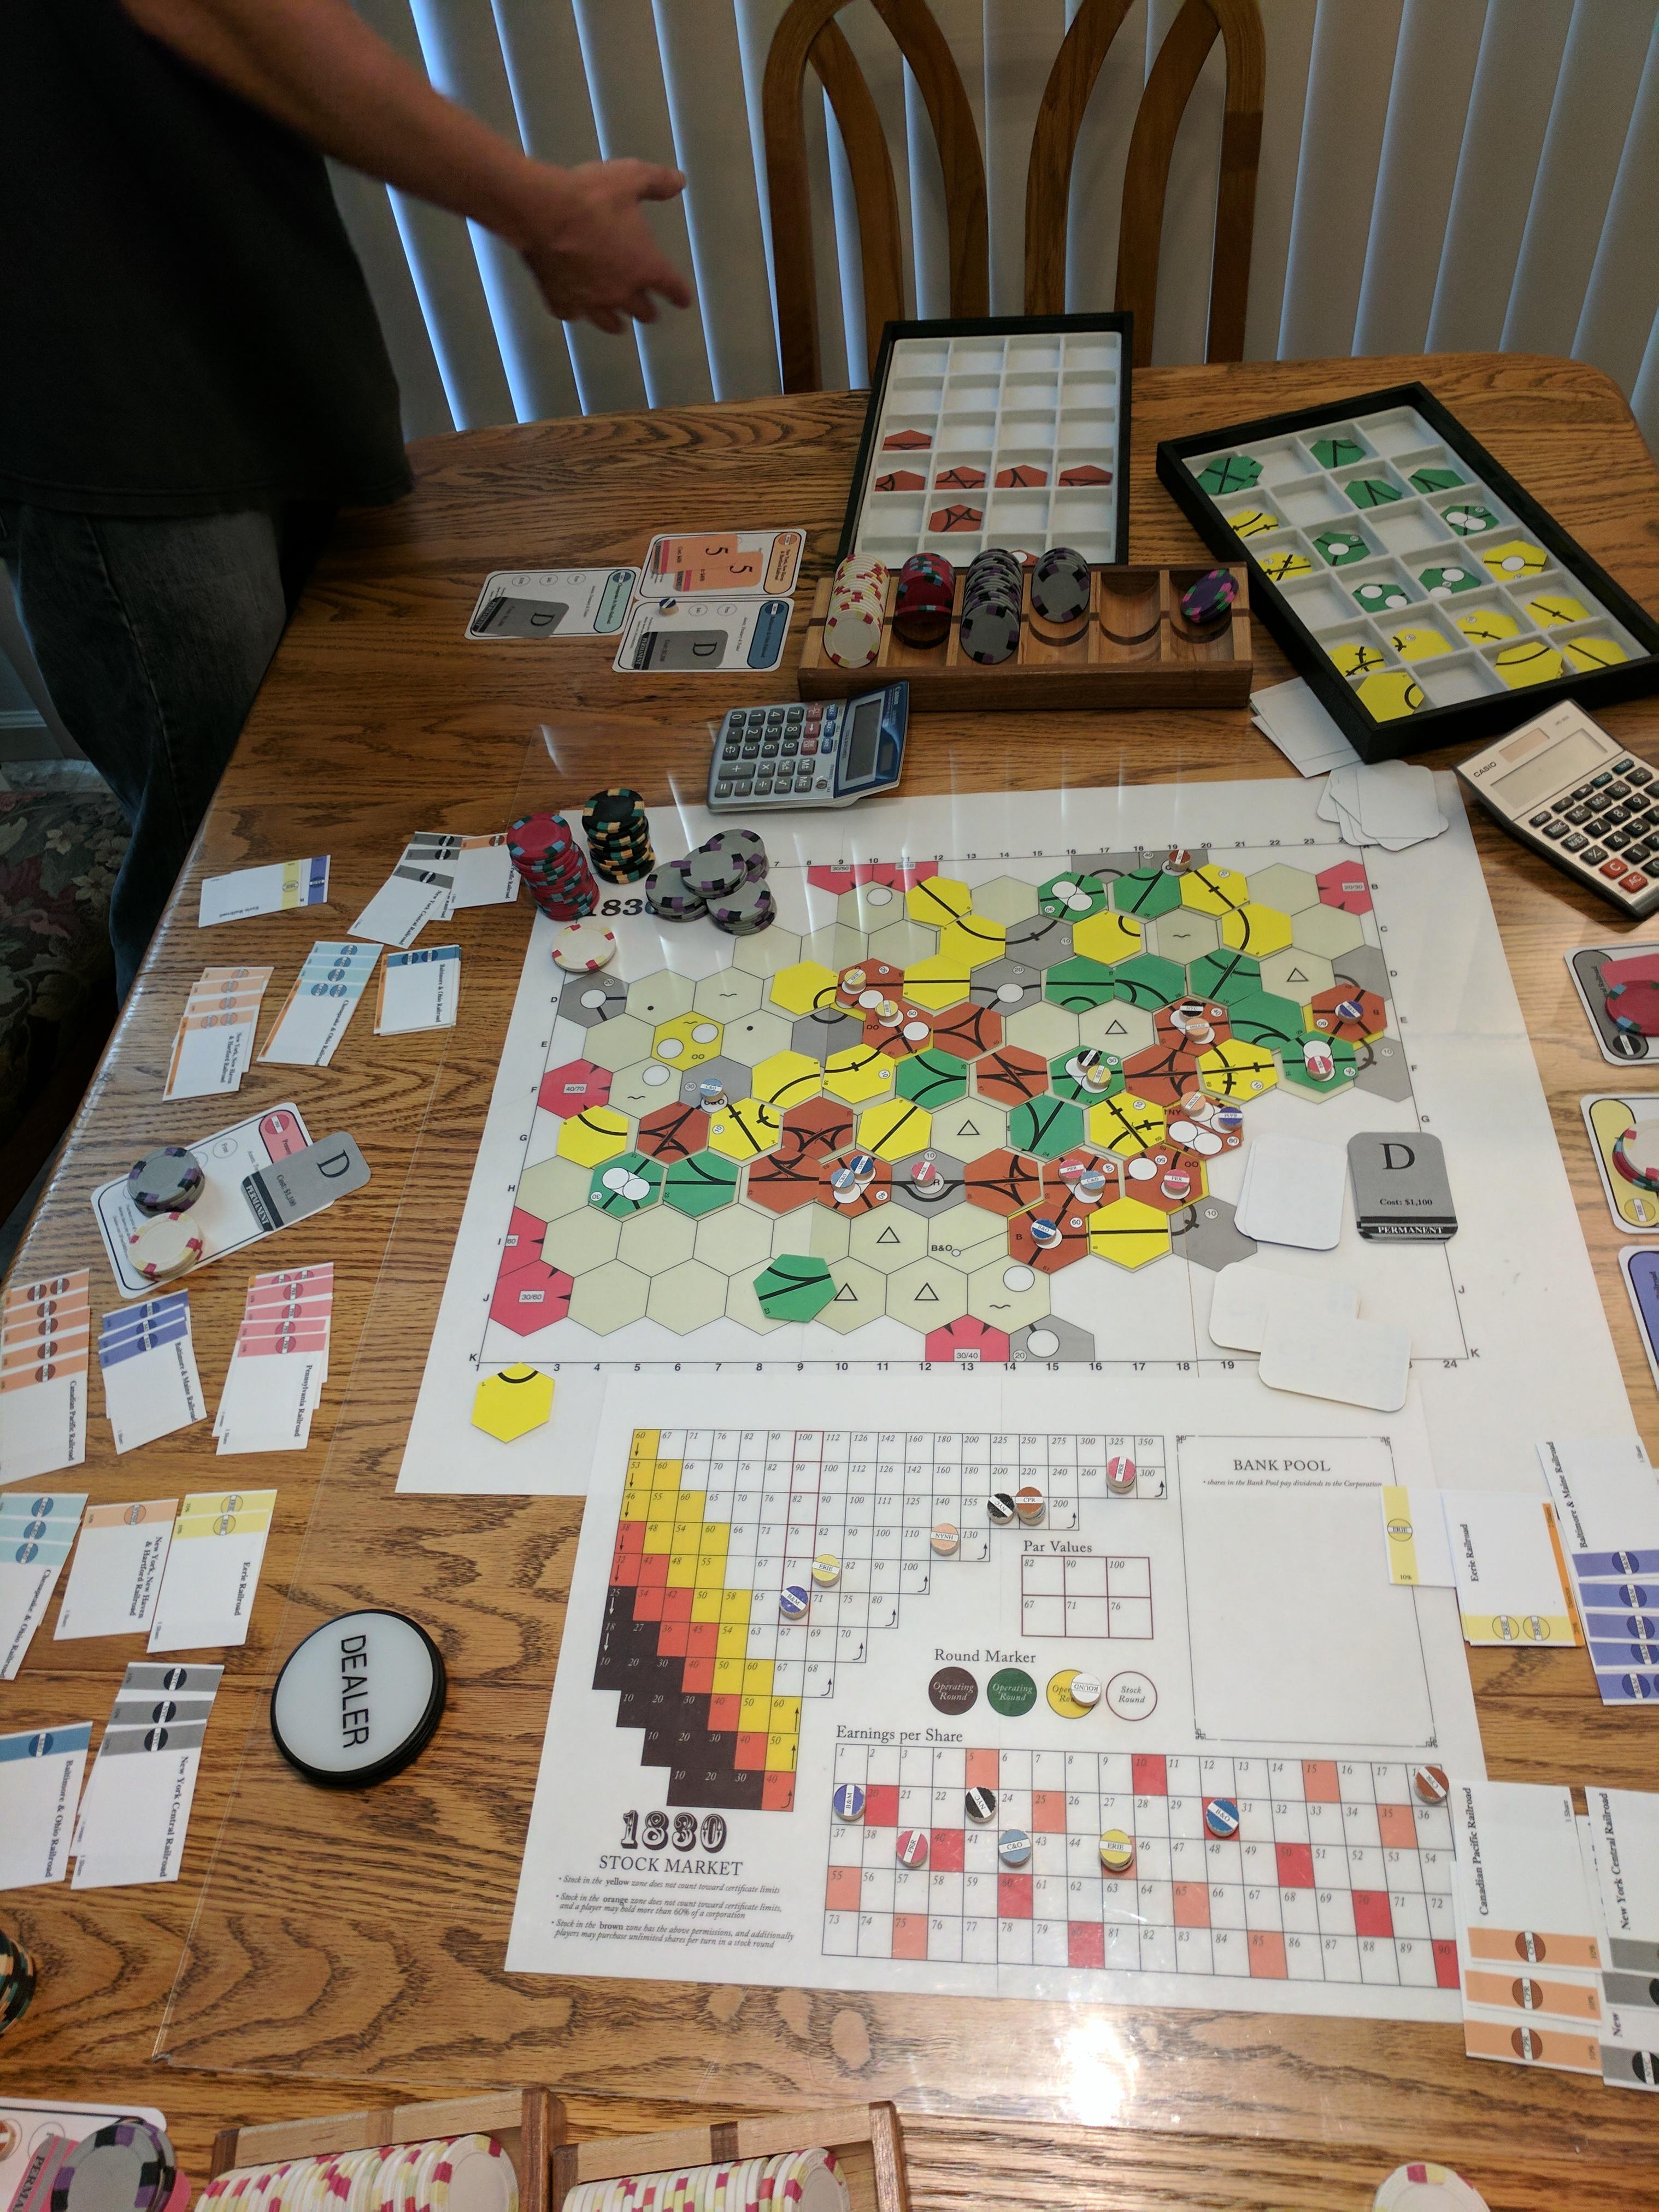
And a finished game with 3 players:
Update
As correctly noted by Stephe Thomas, ps18xx needs a few additional tweaks for the above, most notably to support alternative paper sizes (I think I used A1 for the 1830 map? Might have been A2 – play ith it) and to adjust the layout for track tiles to fit correctly on US Letter paper. I’ve made a GitHub repository with the requisite changes and sent them to Stephe Thomas as well. Homefully the changes will make it into his master.
Note: The key to using the various paper sizes is setting a PAPERSIZE environment variable to the desired paper size:
$ PAPERSIZE=letter make P30.ps
make 30 playable tile list
perl concat.pl -d src P30.ps
$ ps2pdf P30.ps
$ lp P30.pdf
$ PAPERSIZE=A1 make M30.ps
make 30 map
perl concat.pl -d src -a M30.ps
$ ps2pdf M30.ps
The supported paper sizes are:
- letter
- A4
- A3
- A2
- A1
- A0
- B4
- B3
- B2
- B1
-
I own two copies of 1830 by Avalon Hill, one by Mayfair (so yes, I have a license to the game), plus now my third homemade edition. ↩
-
My last quote for a custom die was a bit over $300. Two such dies3 (one for track tiles, the other for rectangular components), plus the die cutter sums up to around a $thousand if bought new. I bought my die cutter via EBay for rather less (after almost two years of waiting for a good deal), but it still wasn’t cheap. ↩
-
Getting the die accurately positioned with respect to the paper is a core problem. Even with my little tricks of pencil lines to check orientation and alignment, it takes me a frustrating minute or three for each page. A key advantage of the custom dies is that they come with an alignment system for quick, easy and very accurate alignment of the die to the printed material. ↩
-
Well, a dream where you wait 6 minutes for it to heat up, try not to get burned while you’re using it, and then wait an hour for it to cool enough to put away… But the produced laminations are completely delightful. I am a fan. ↩
-
The linked version is old and rather out of date. Contact the venerable Stephe Thomas for the latest and greatest. ↩
-
A scaling factor of
1.0is the nominally right size. It makes for hexes which are tight compared to the the track tiles, even slightly smaller than the track tiles depending on the details of how you cut them. However a1.20scaling factor such I used gives hexes which are slightly bigger than the track tiles. Not a lot, just a little and for me, but just enough bigger as to make it placing and replacing track tiles on the map significantly easier and faster and less prone to disturbing all the surrounding track tiles. Thus I use the slightly sloppier1.20scaling factor, ↩ -
Most systems can probably natively display Postscript. If your’s can’t, you’ll probably want to install ghostscript, which comes with the very nice
ghostviewPostscript viewing tool. ↩ -
The custom dies have a far simpler and more effective registration and alingment system, much less fiddly, but as I don’t have them yet I’ll just leave that there. ↩